


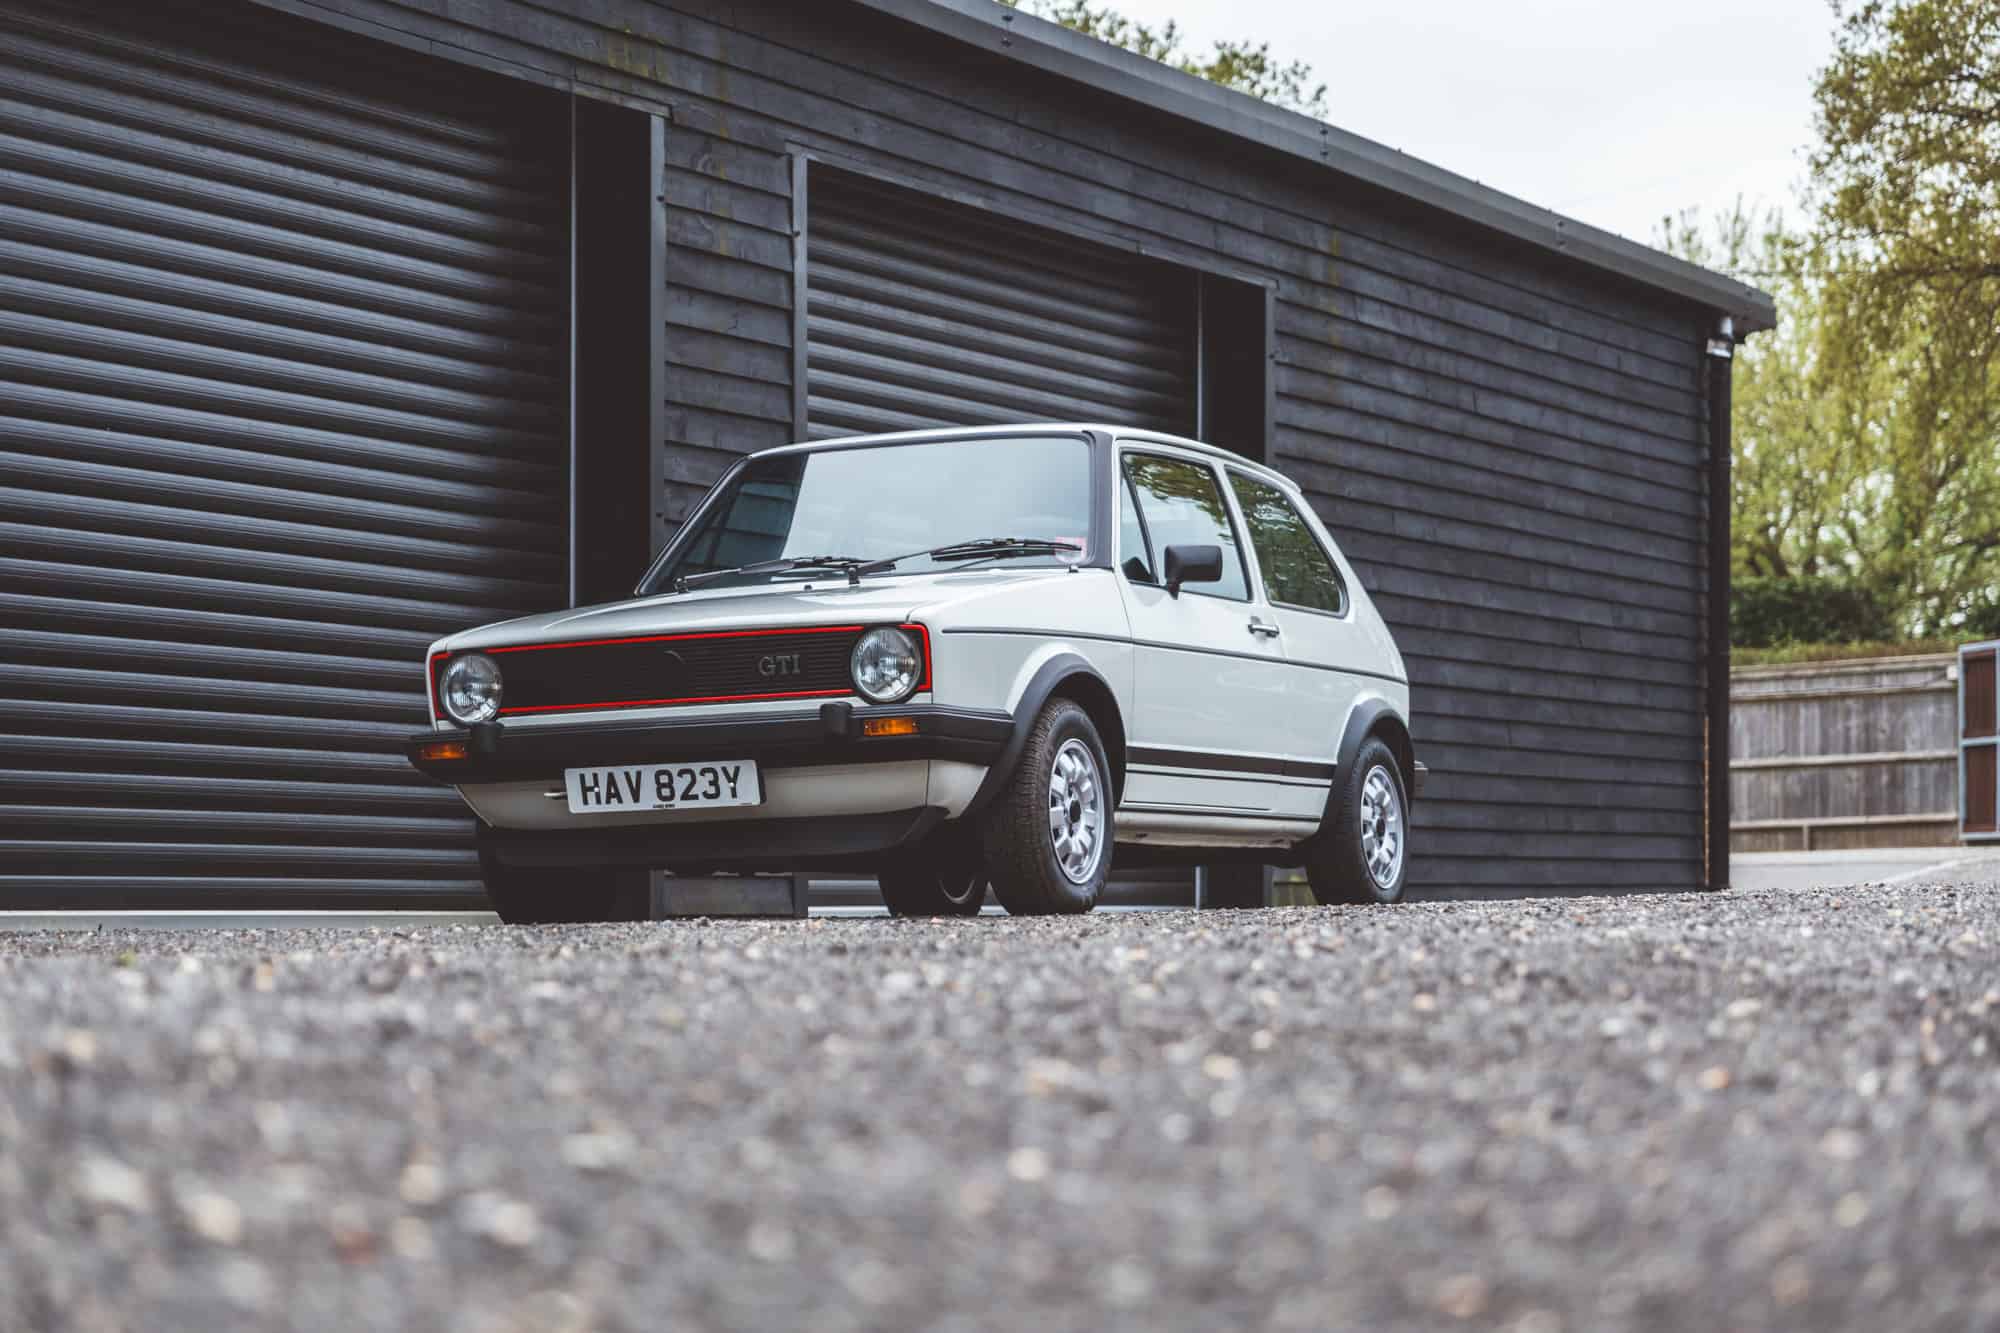

Resurrecting an Icon | Volkswagen Golf GTI MK2
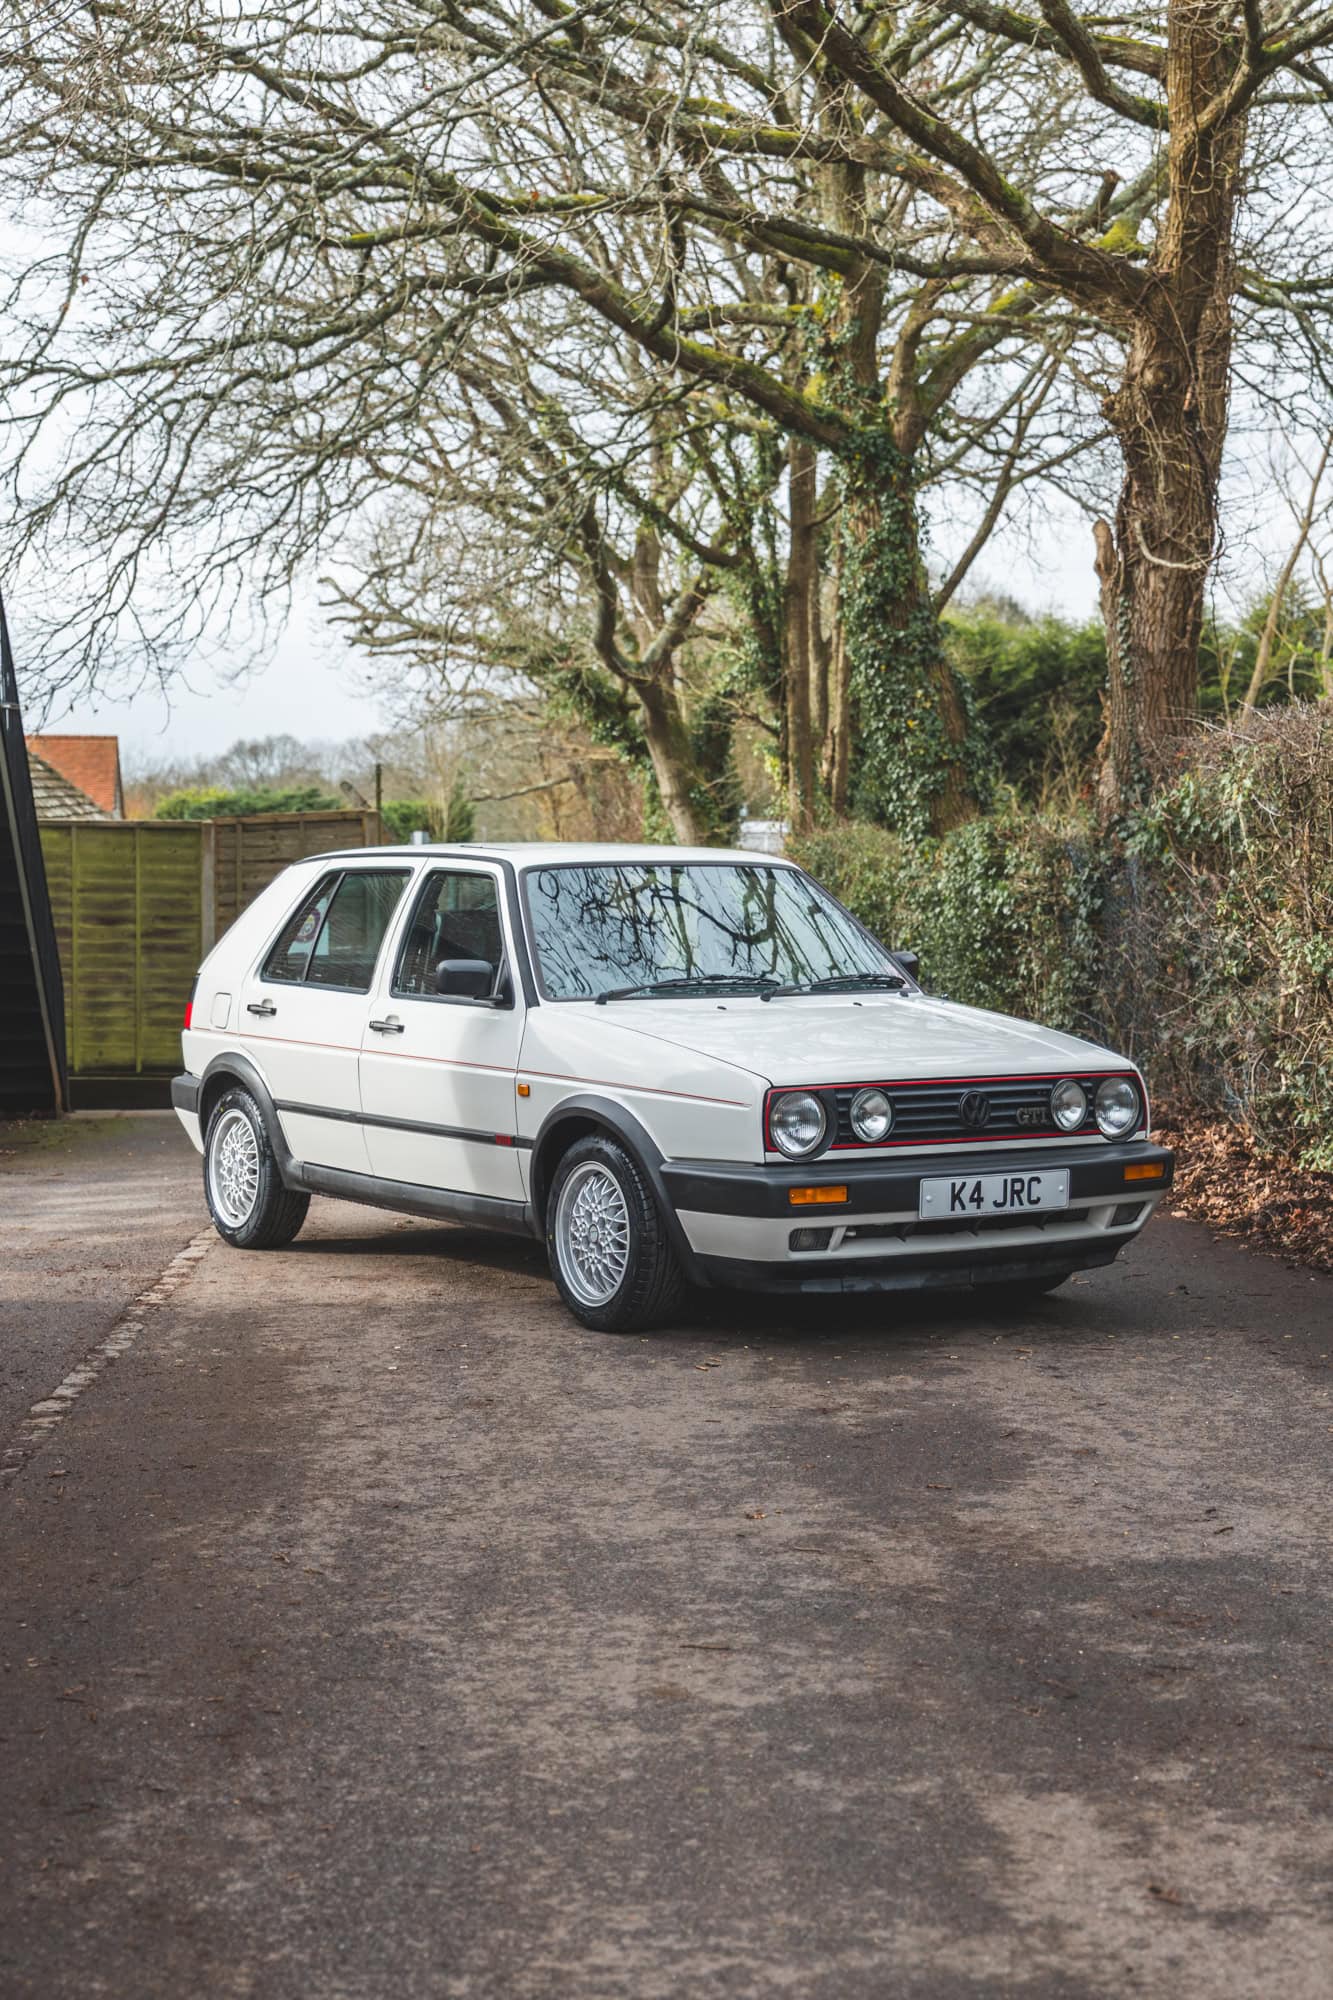
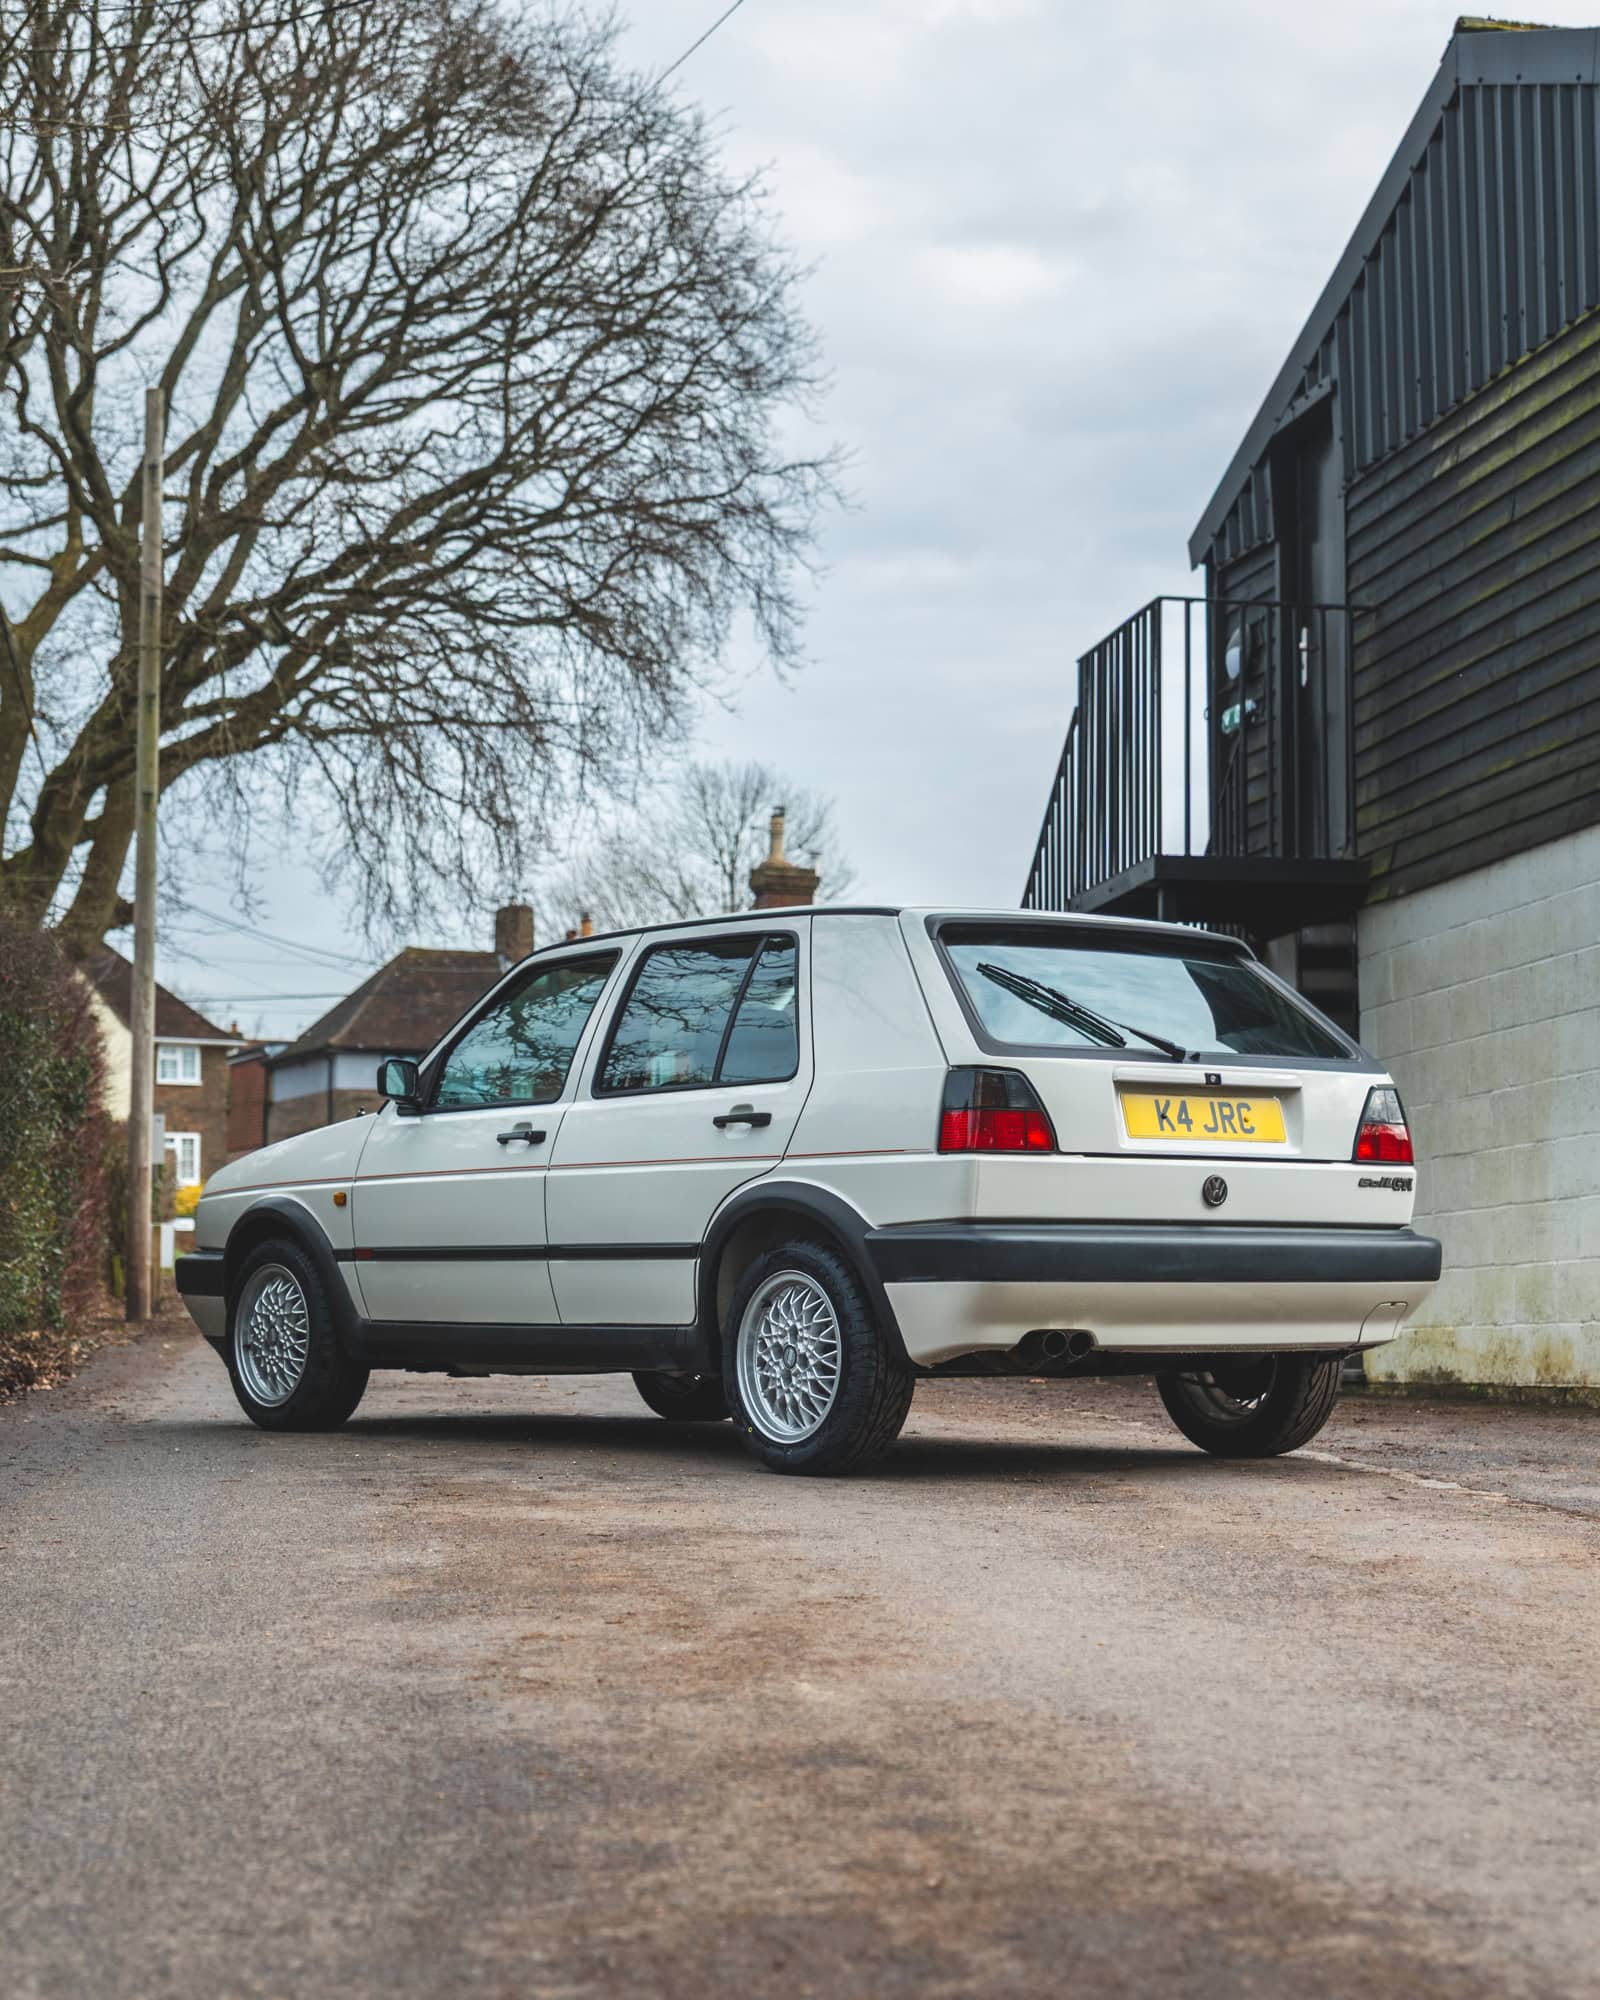
Those who have visited us in the last few years may recognise the Golf GTI in this article. Tucked in the corner of our yard, it waited, patiently, for its time. With only 6,900 miles on the clock, this incredible body shell was due for a come back. After many years in automotive purgatory, the green light was given by the owner to list the GTI for sale. Hot-hatches of this calibre come along once in a blue moon and the GTI was promptly purchased by our good friend Chris.
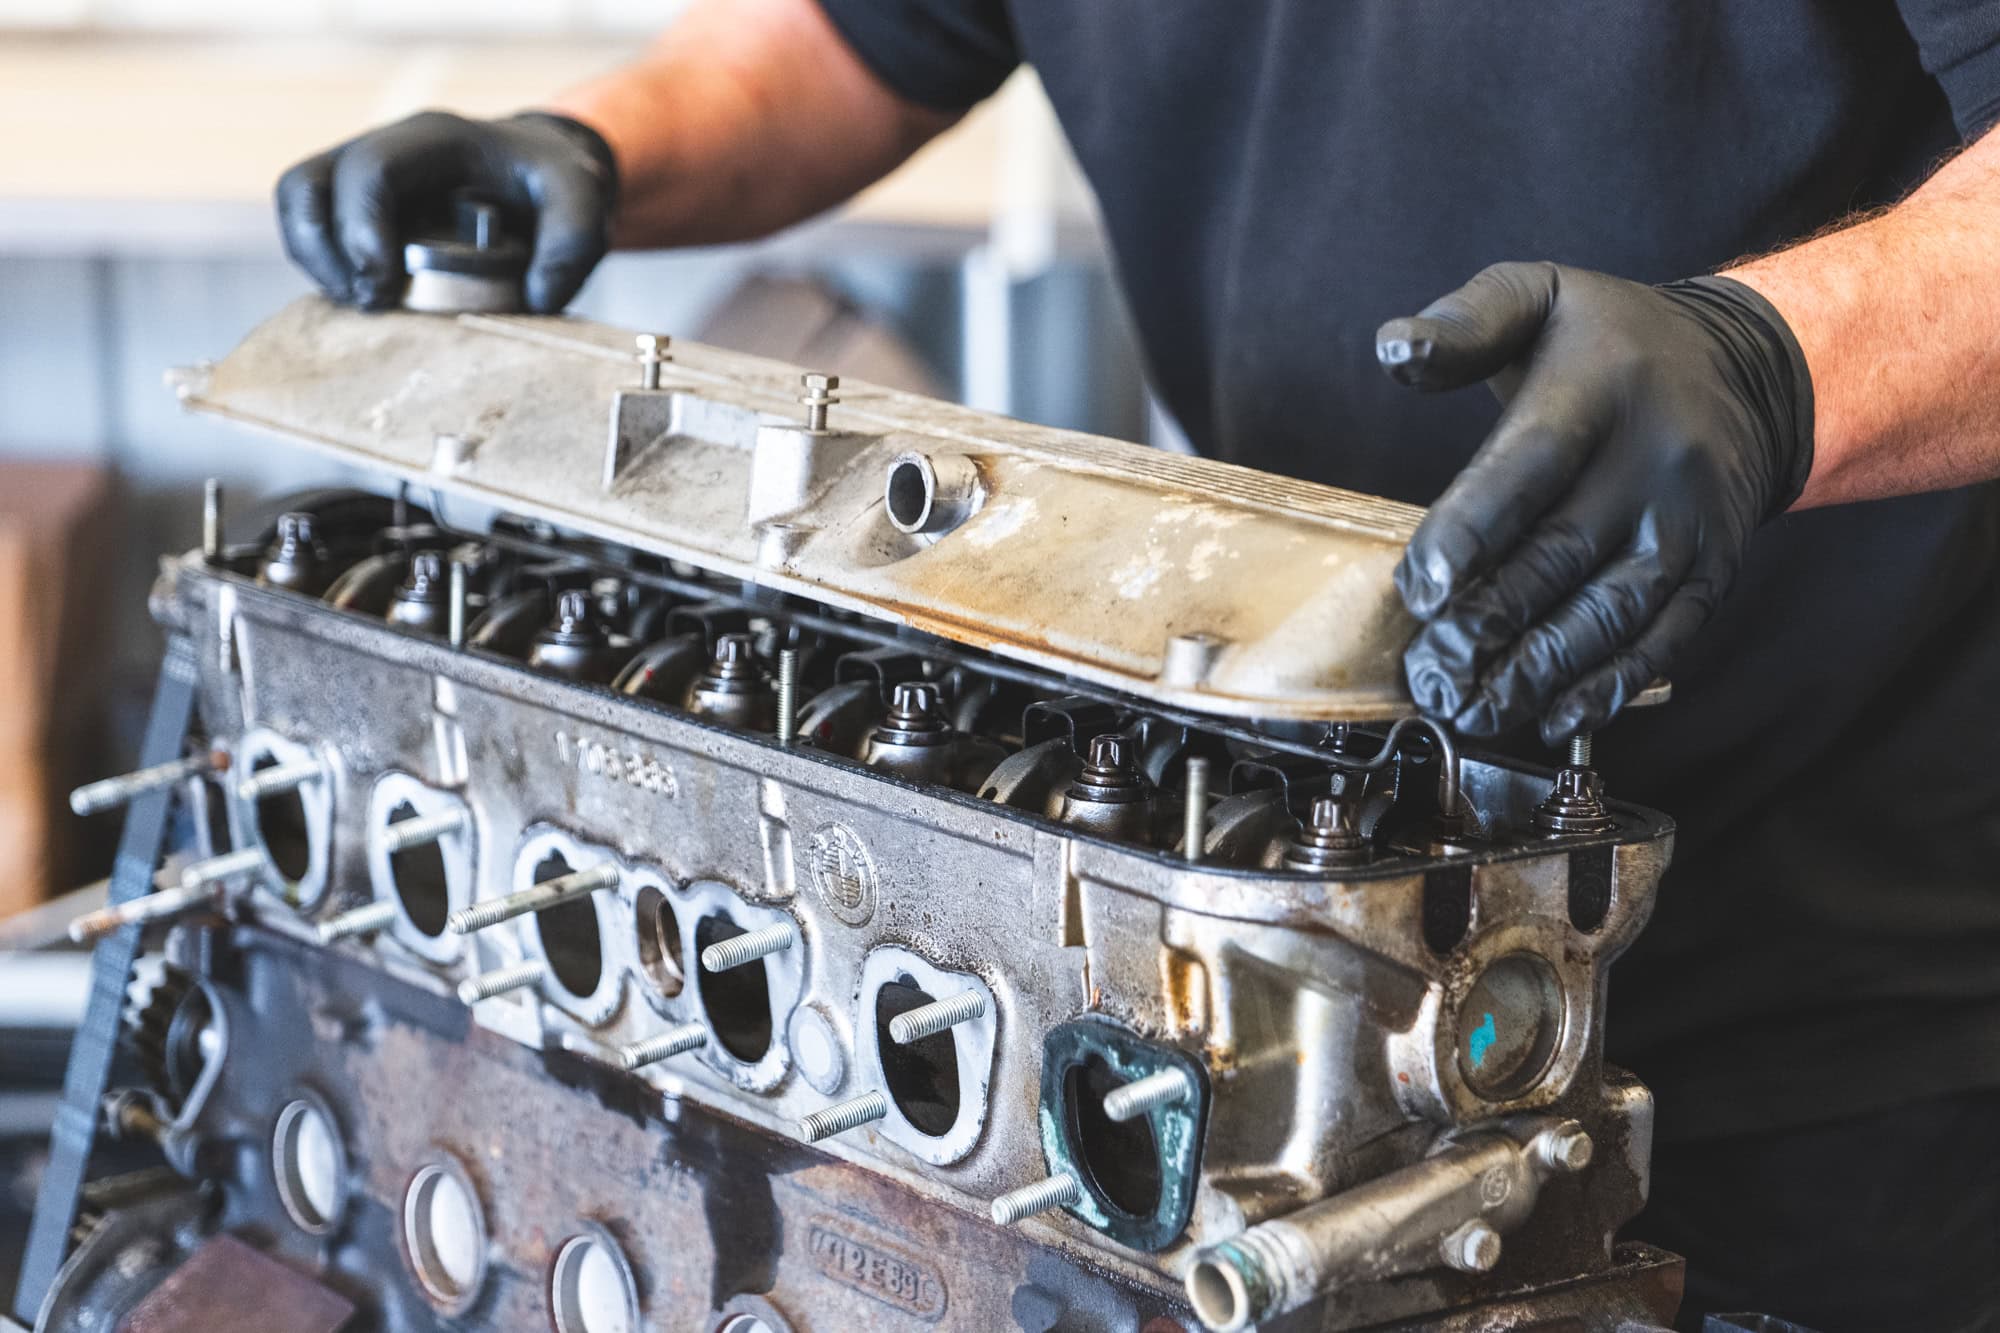
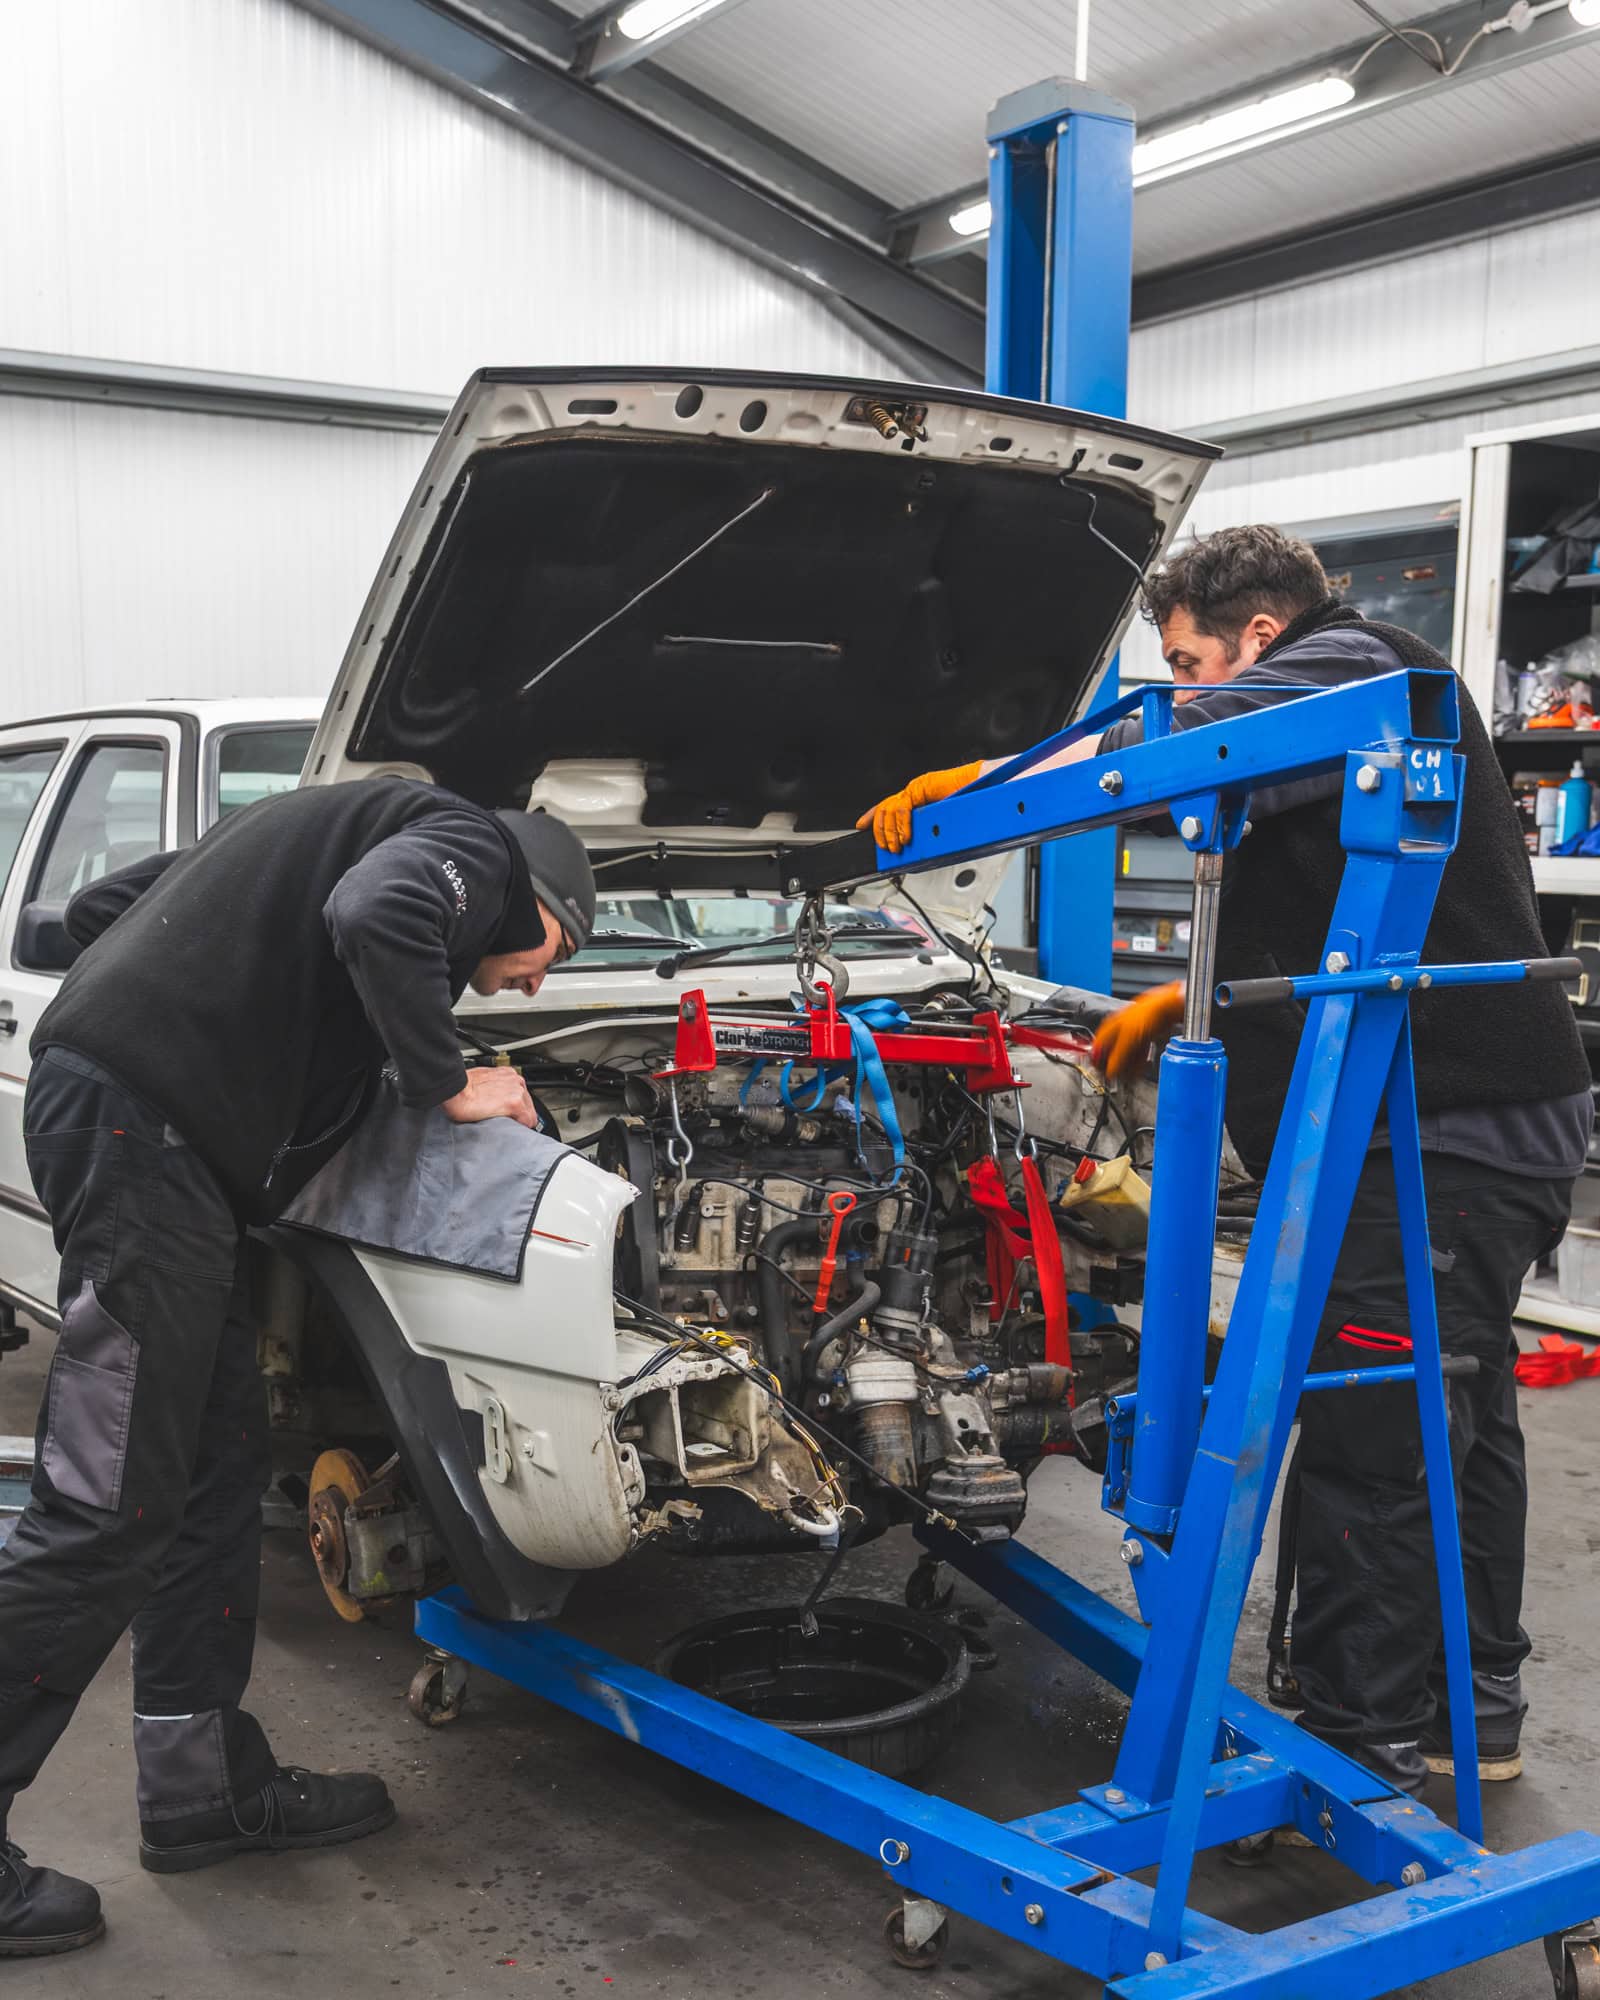
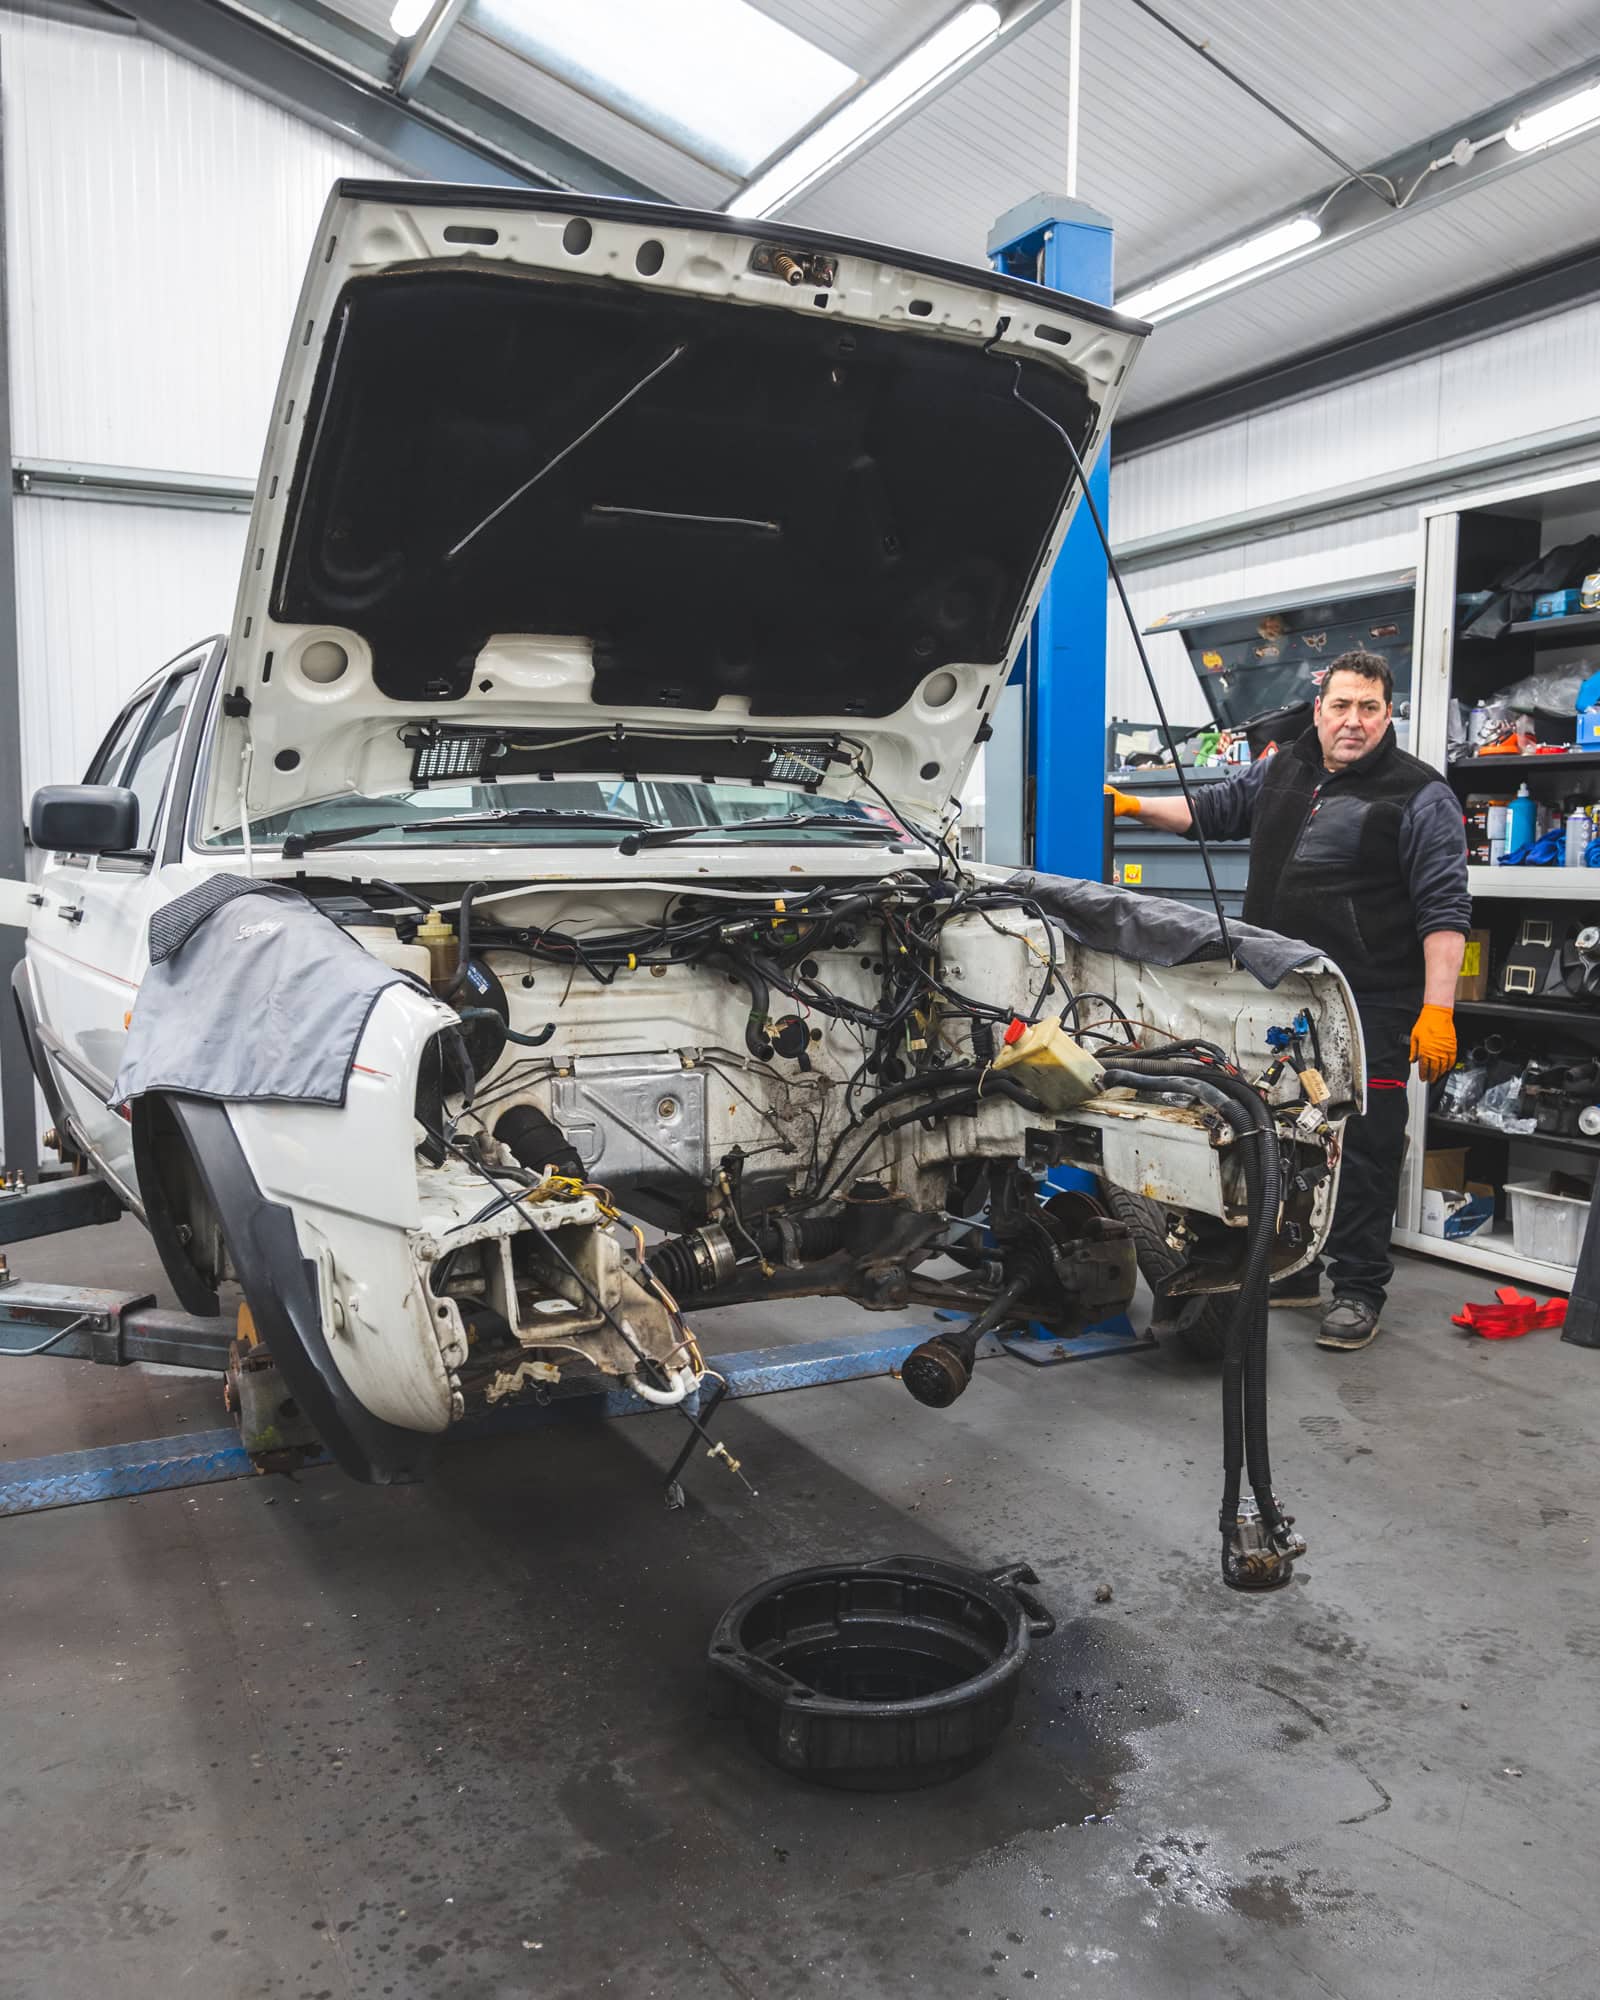
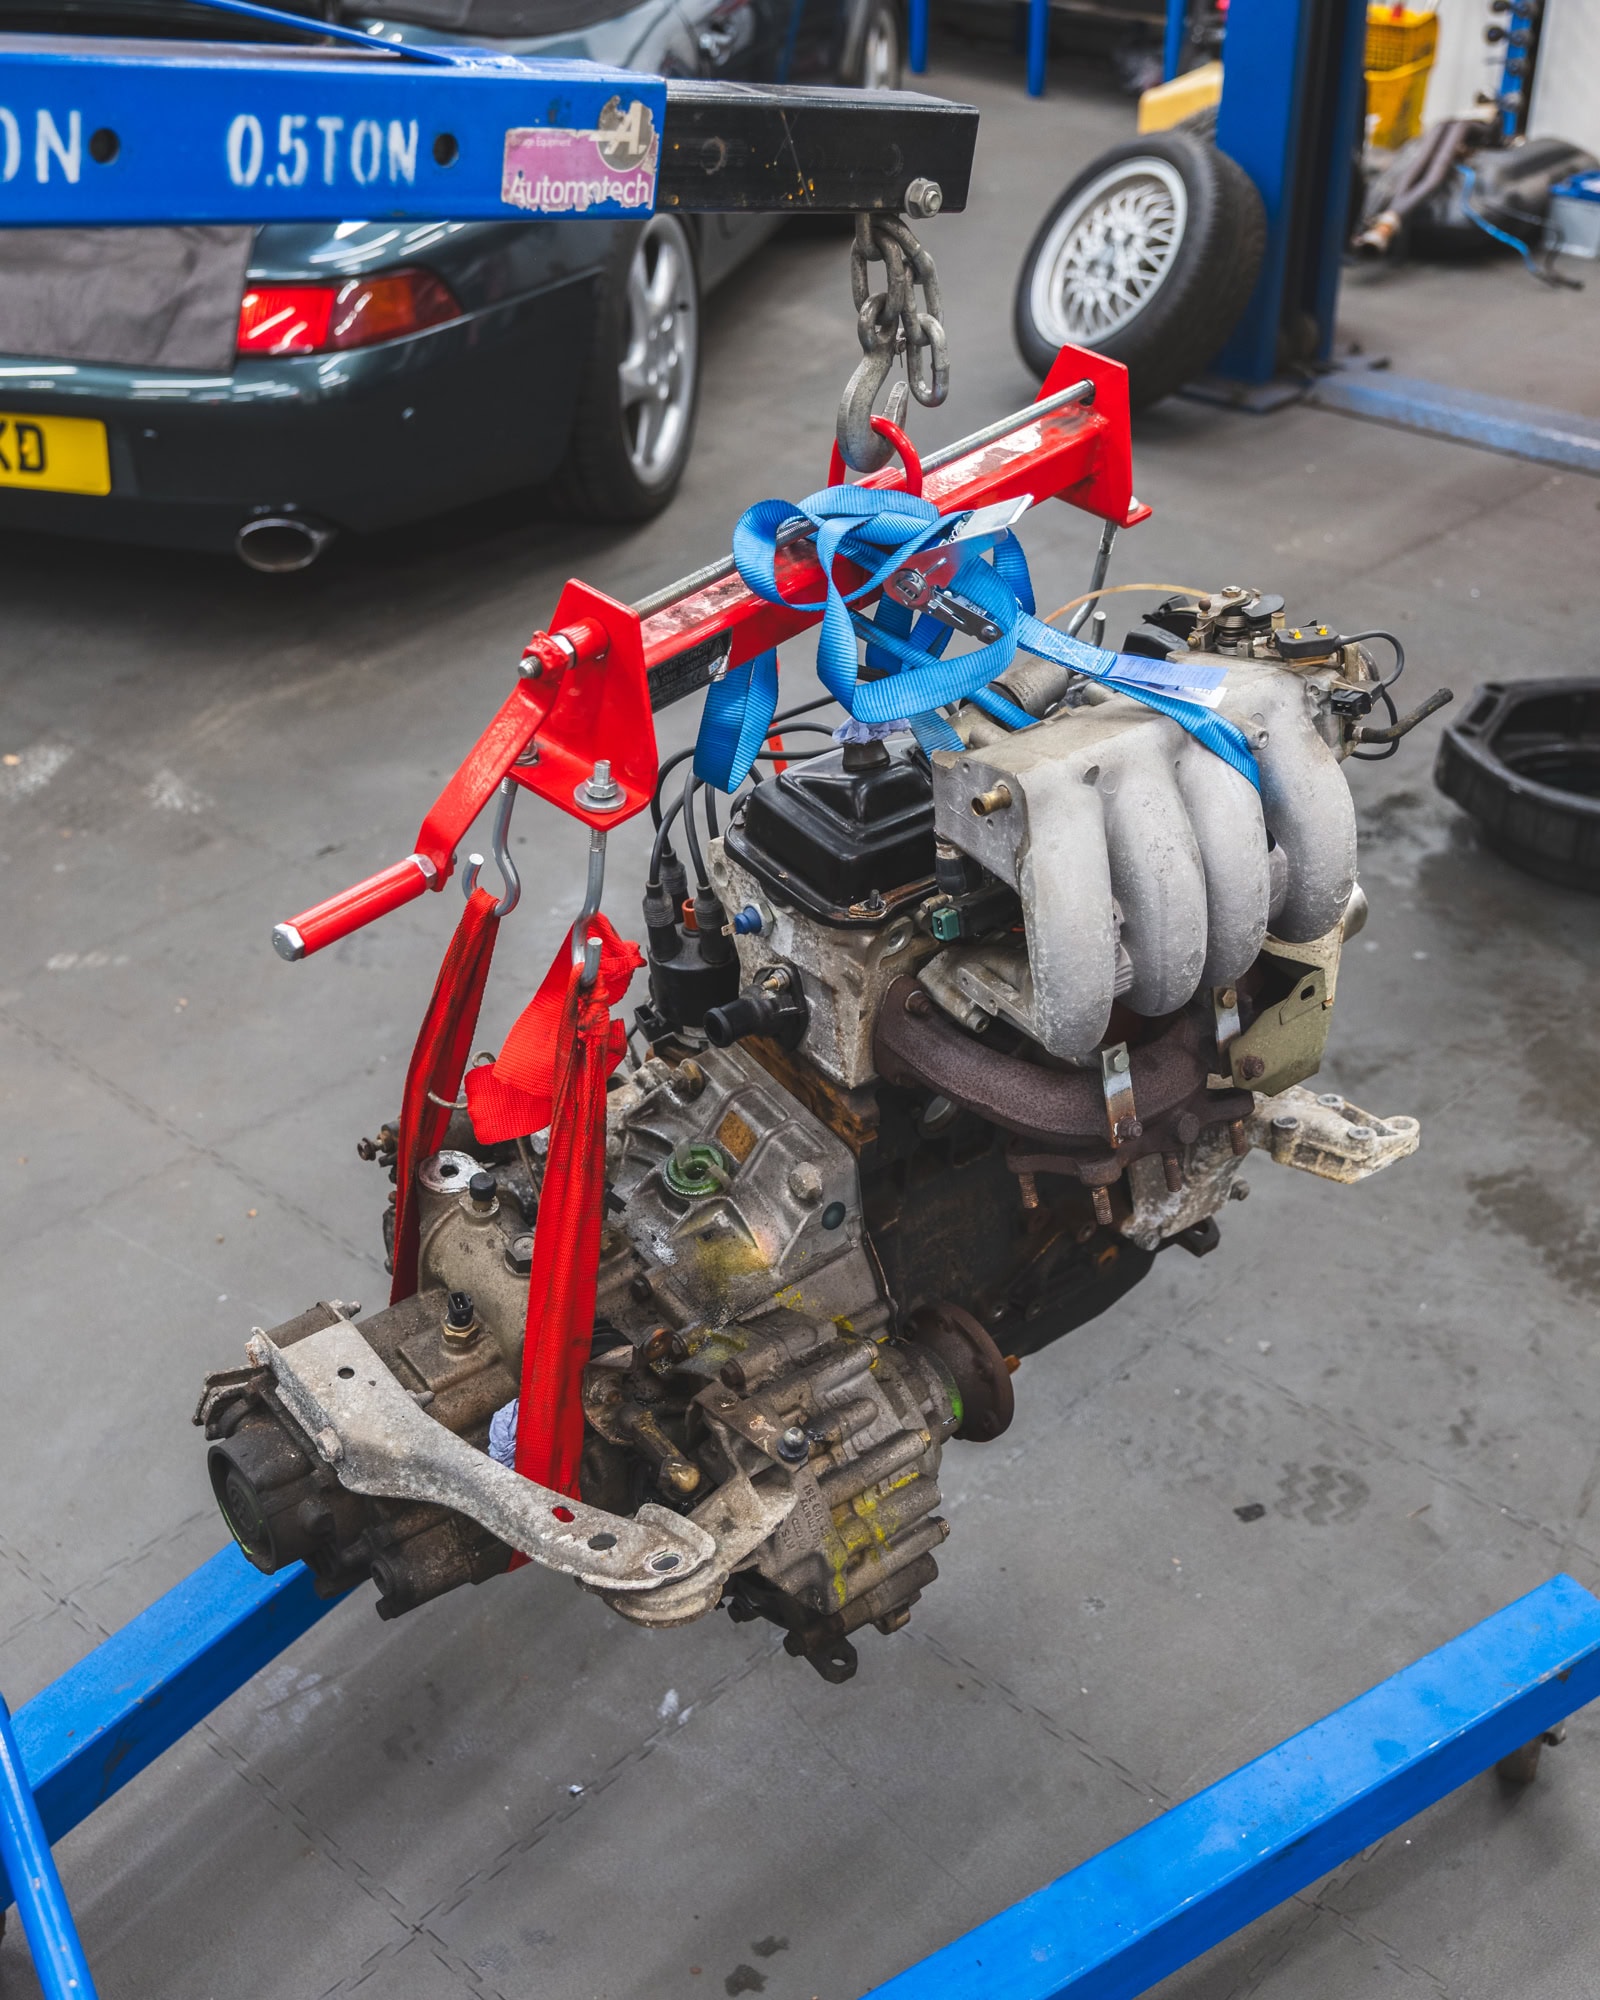
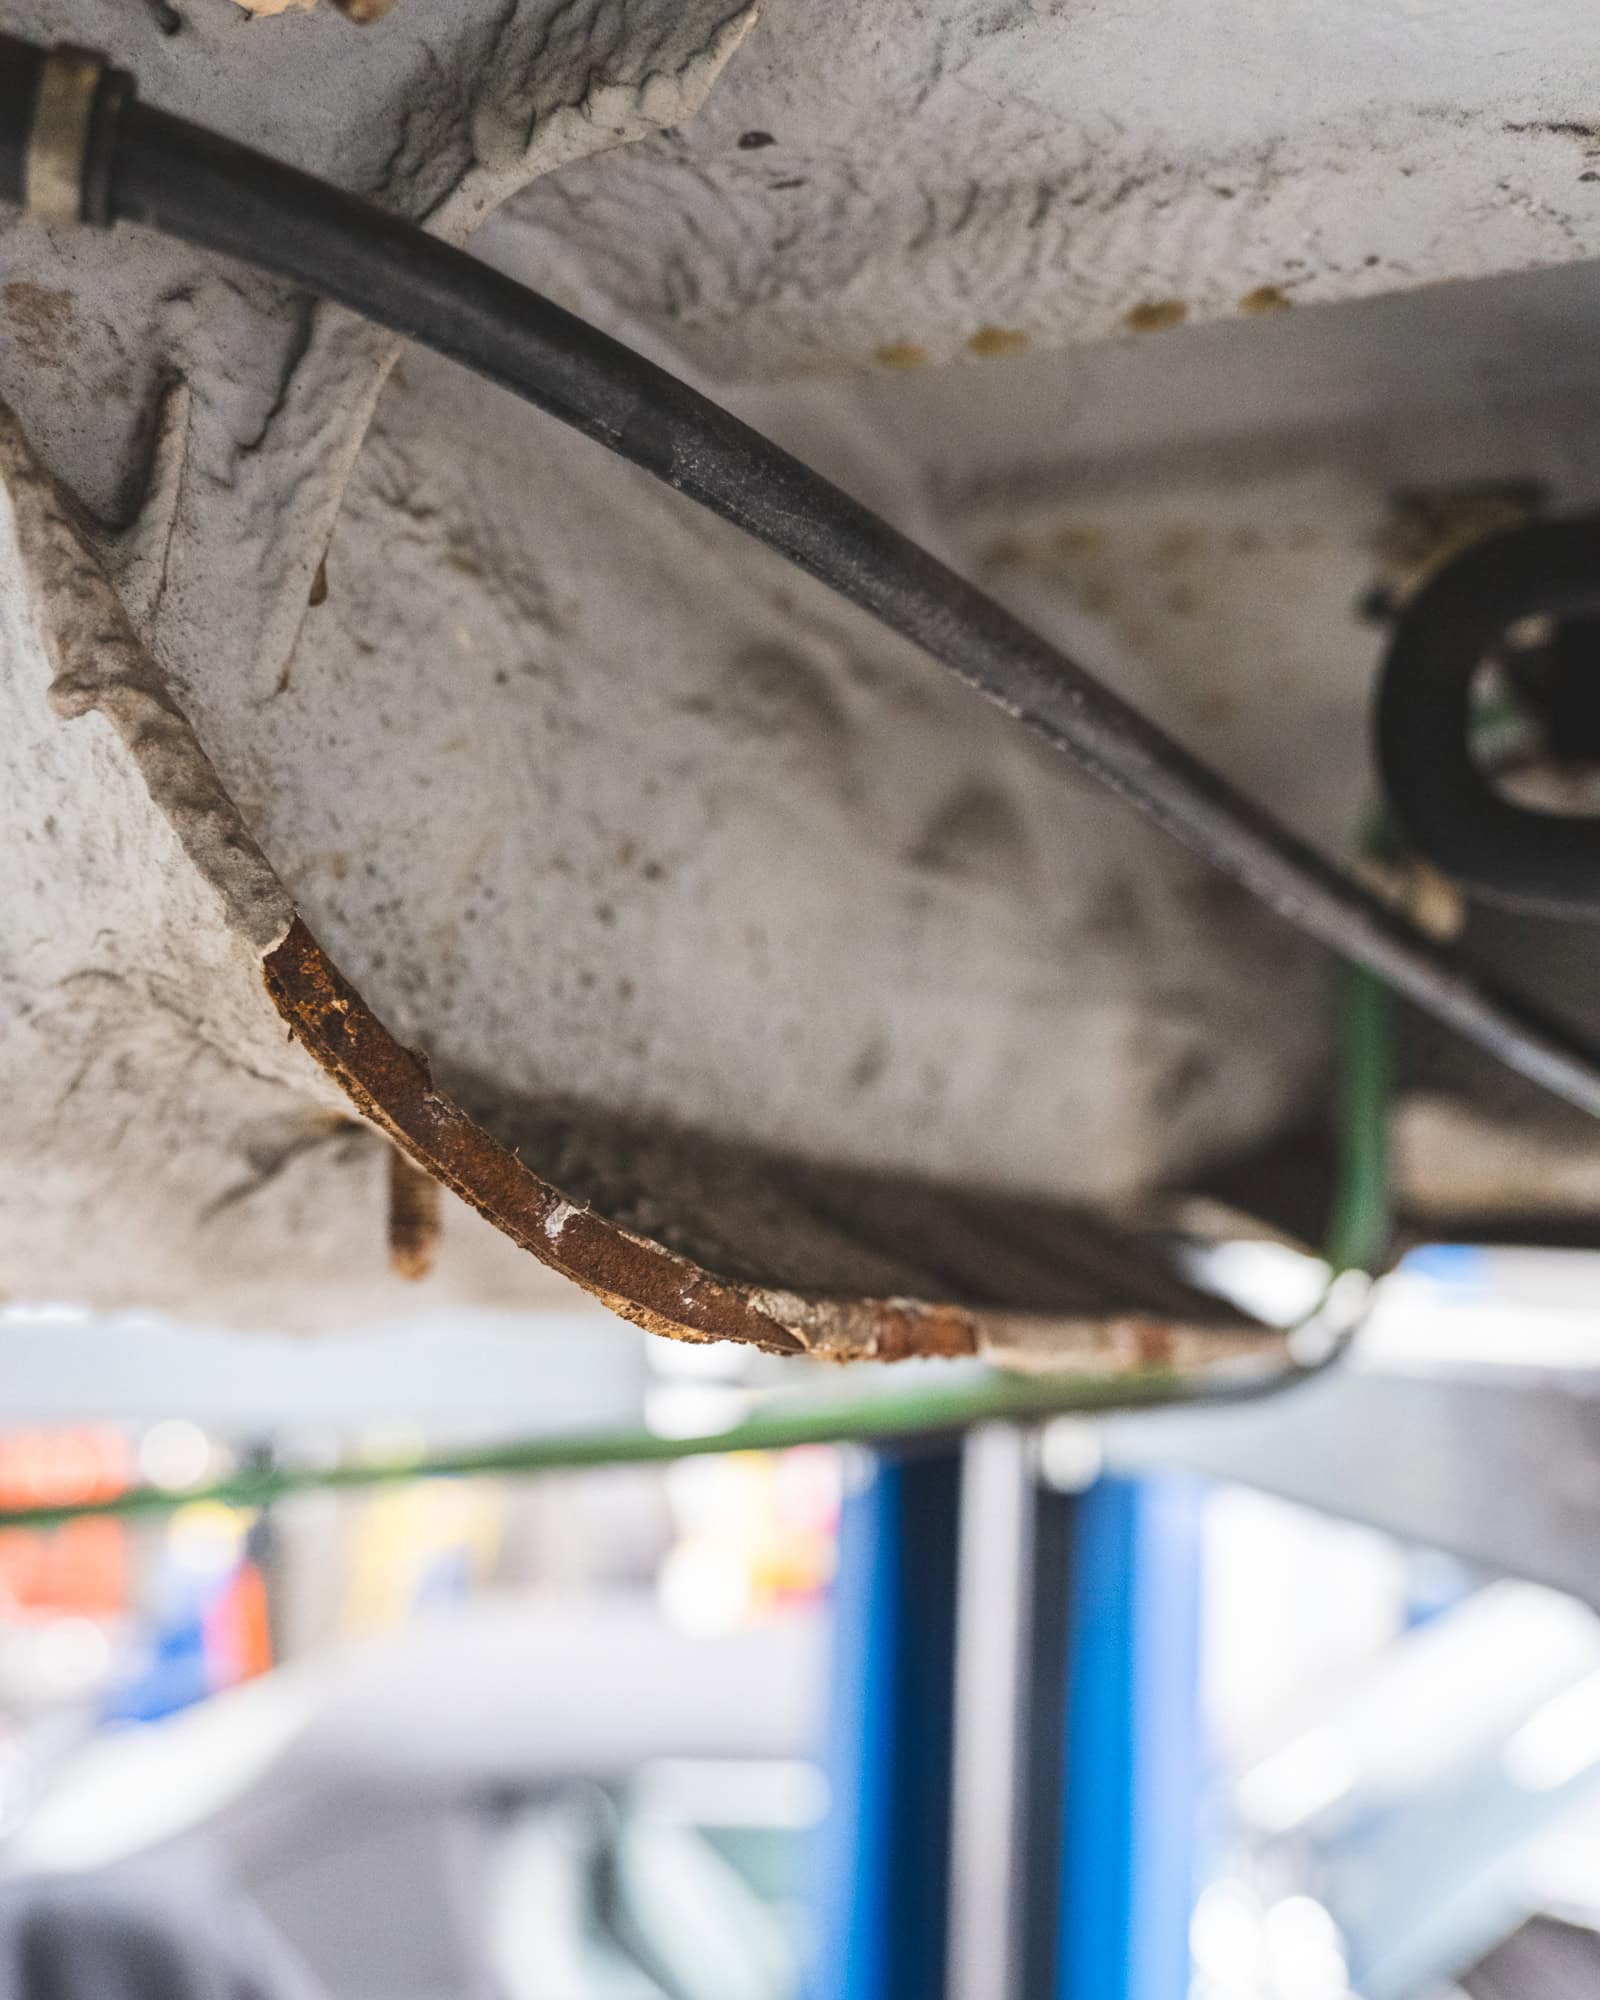
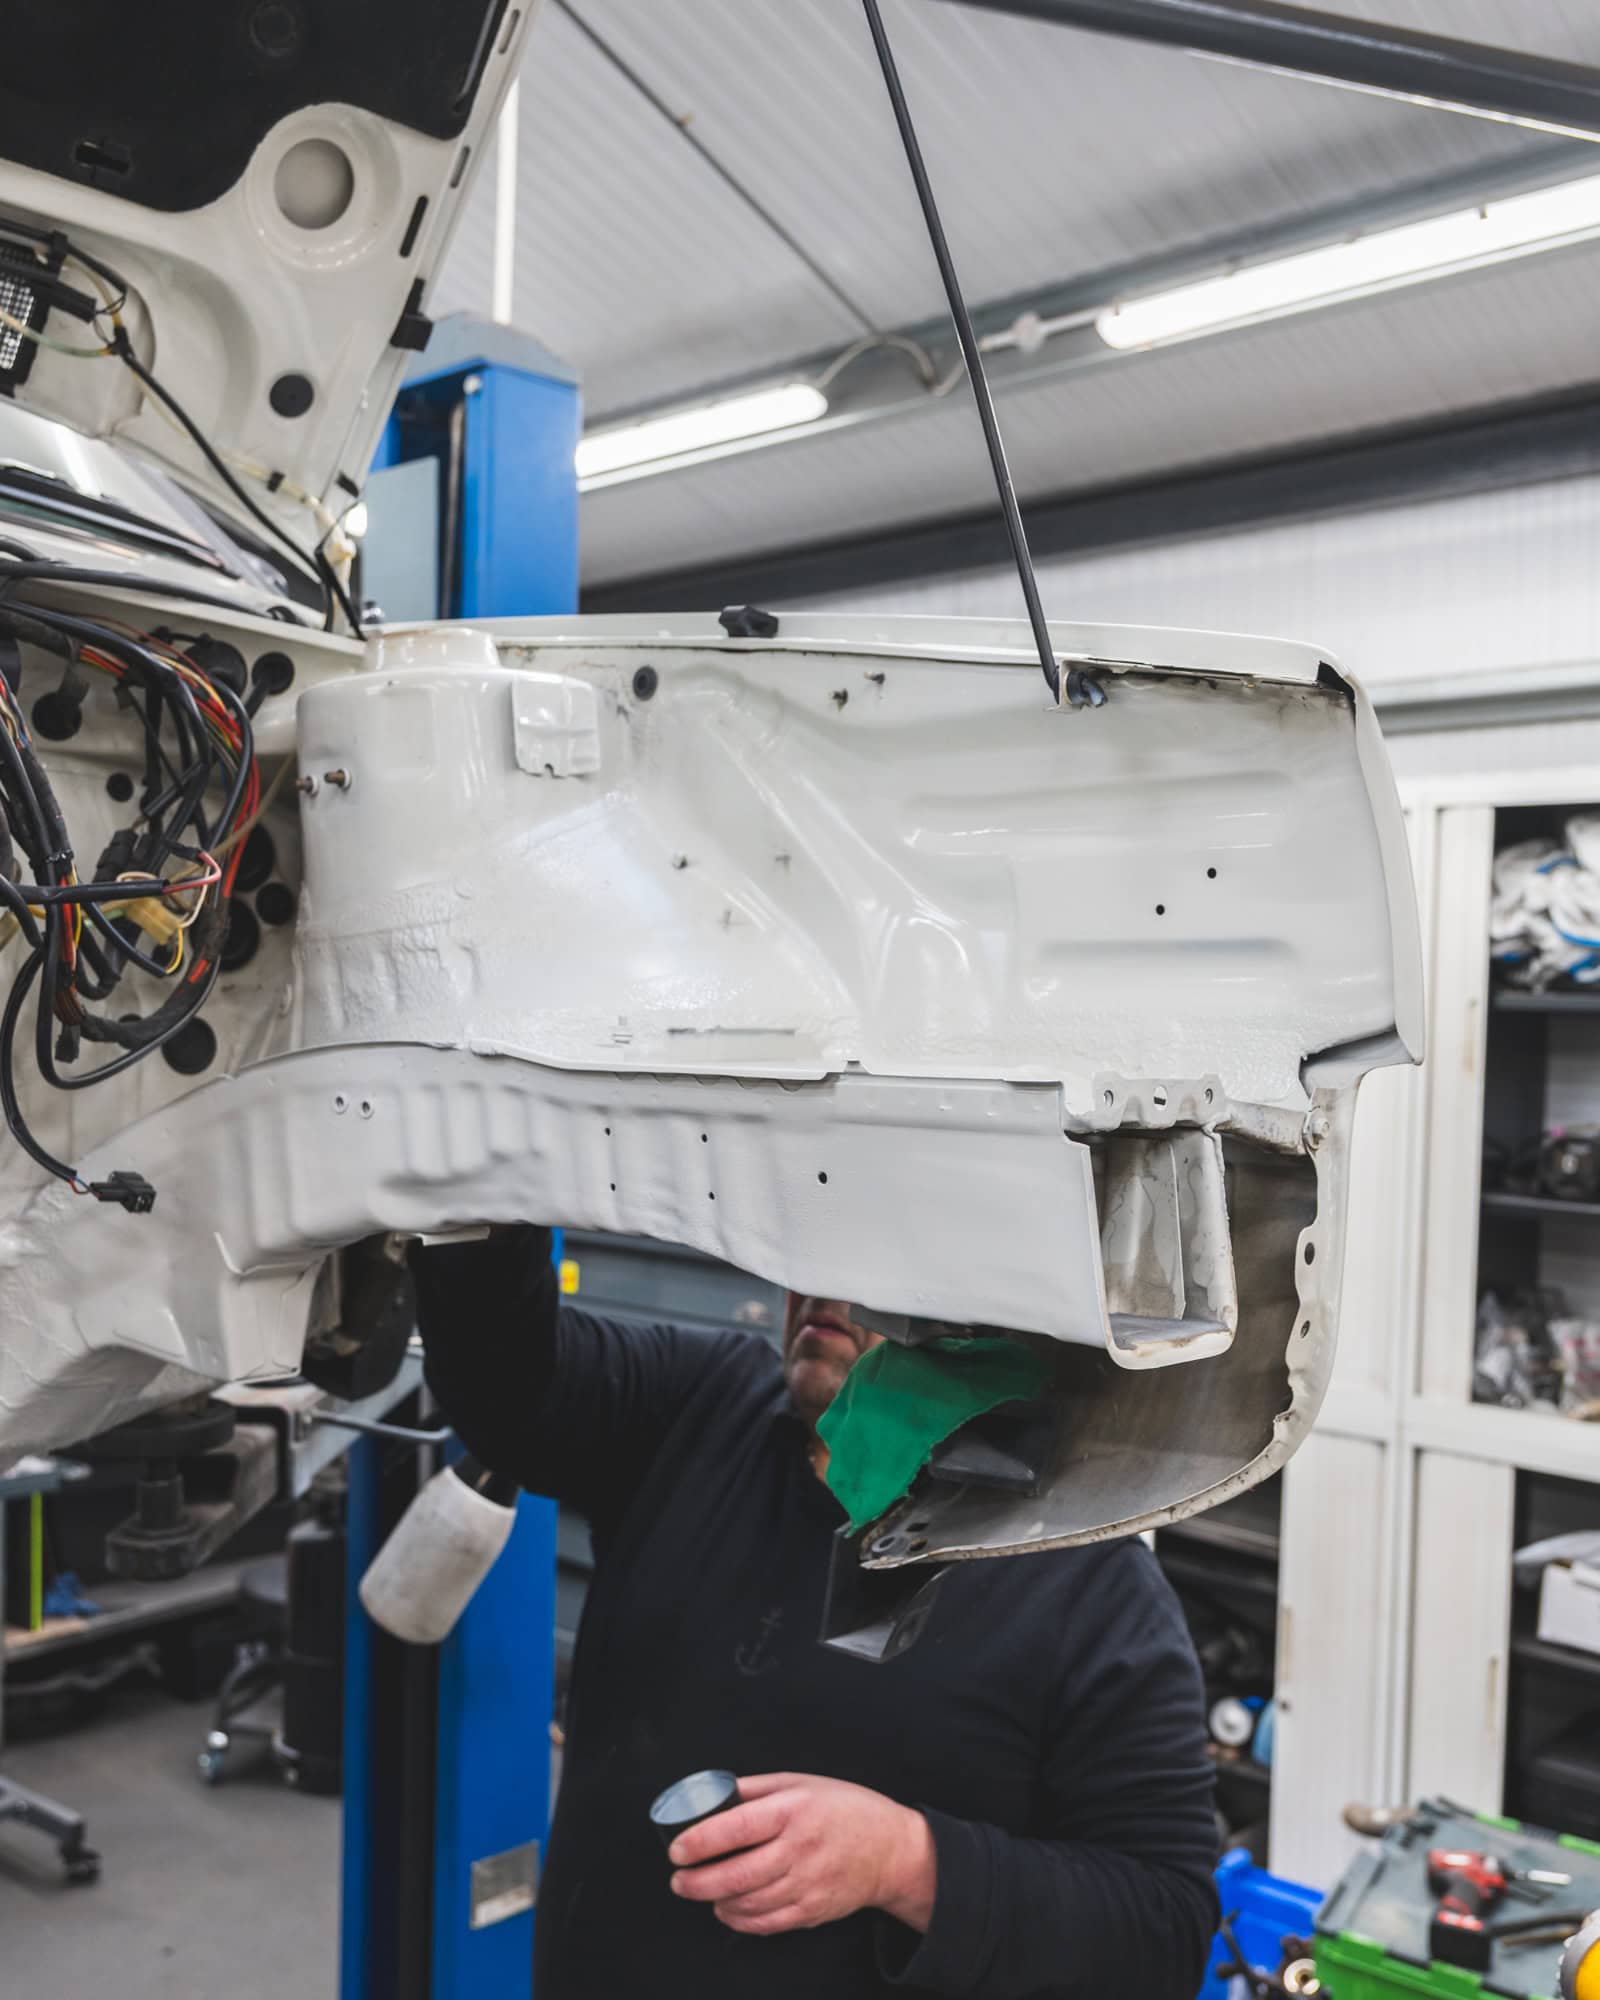
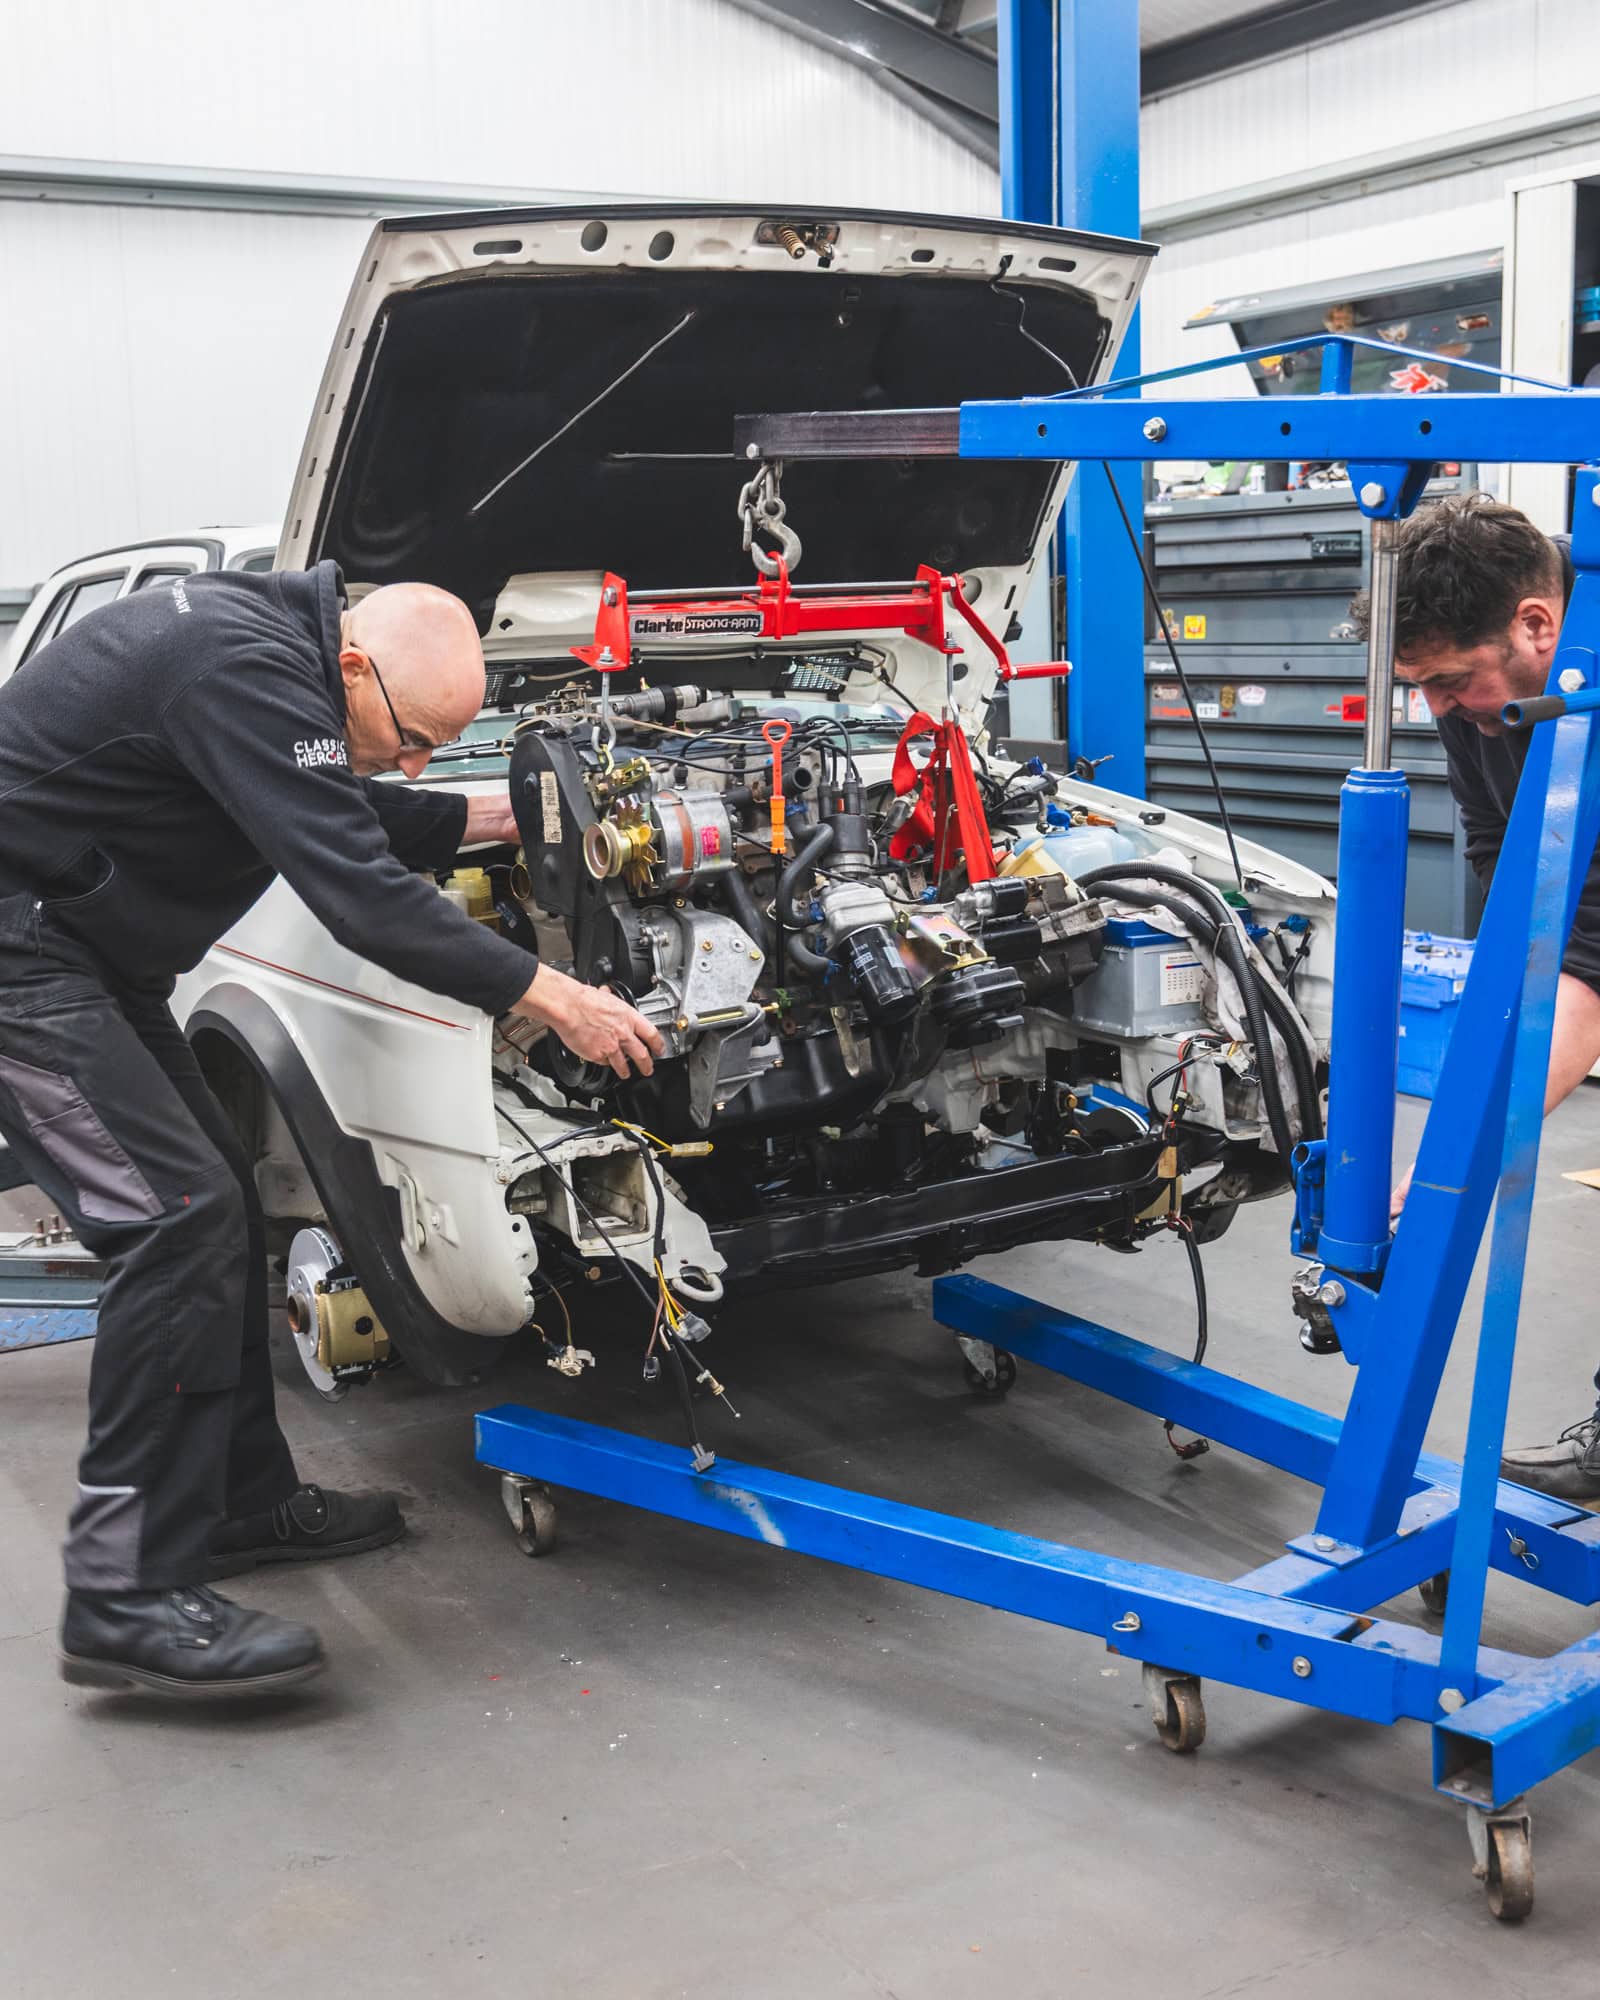
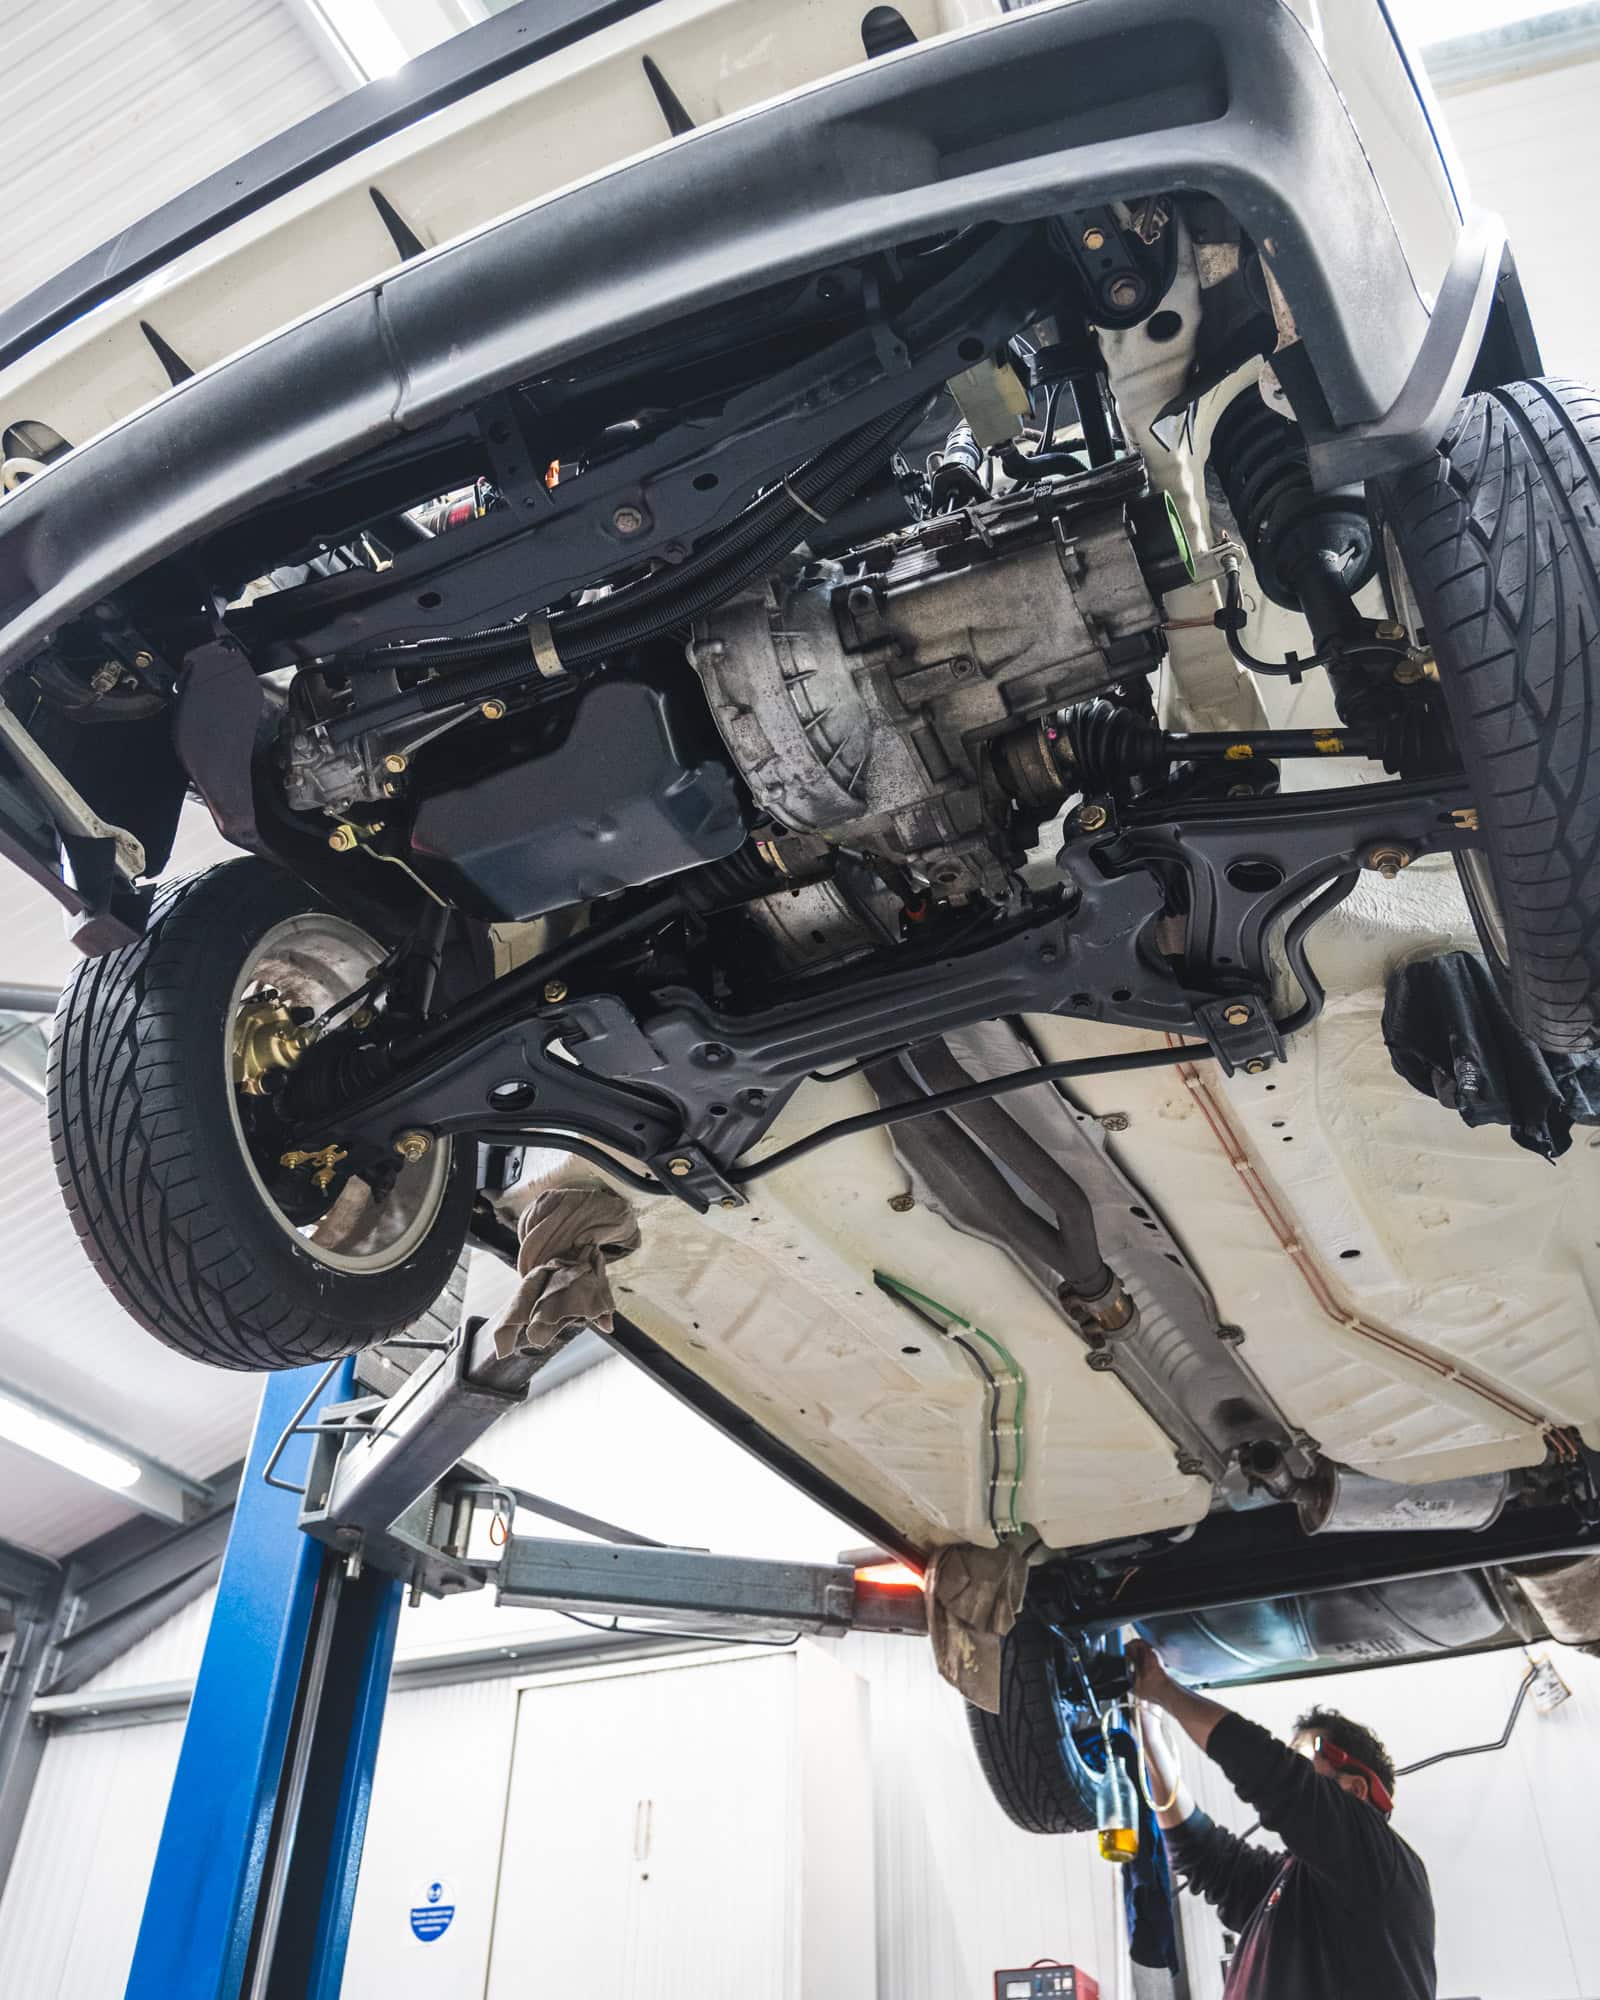
Whilst the shell was in great shape and would have made any MK2 Golf owner dance for joy, that isn’t the Hero Motor Company way. Any 30+ year old car will eventually succumb to the dreaded tin worm and we knew there would be some light surface corrosion to address. Our first job was to pull the engine and set it aside for a light mechanical overhaul of age related items and allow better access to the nooks and crannies of the engine bay.
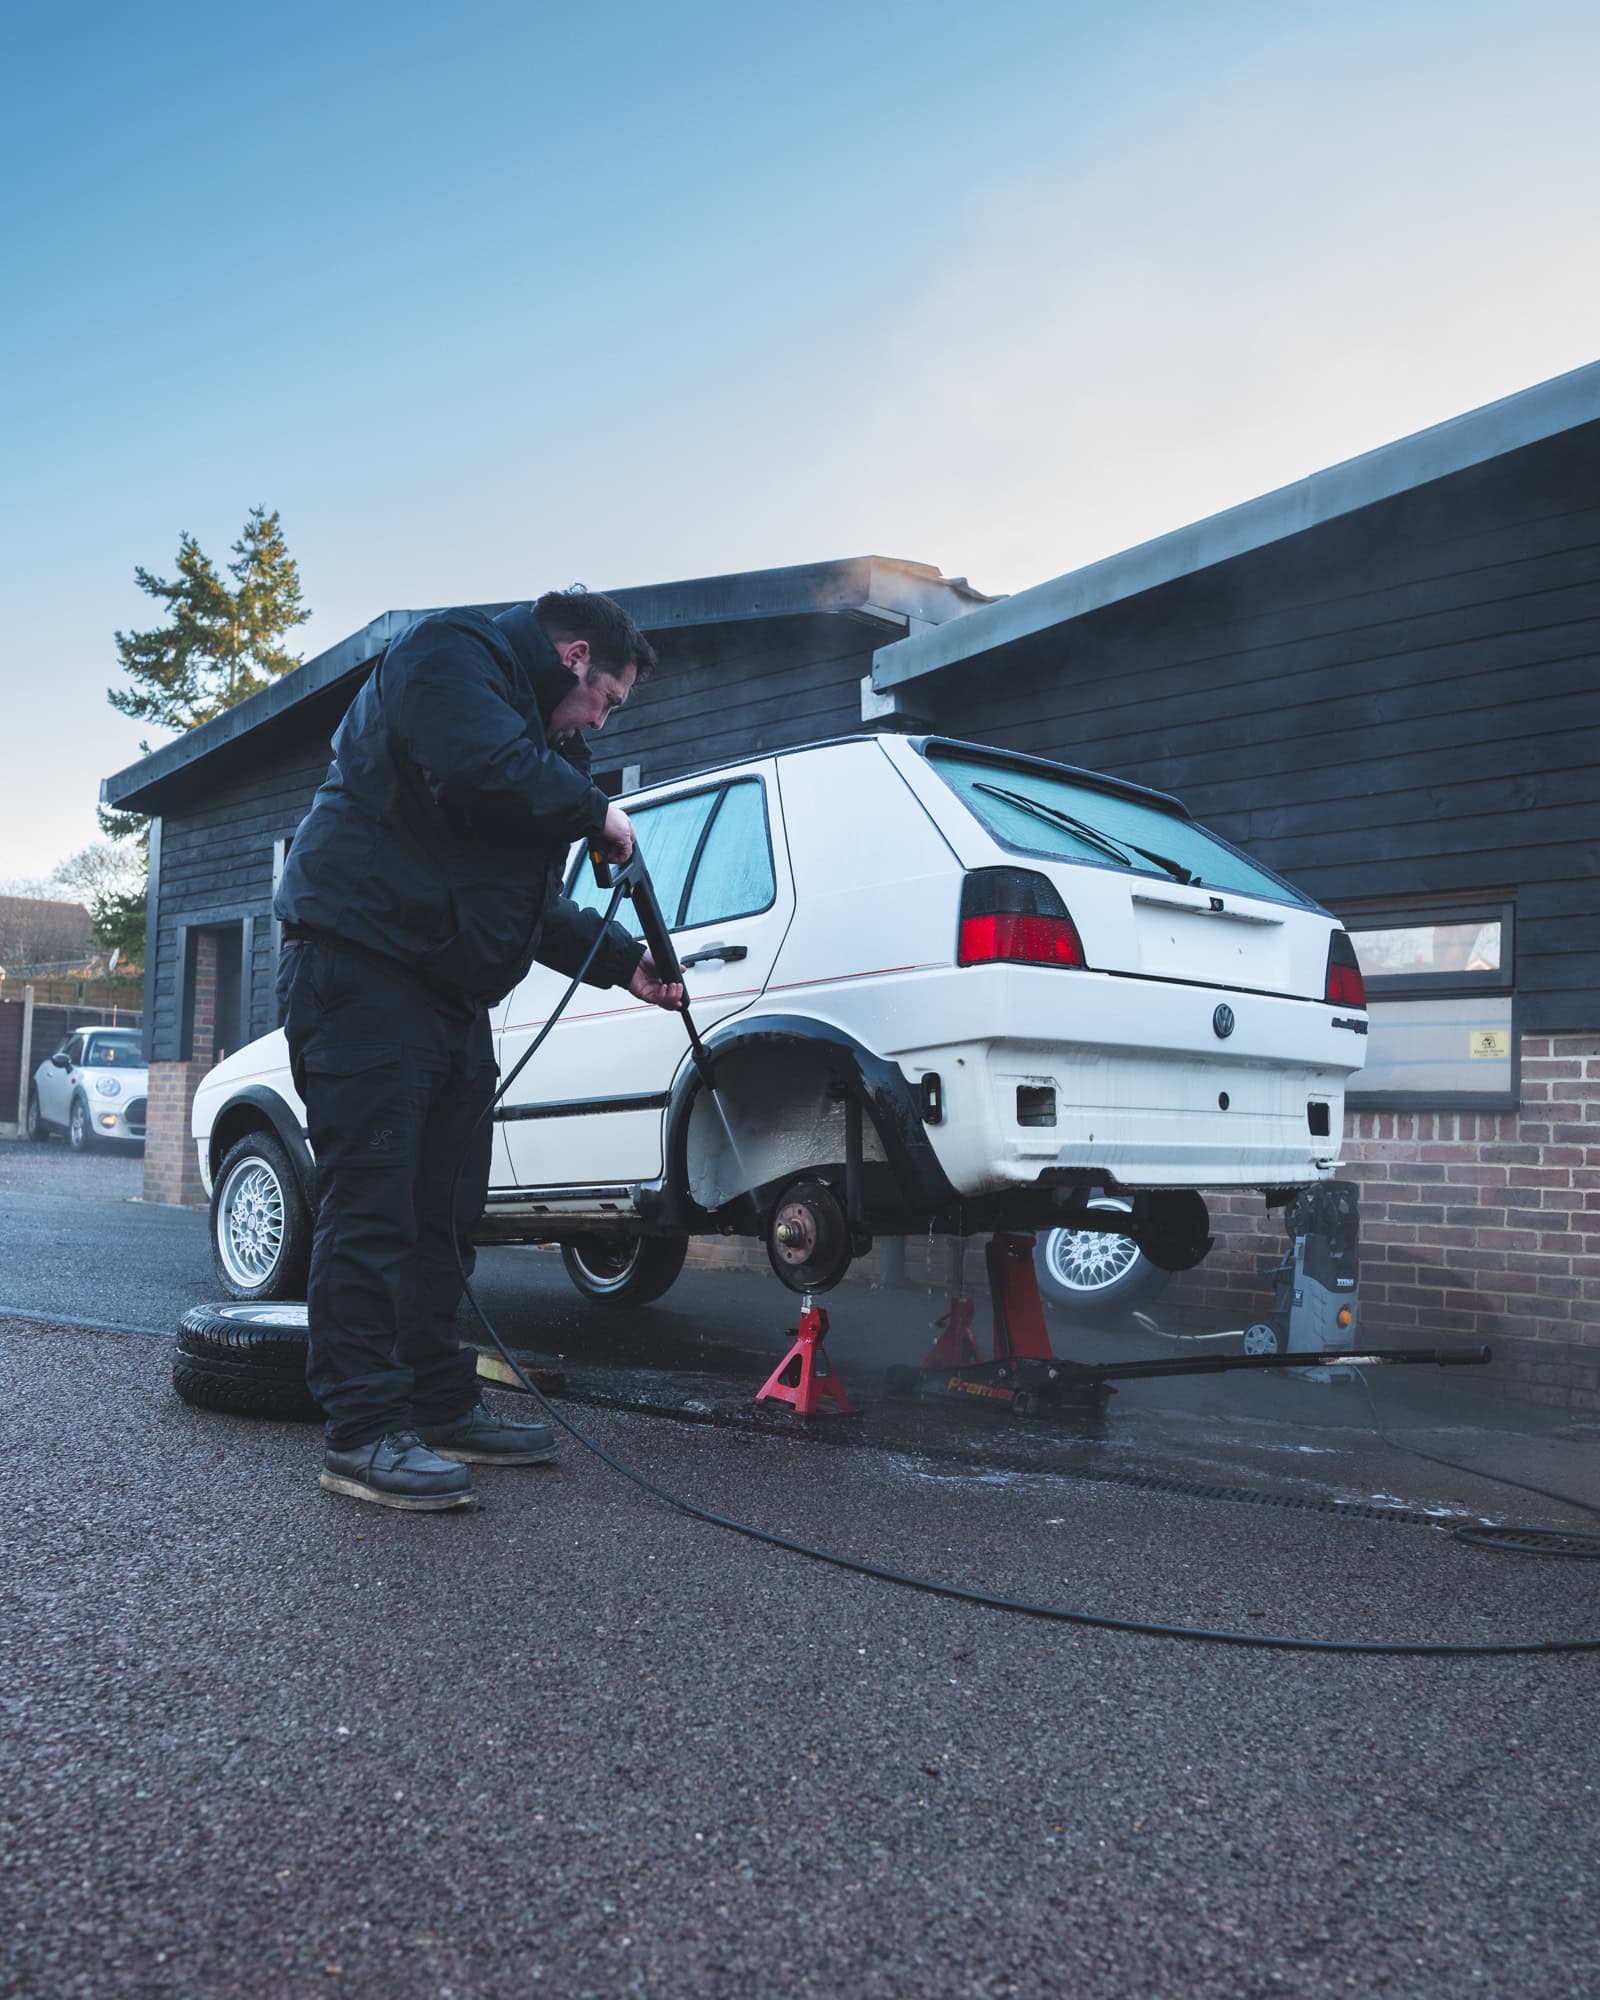
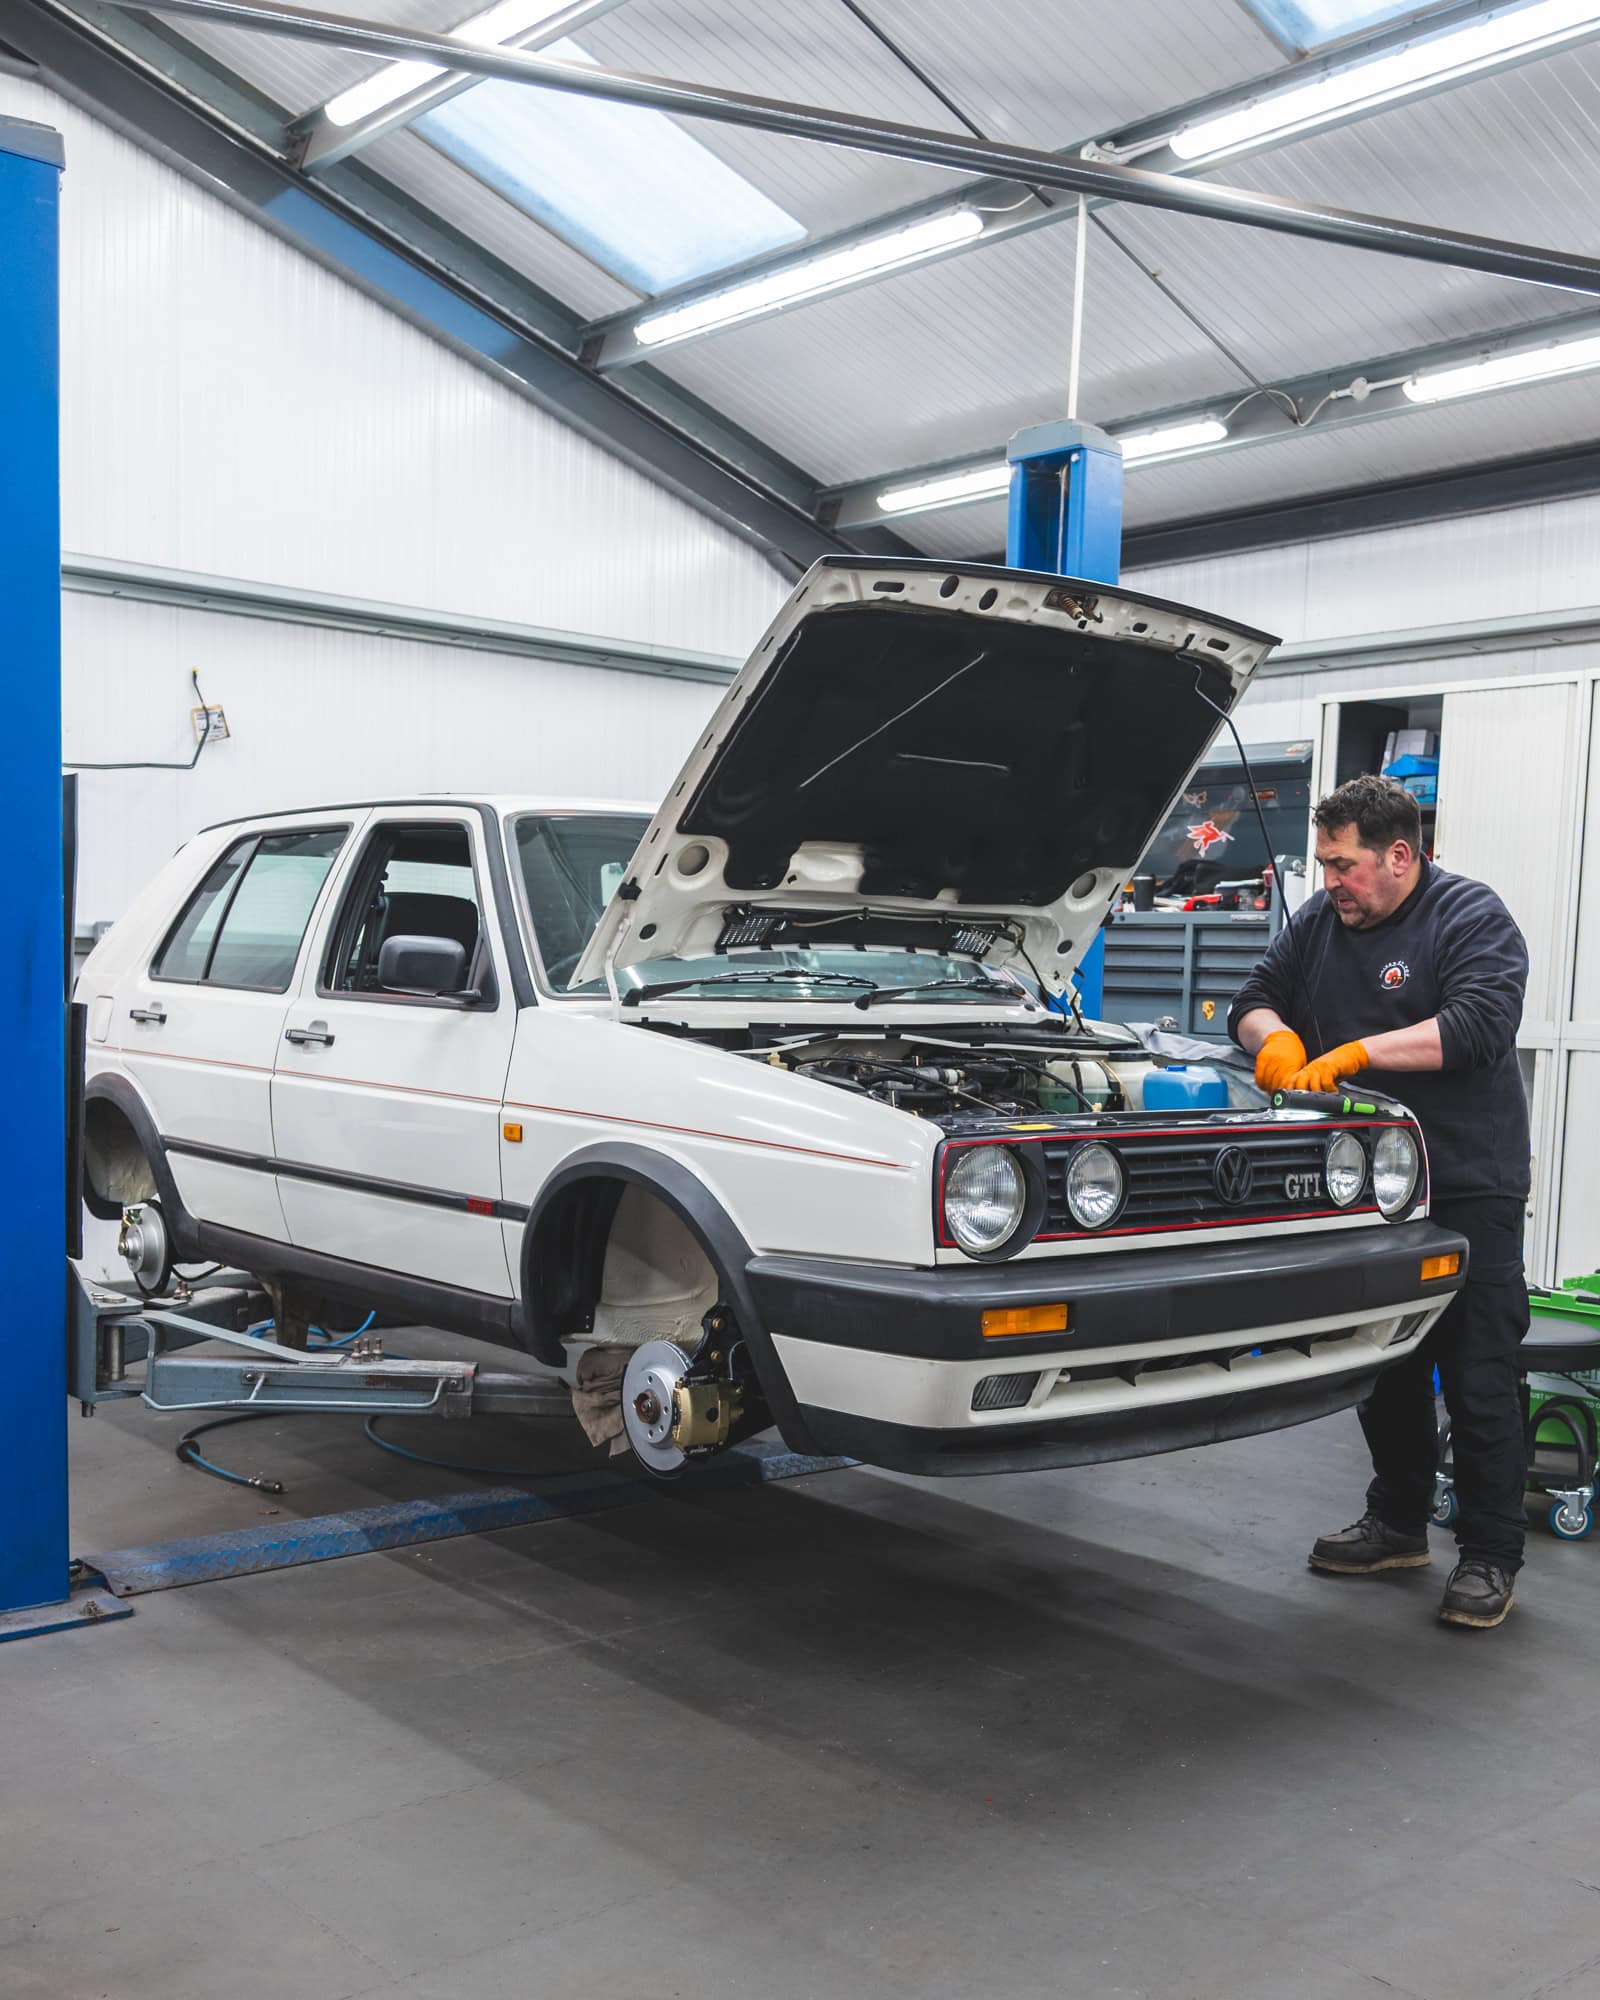
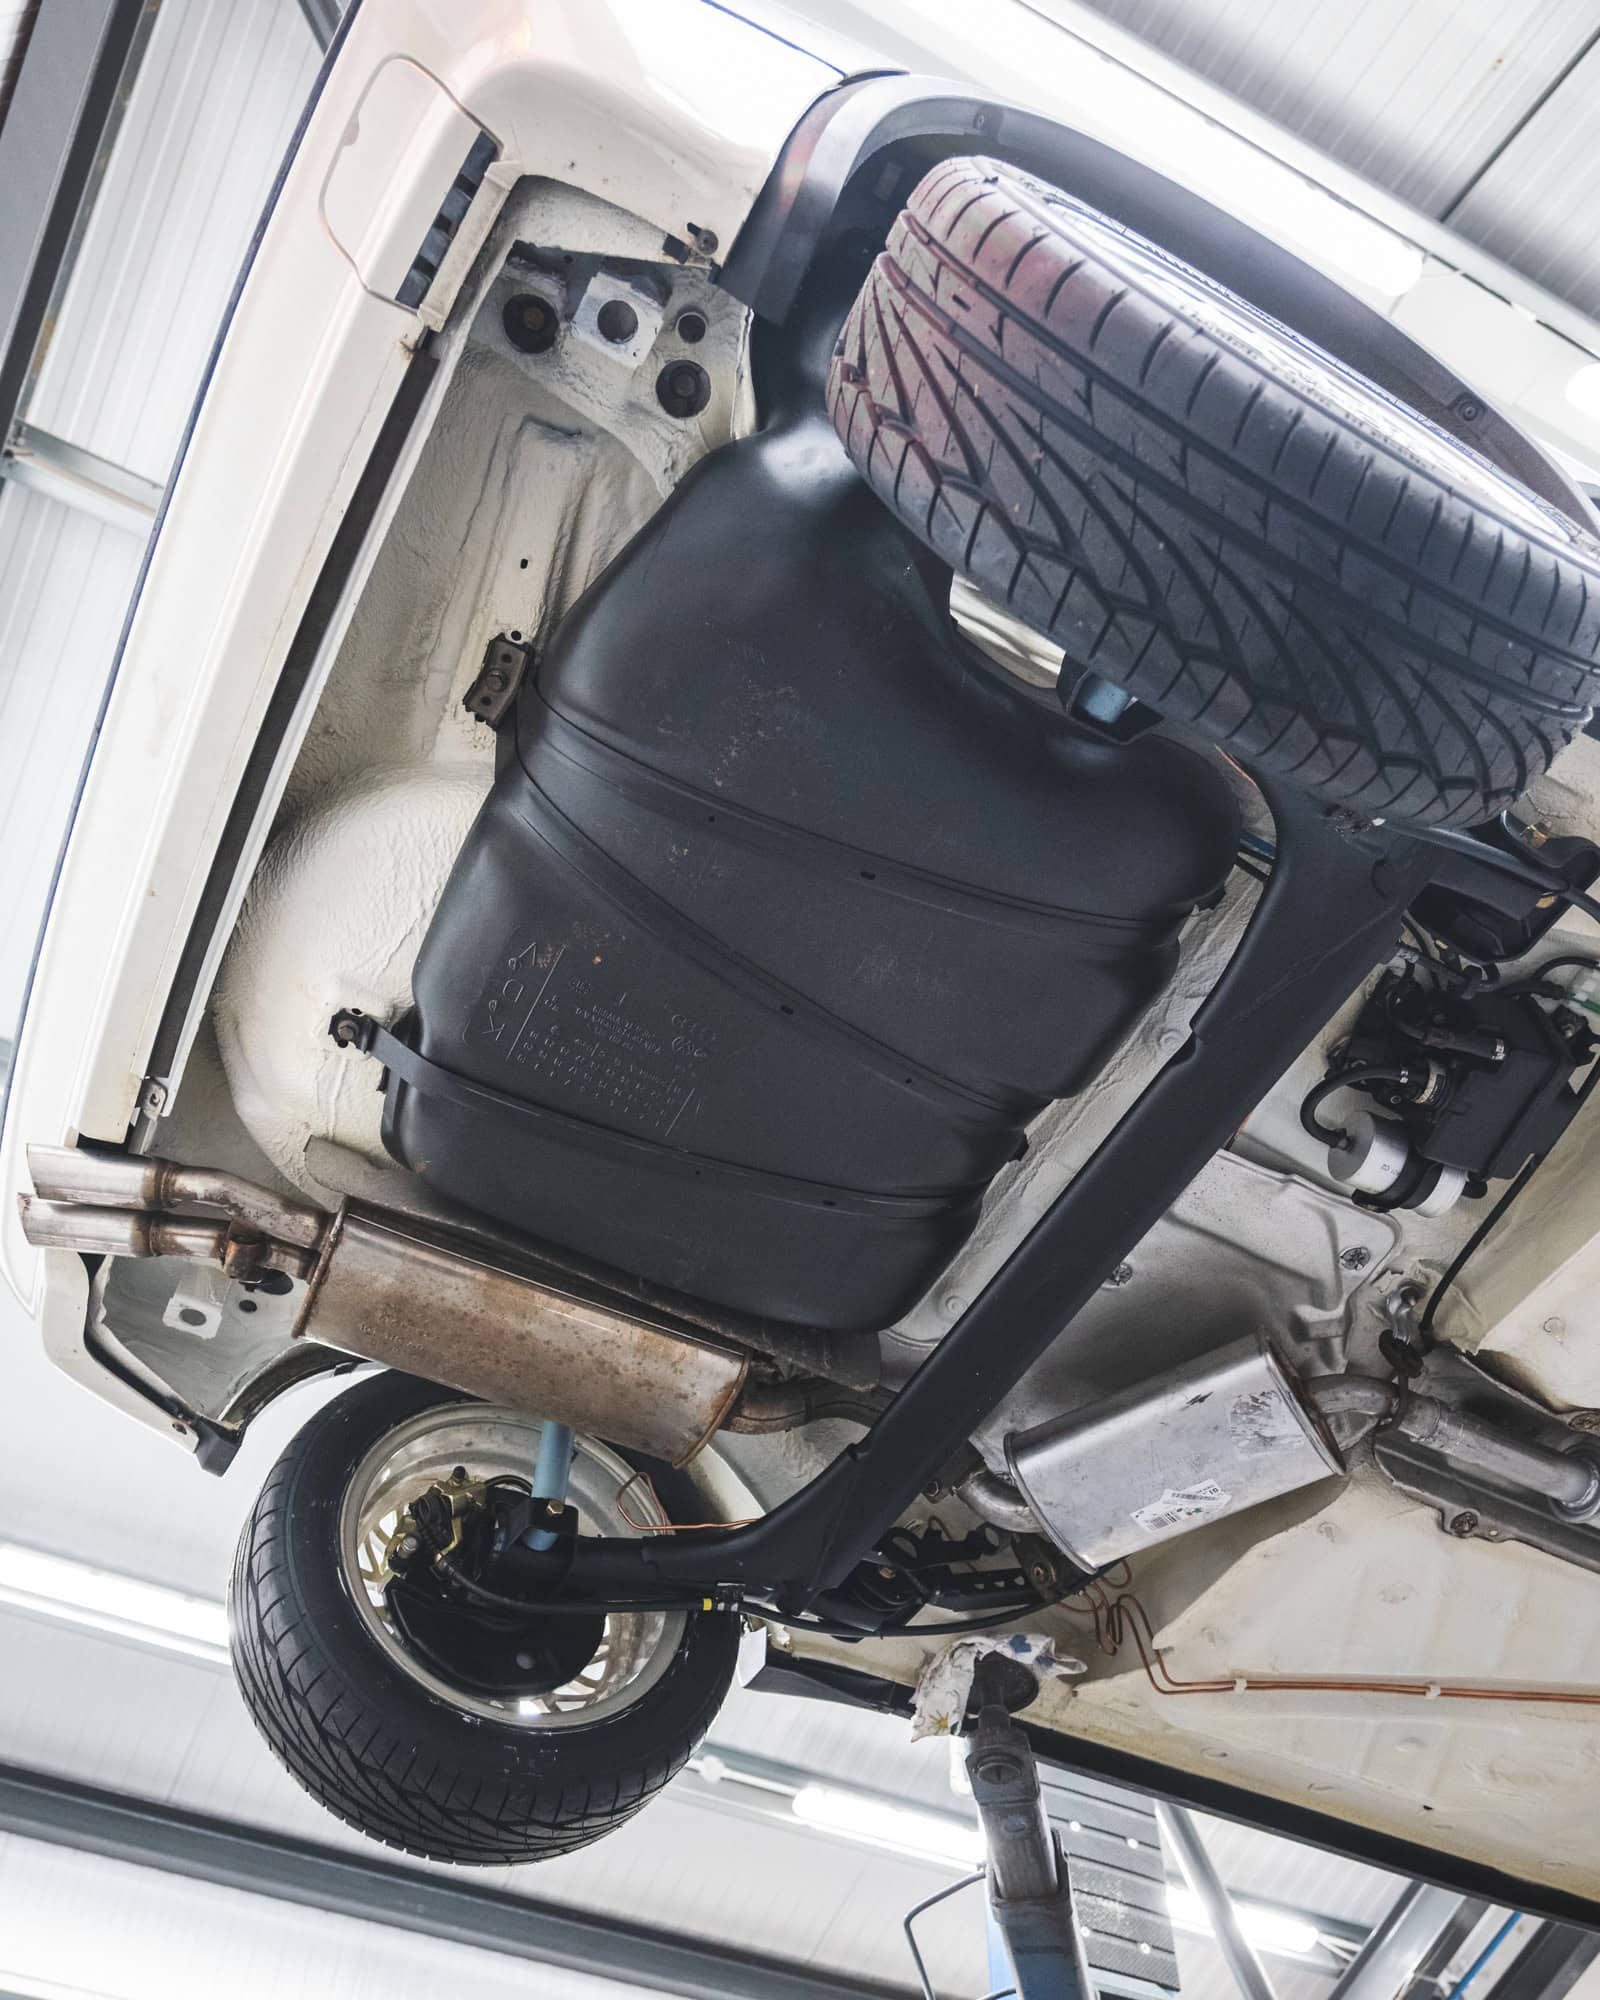
With the Golf GTI in the air, we began to strip the remaining exhaust sections and heat shields ready for the shell to be rolled up to the wash station.
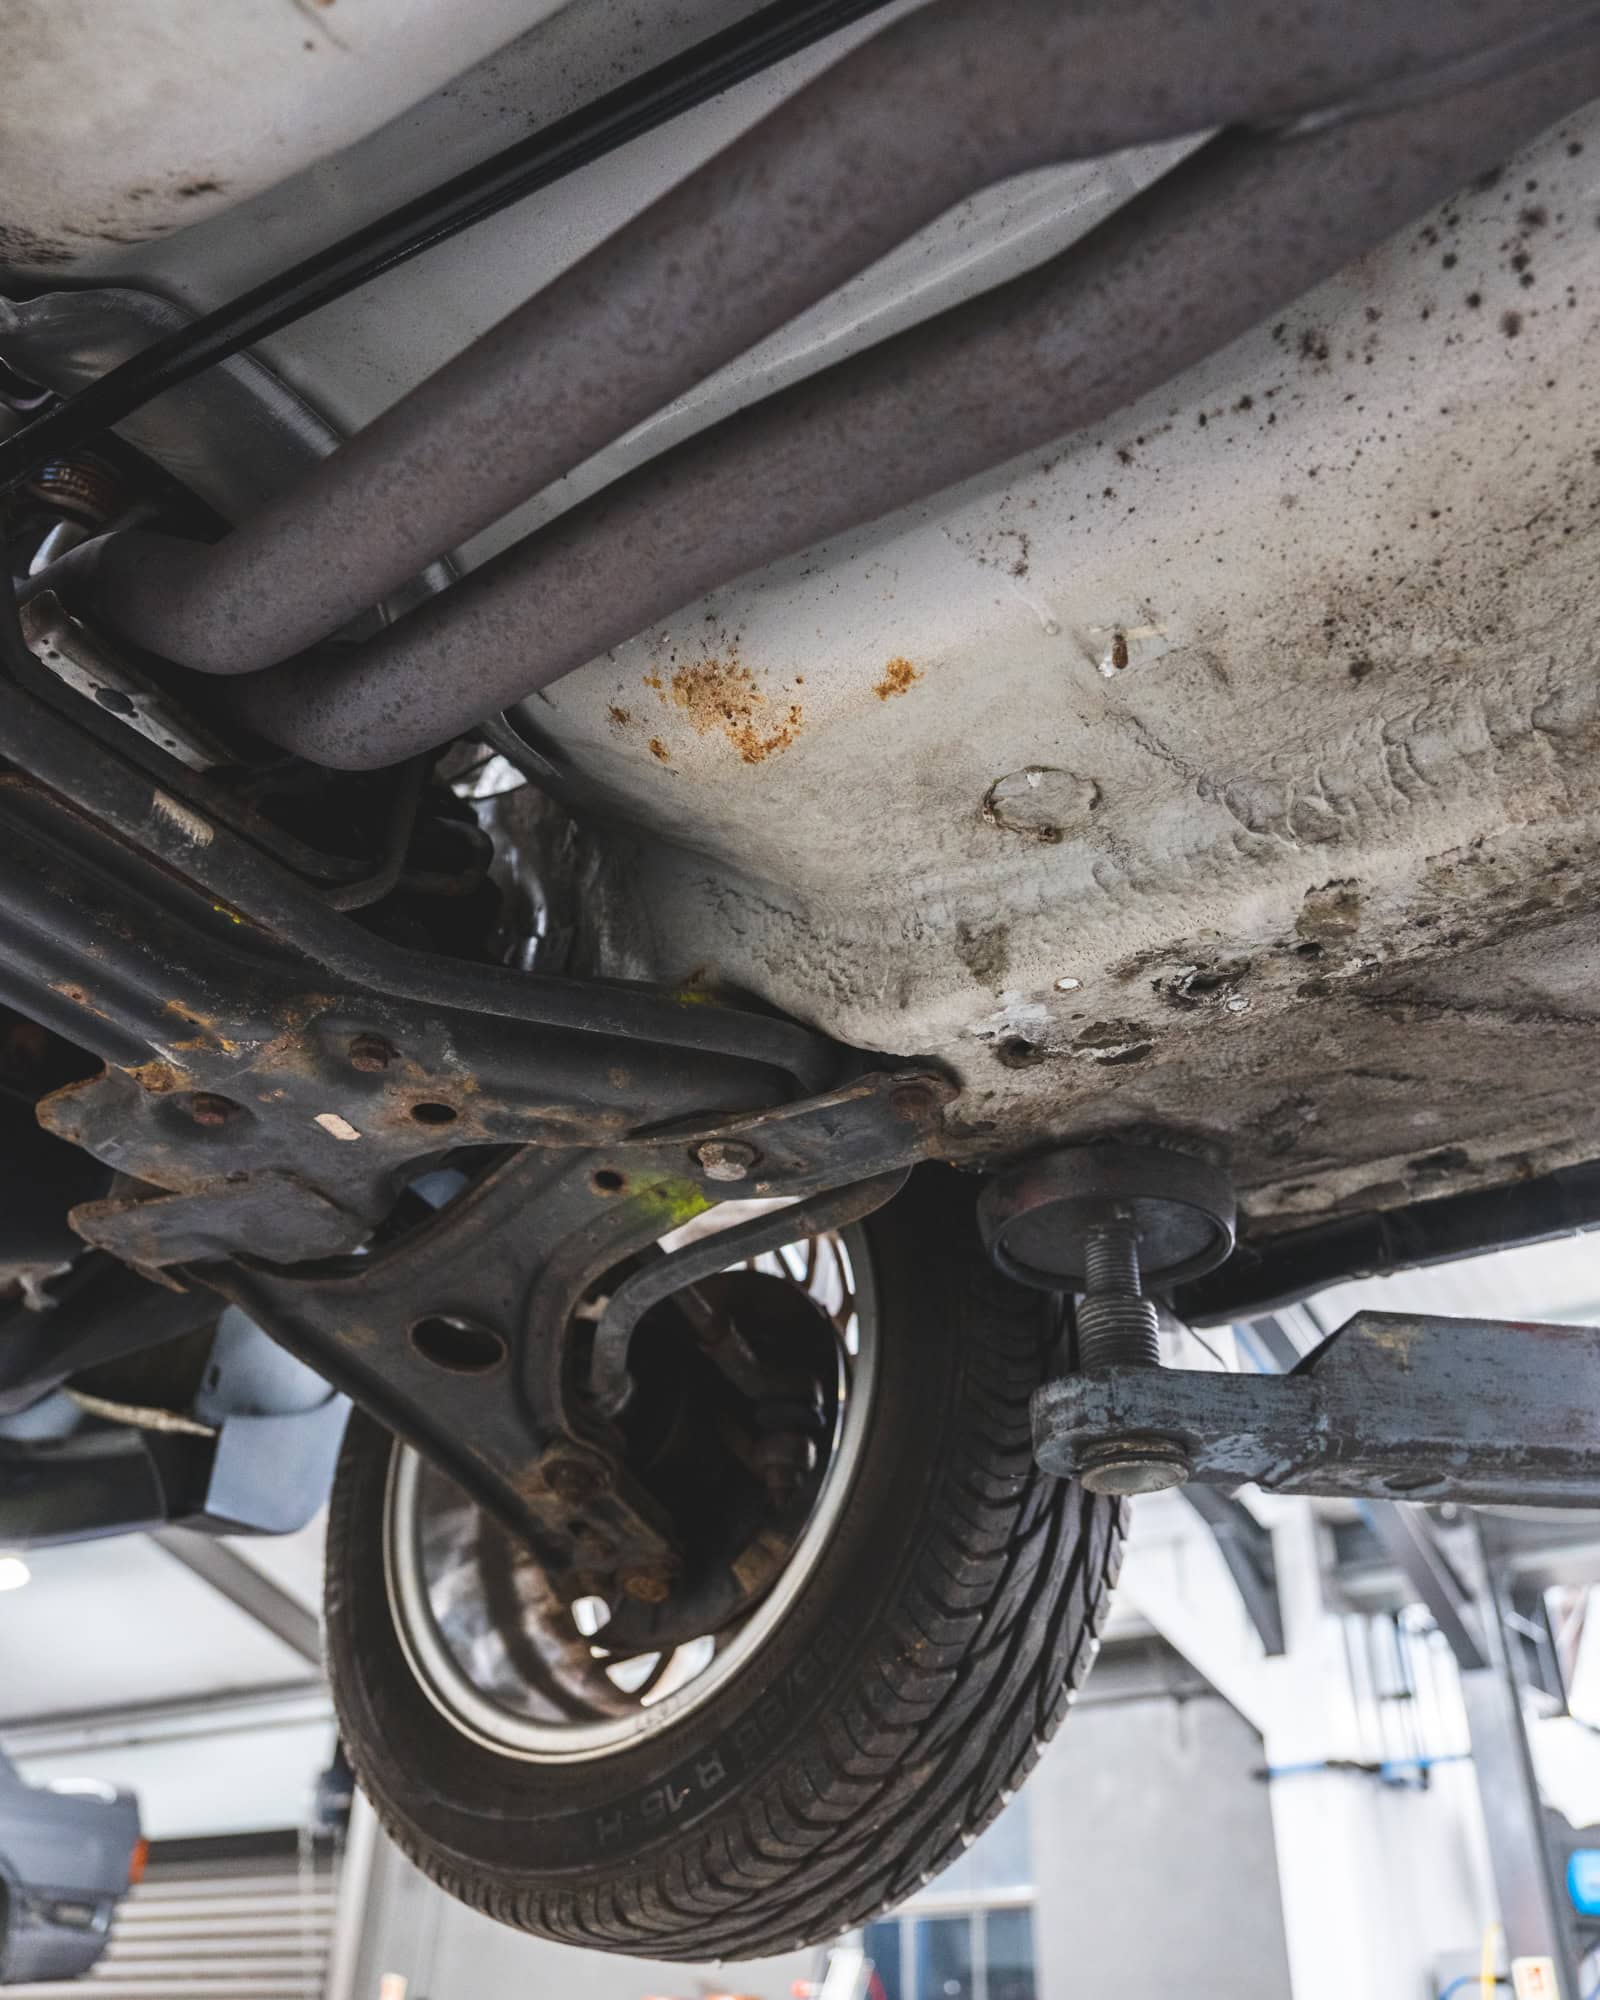
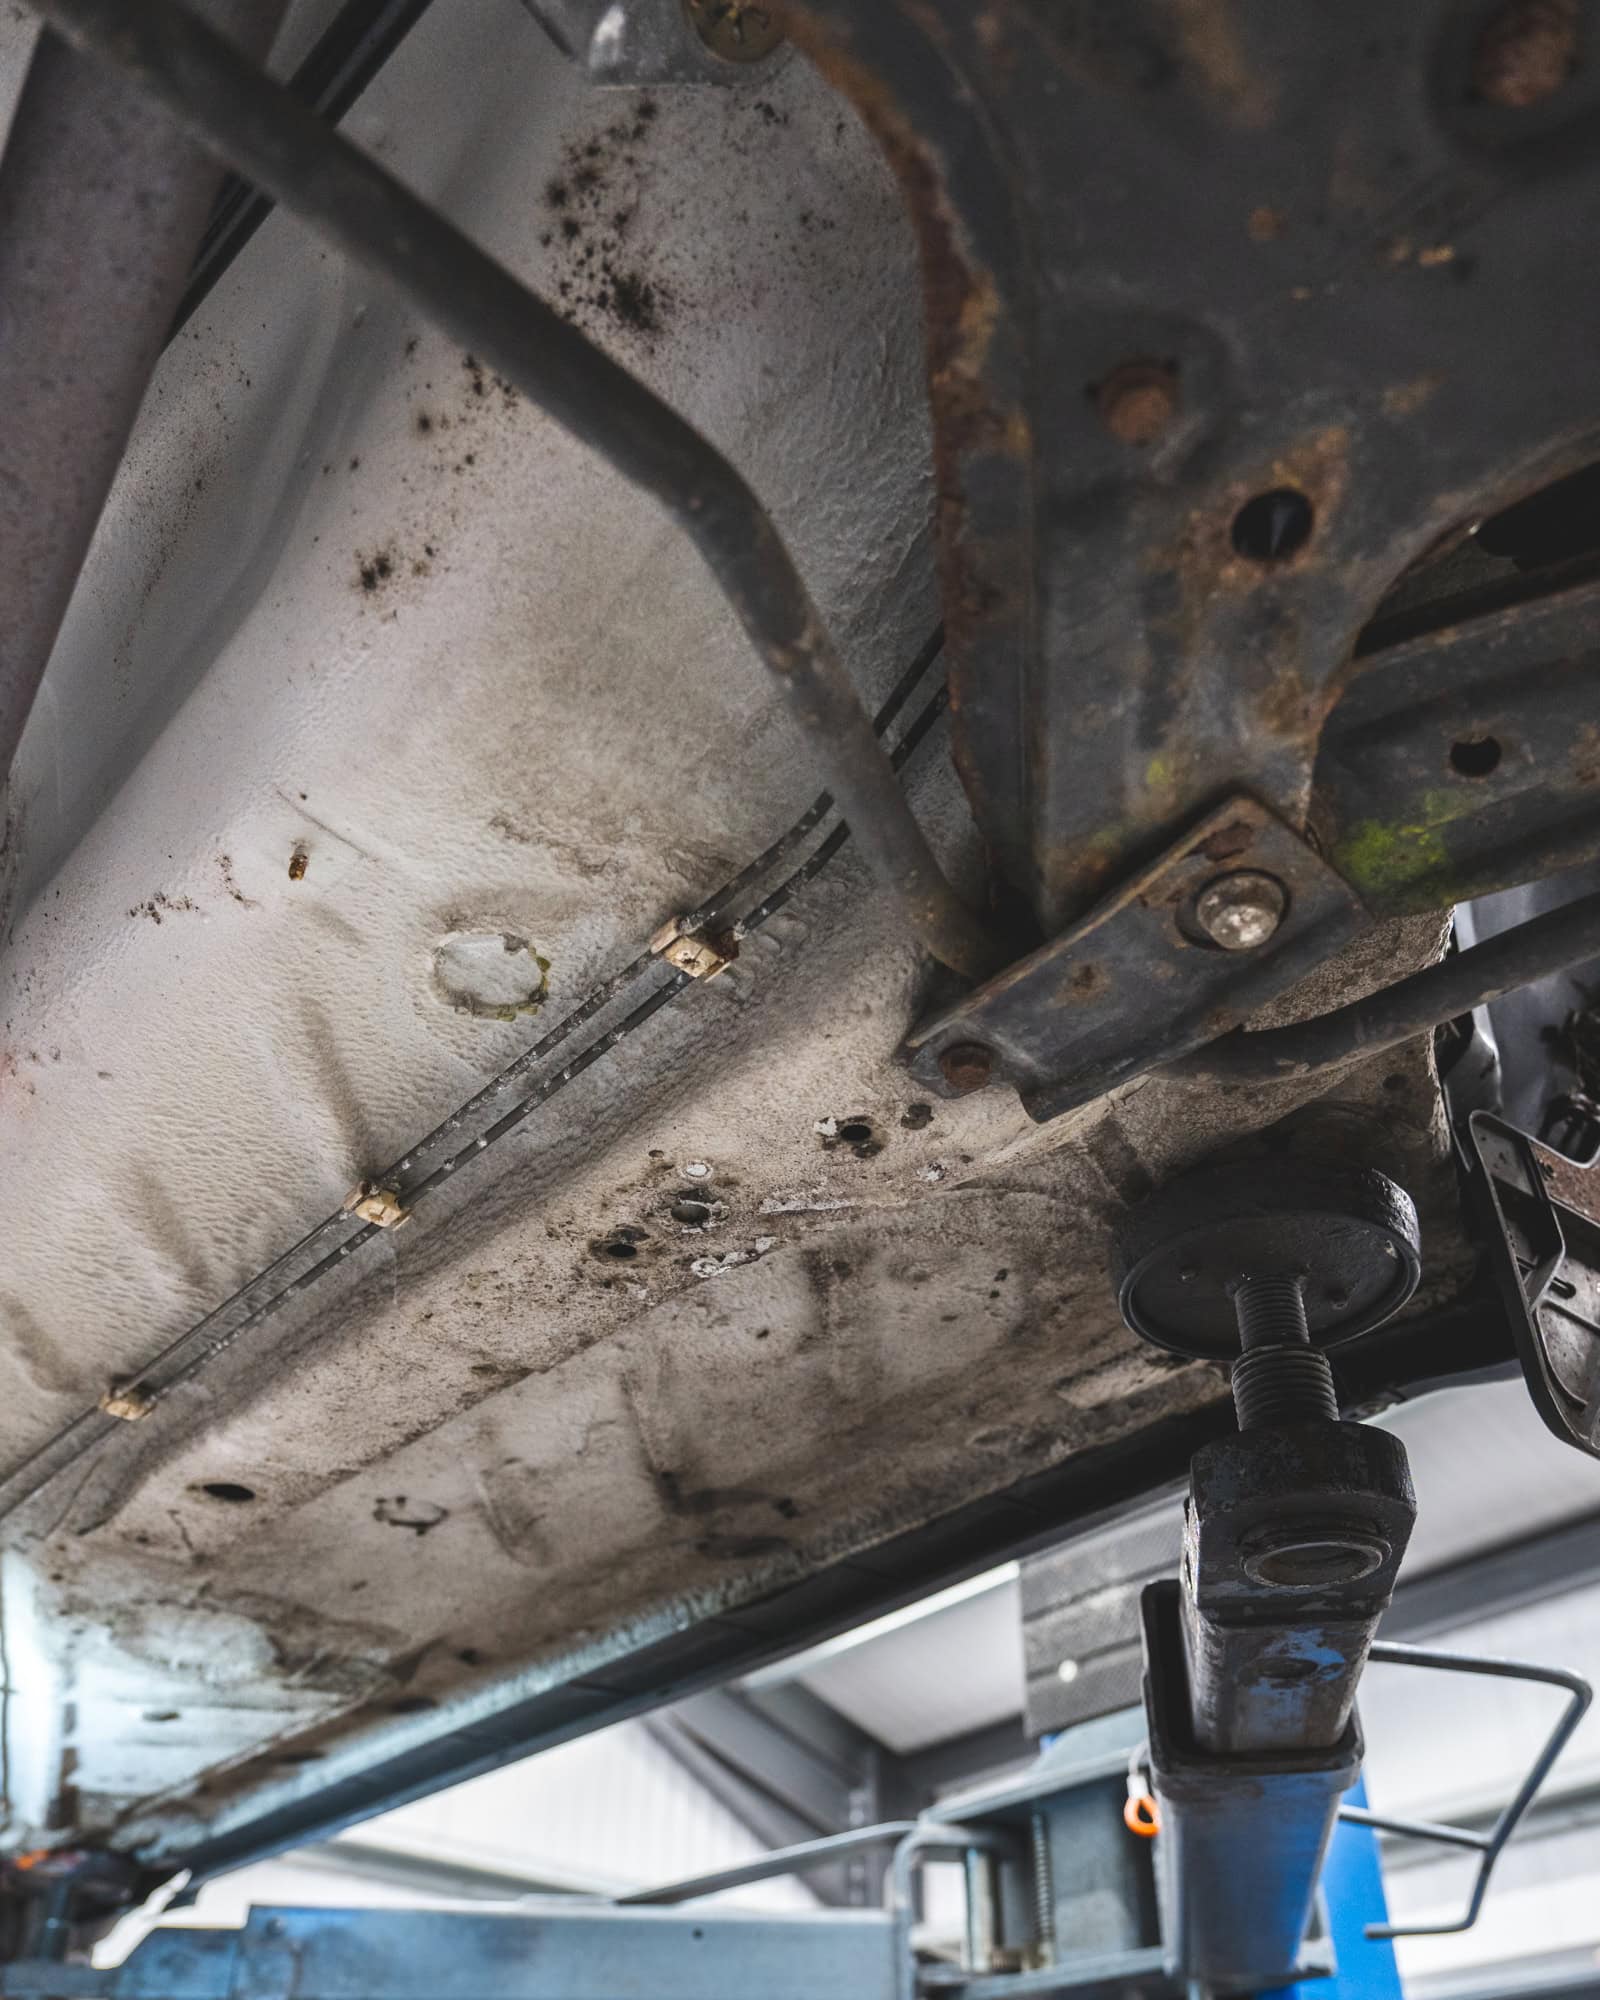
Cleaning the shell of dirt and contaminants is a key part of any restoration we undertake. Not only does it make working on the car easier and more enjoyable for the mechanic, it gives a much clearer picture of which areas of the underside need closer inspection and repair.
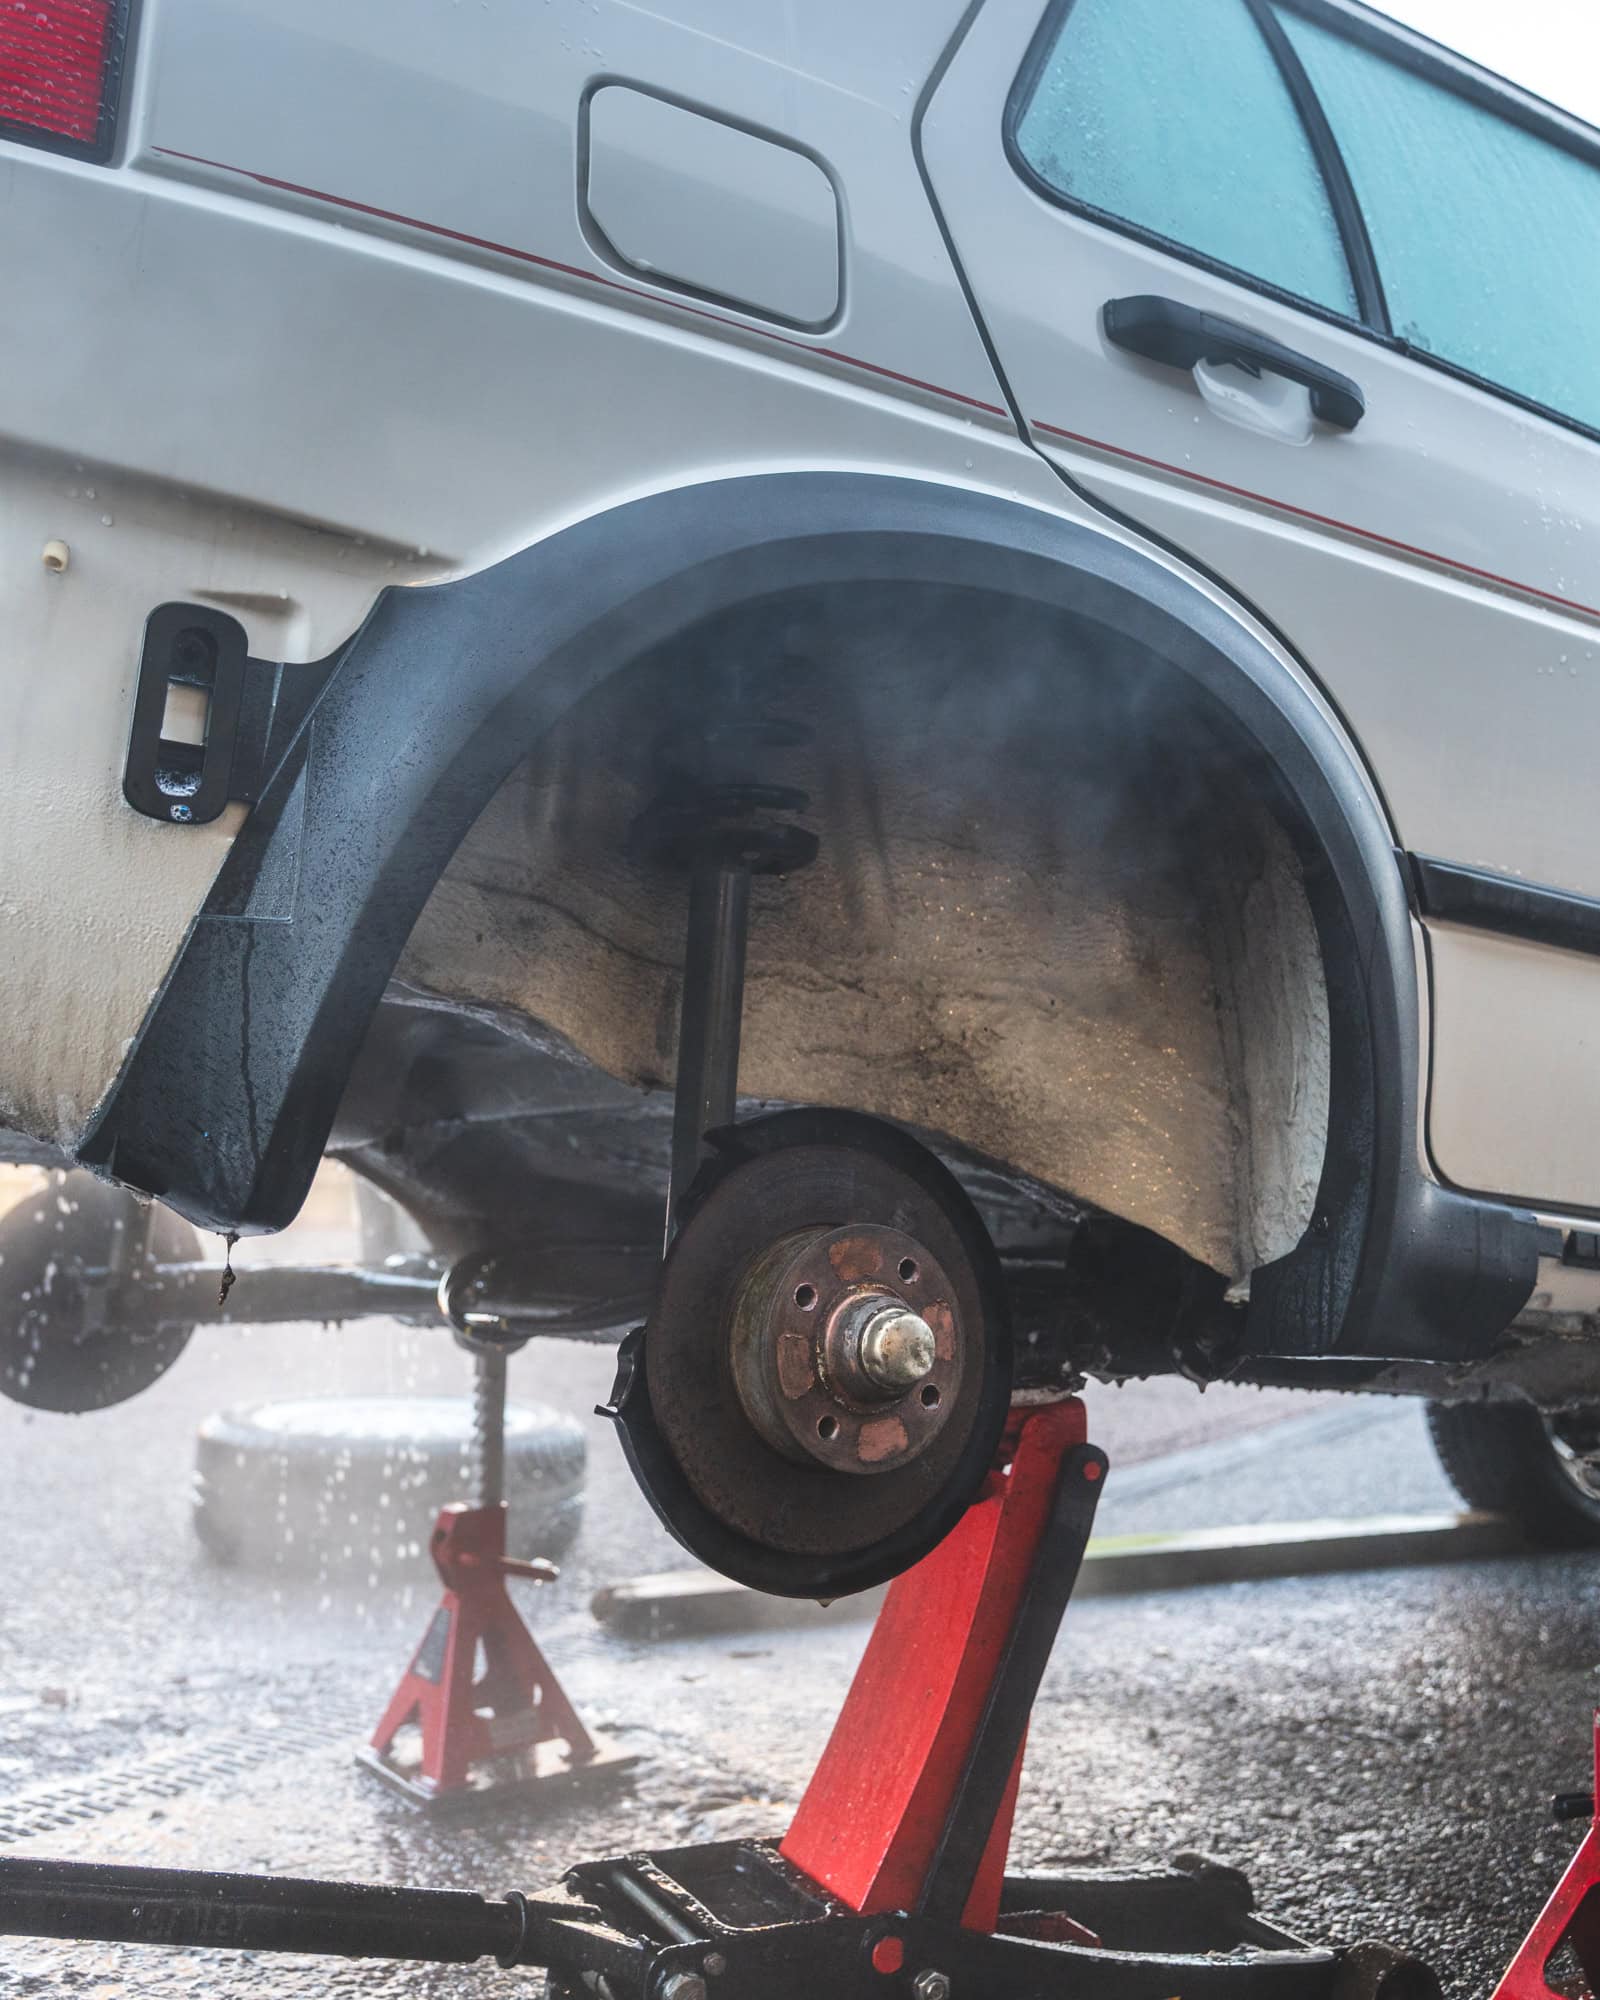
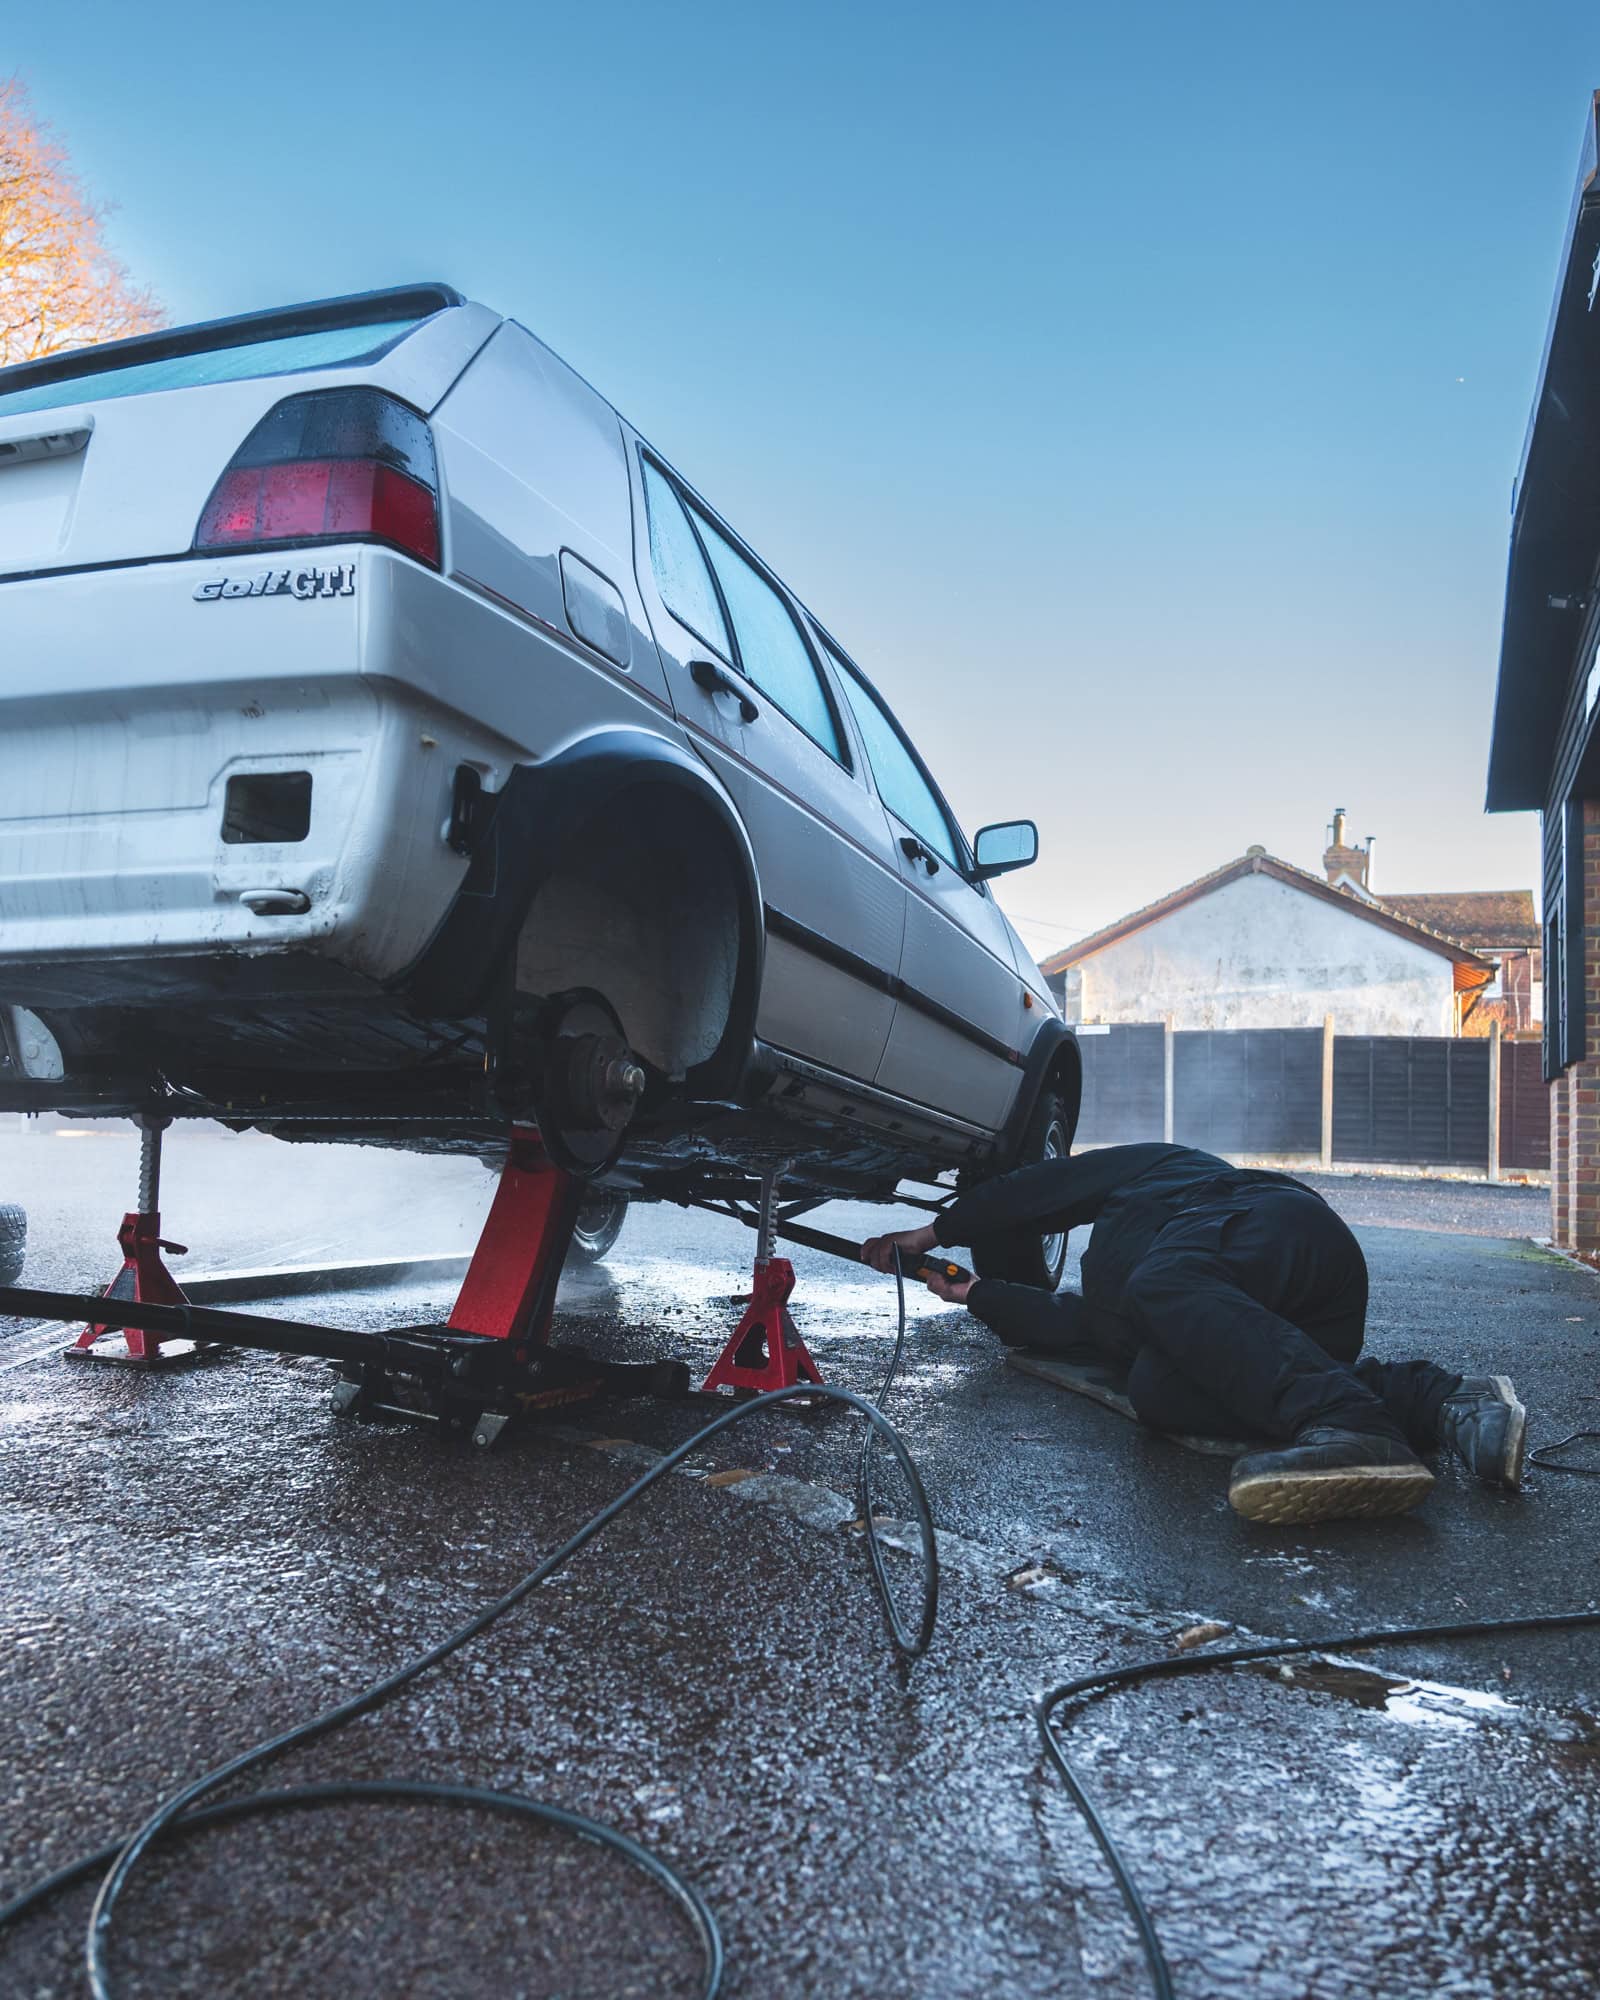
Older cars such as the MK2 Golf GTI don’t have all the plastic under trays and wheel arch liners that obscure visibility during inspections, so in the case of this car, we knew that we were unlikely to find any nasty surprises.
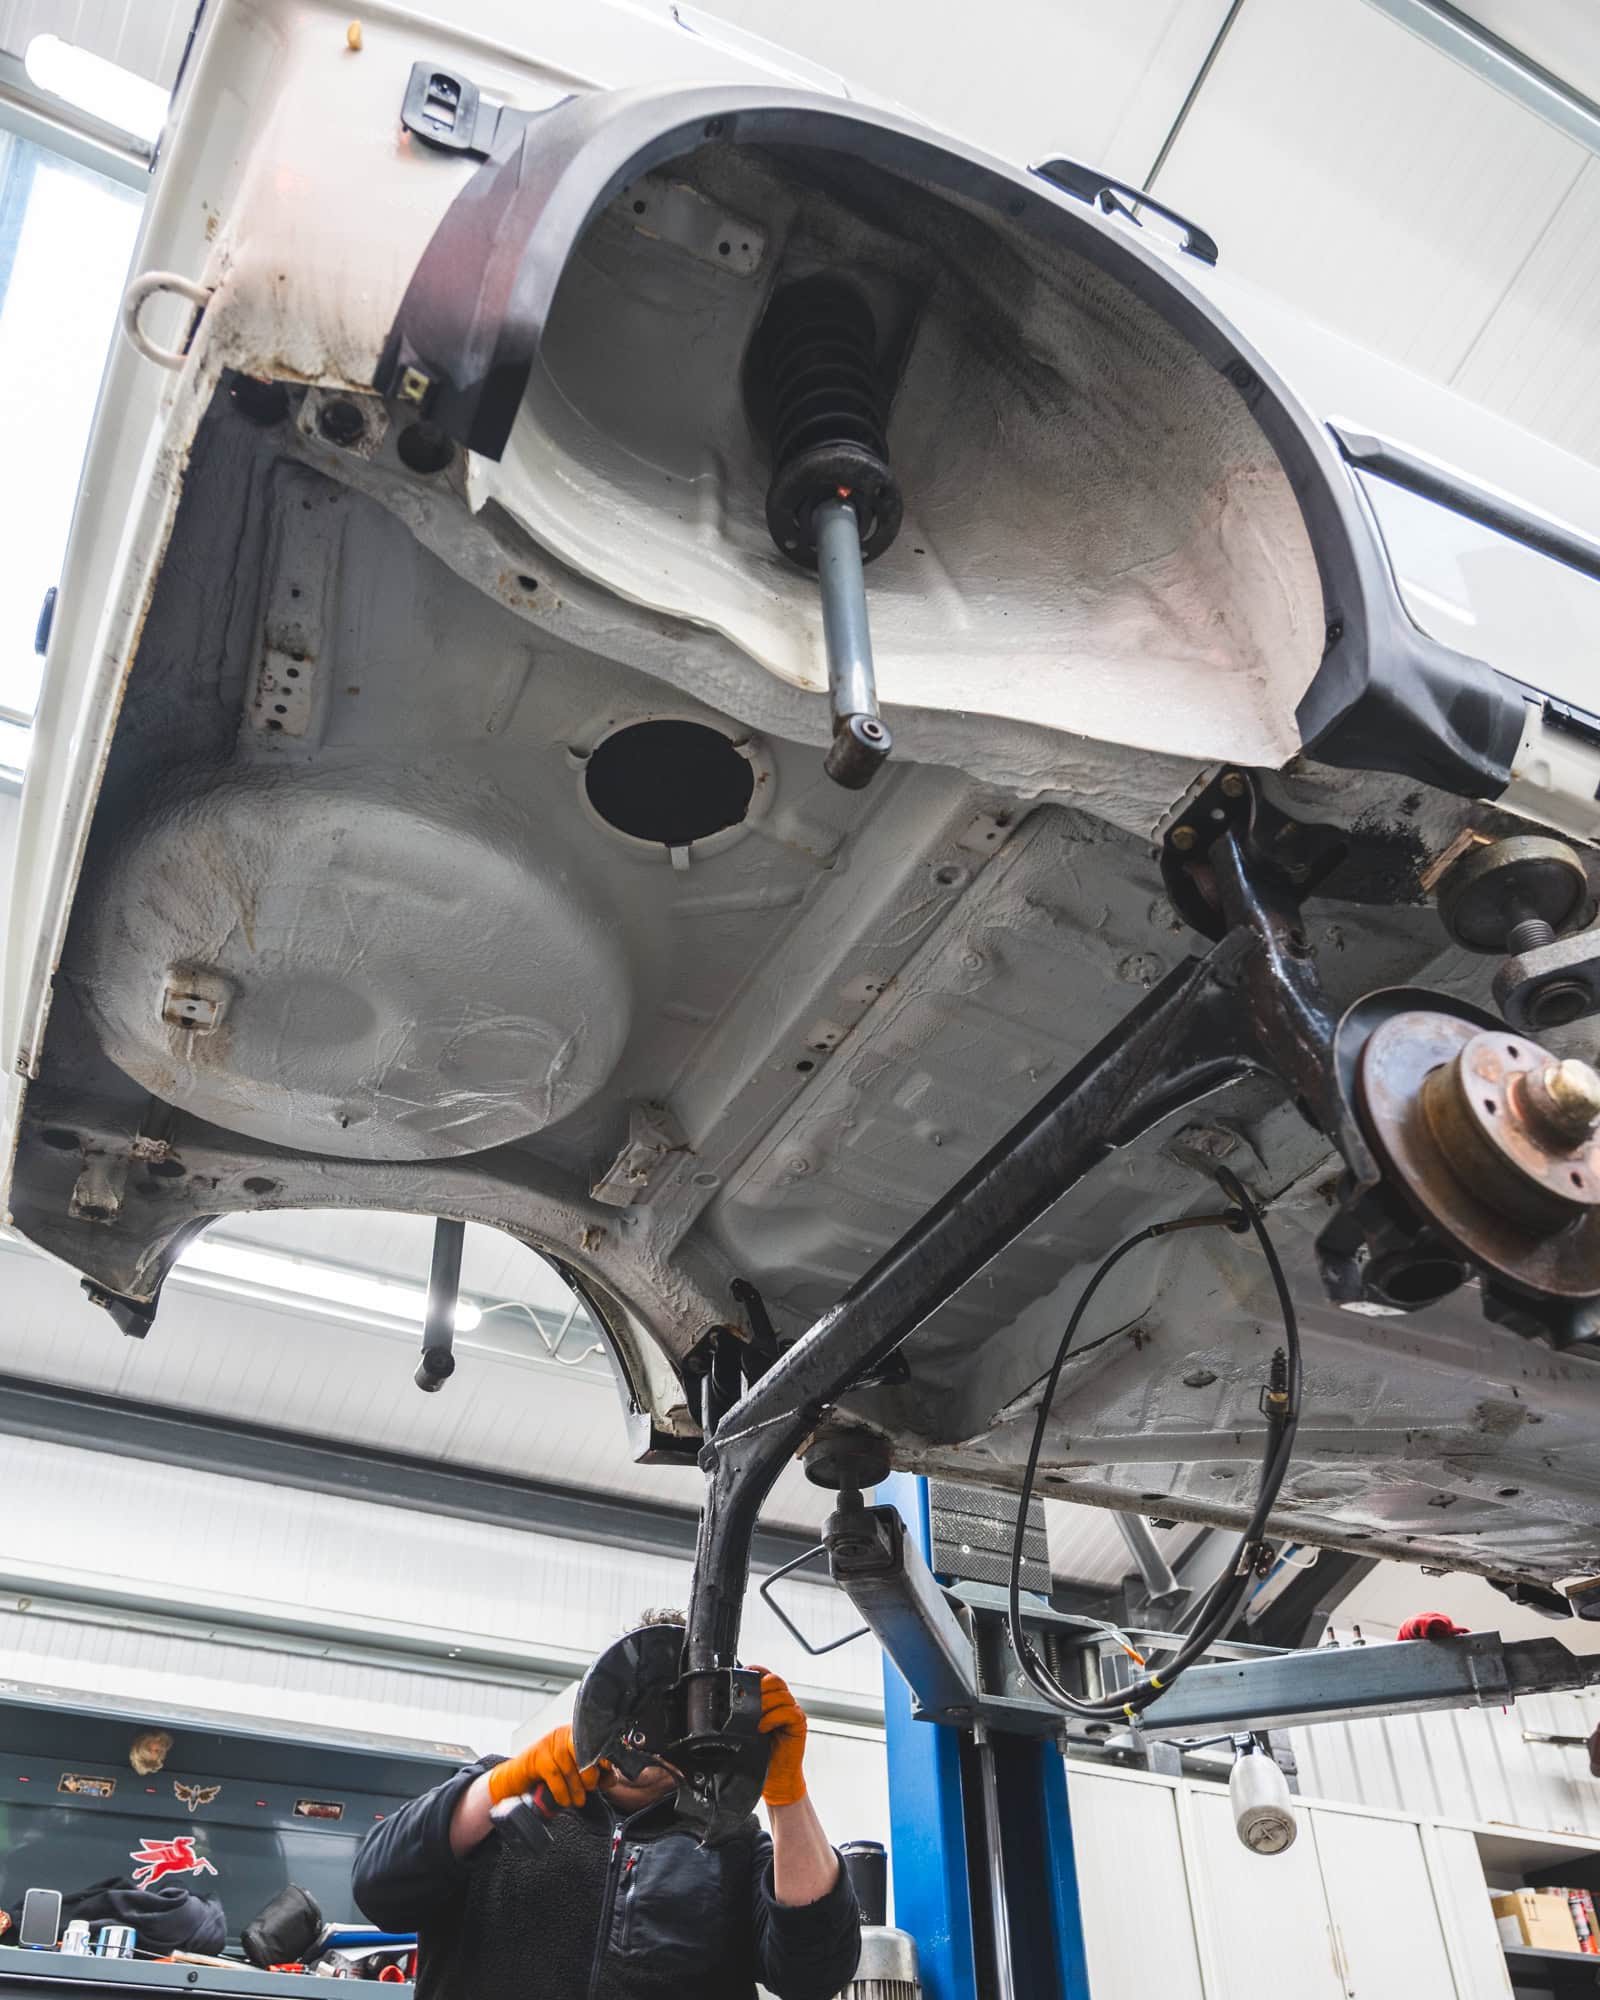
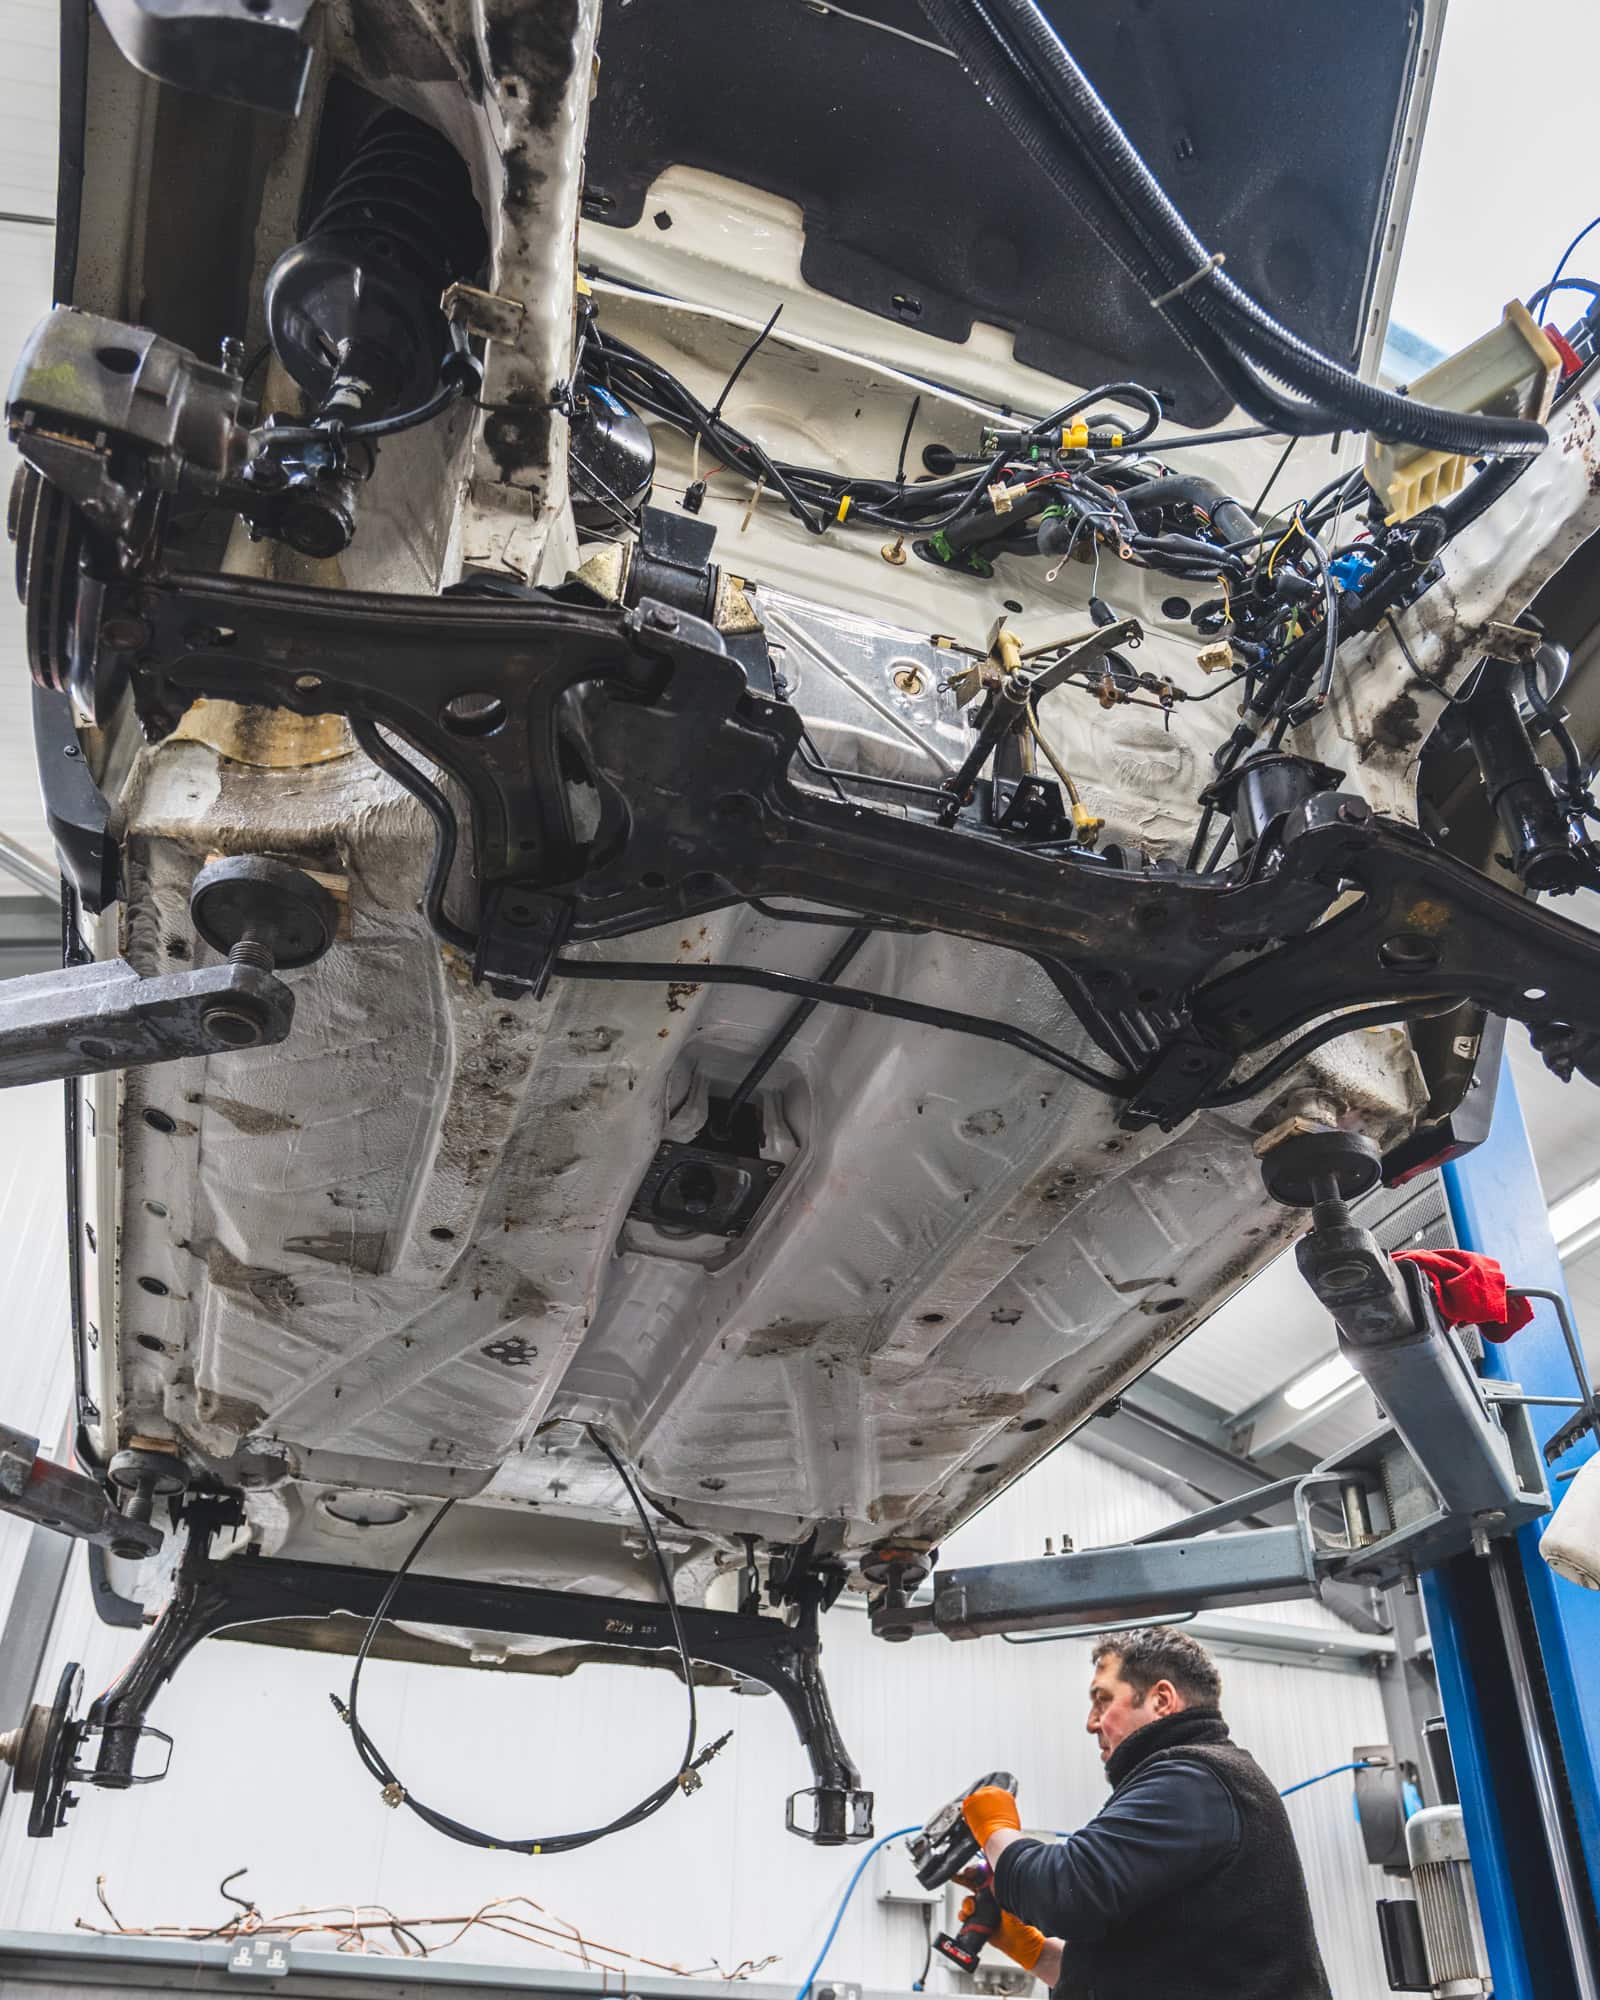
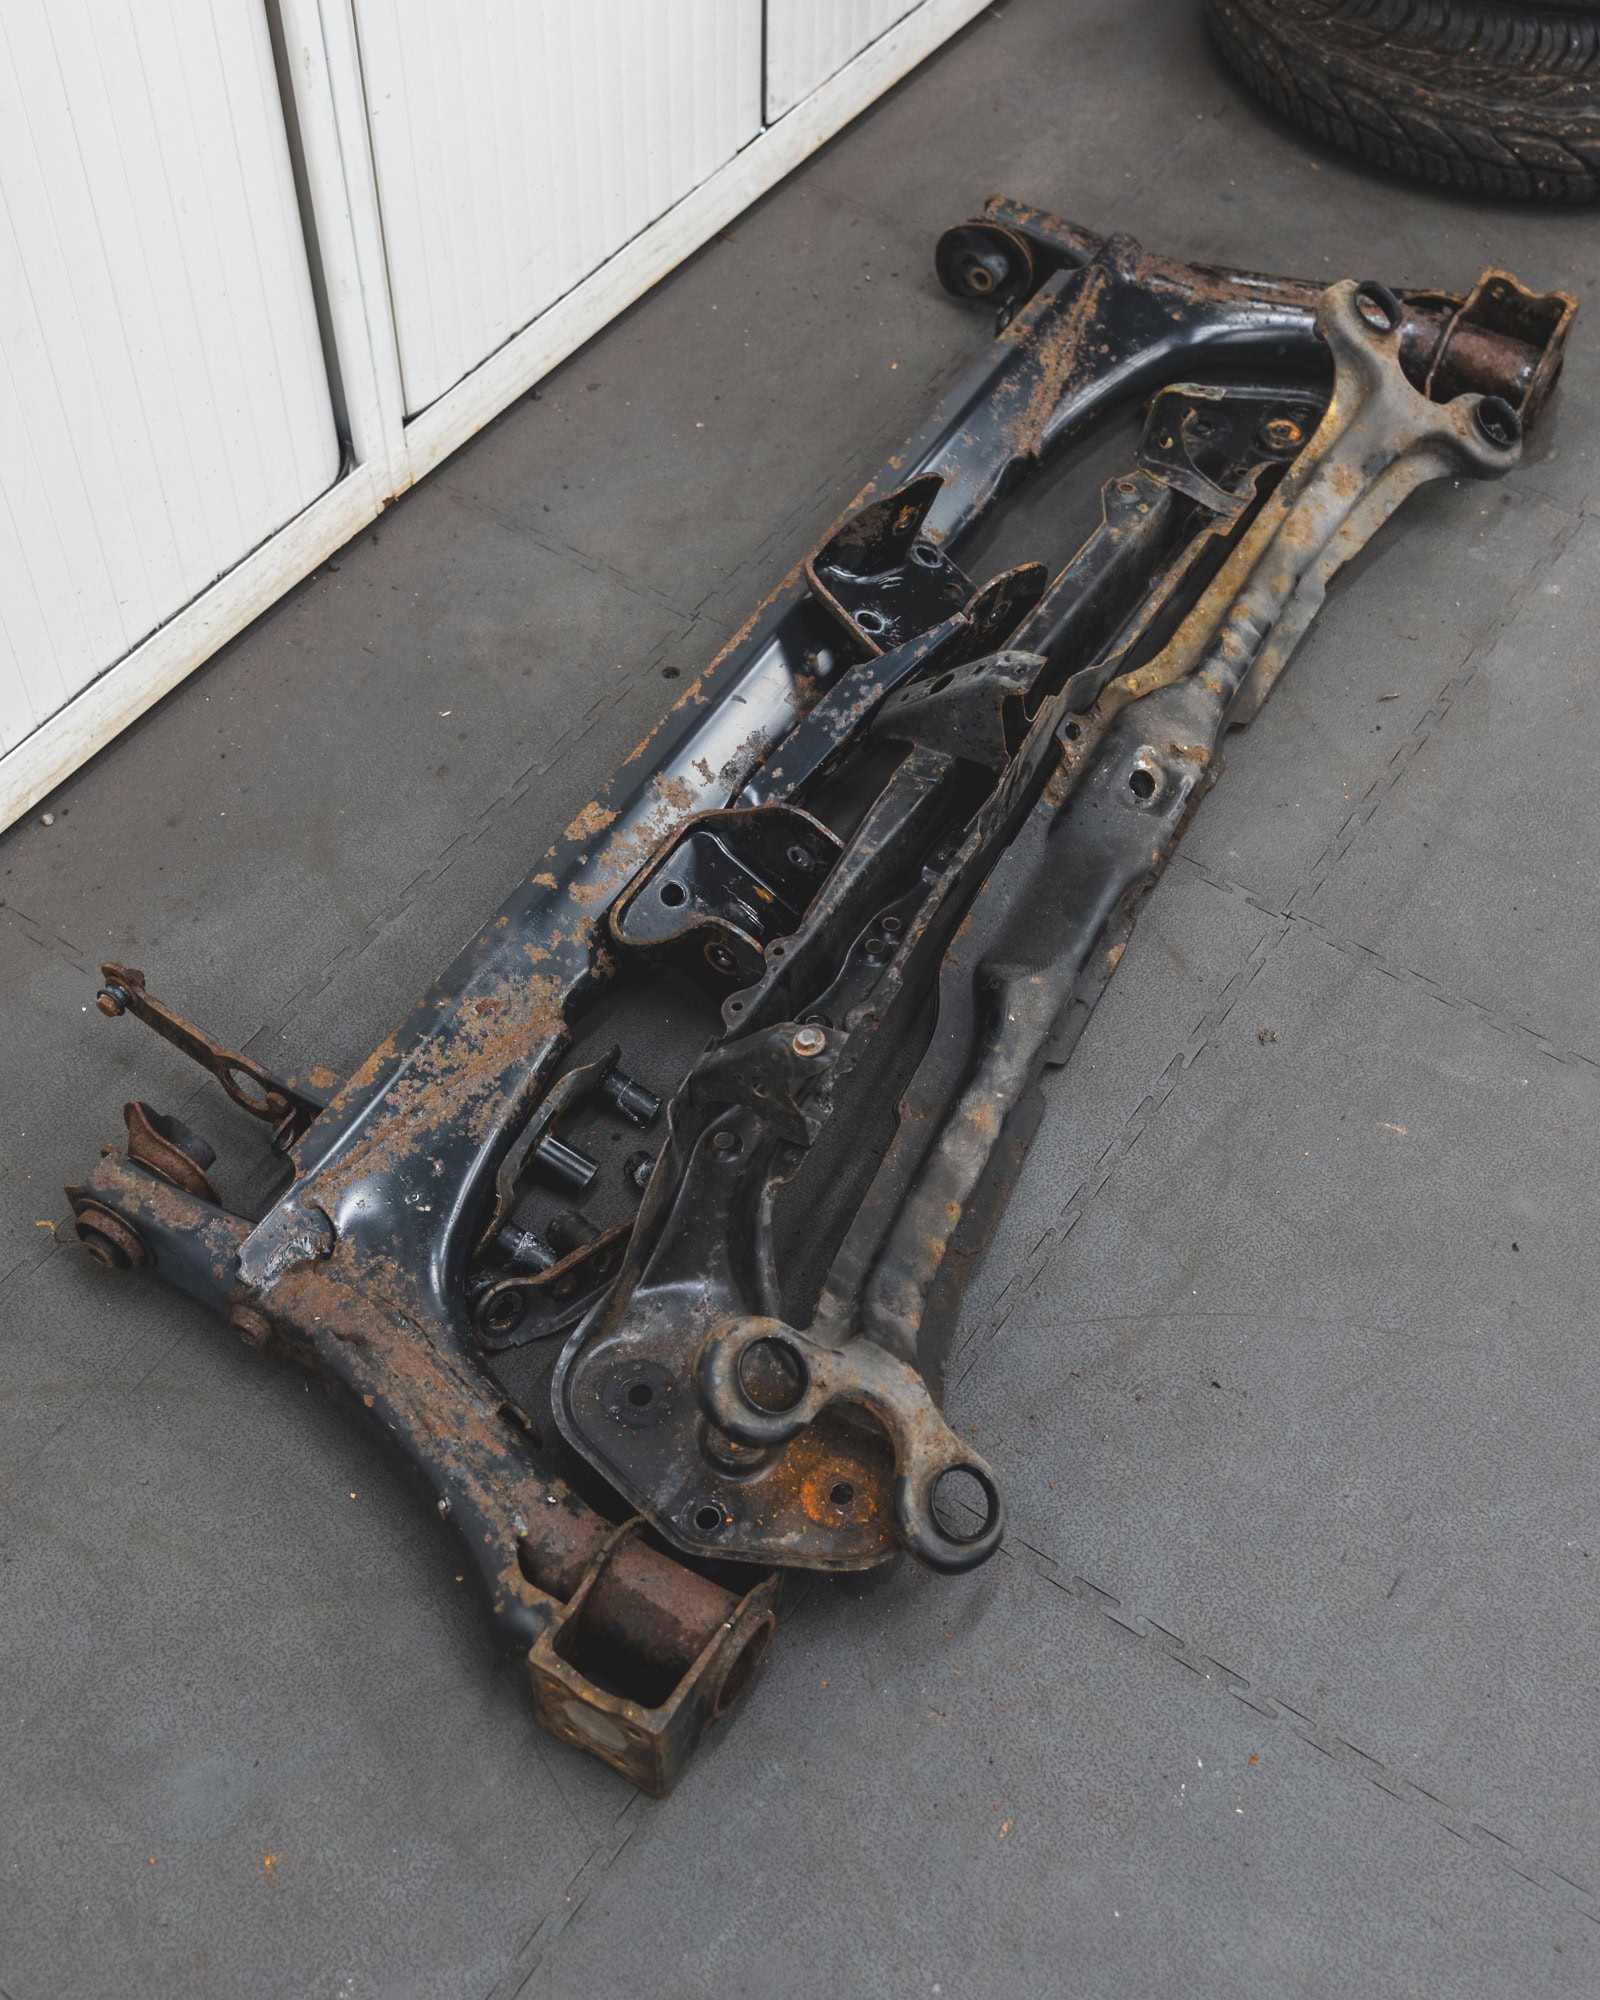
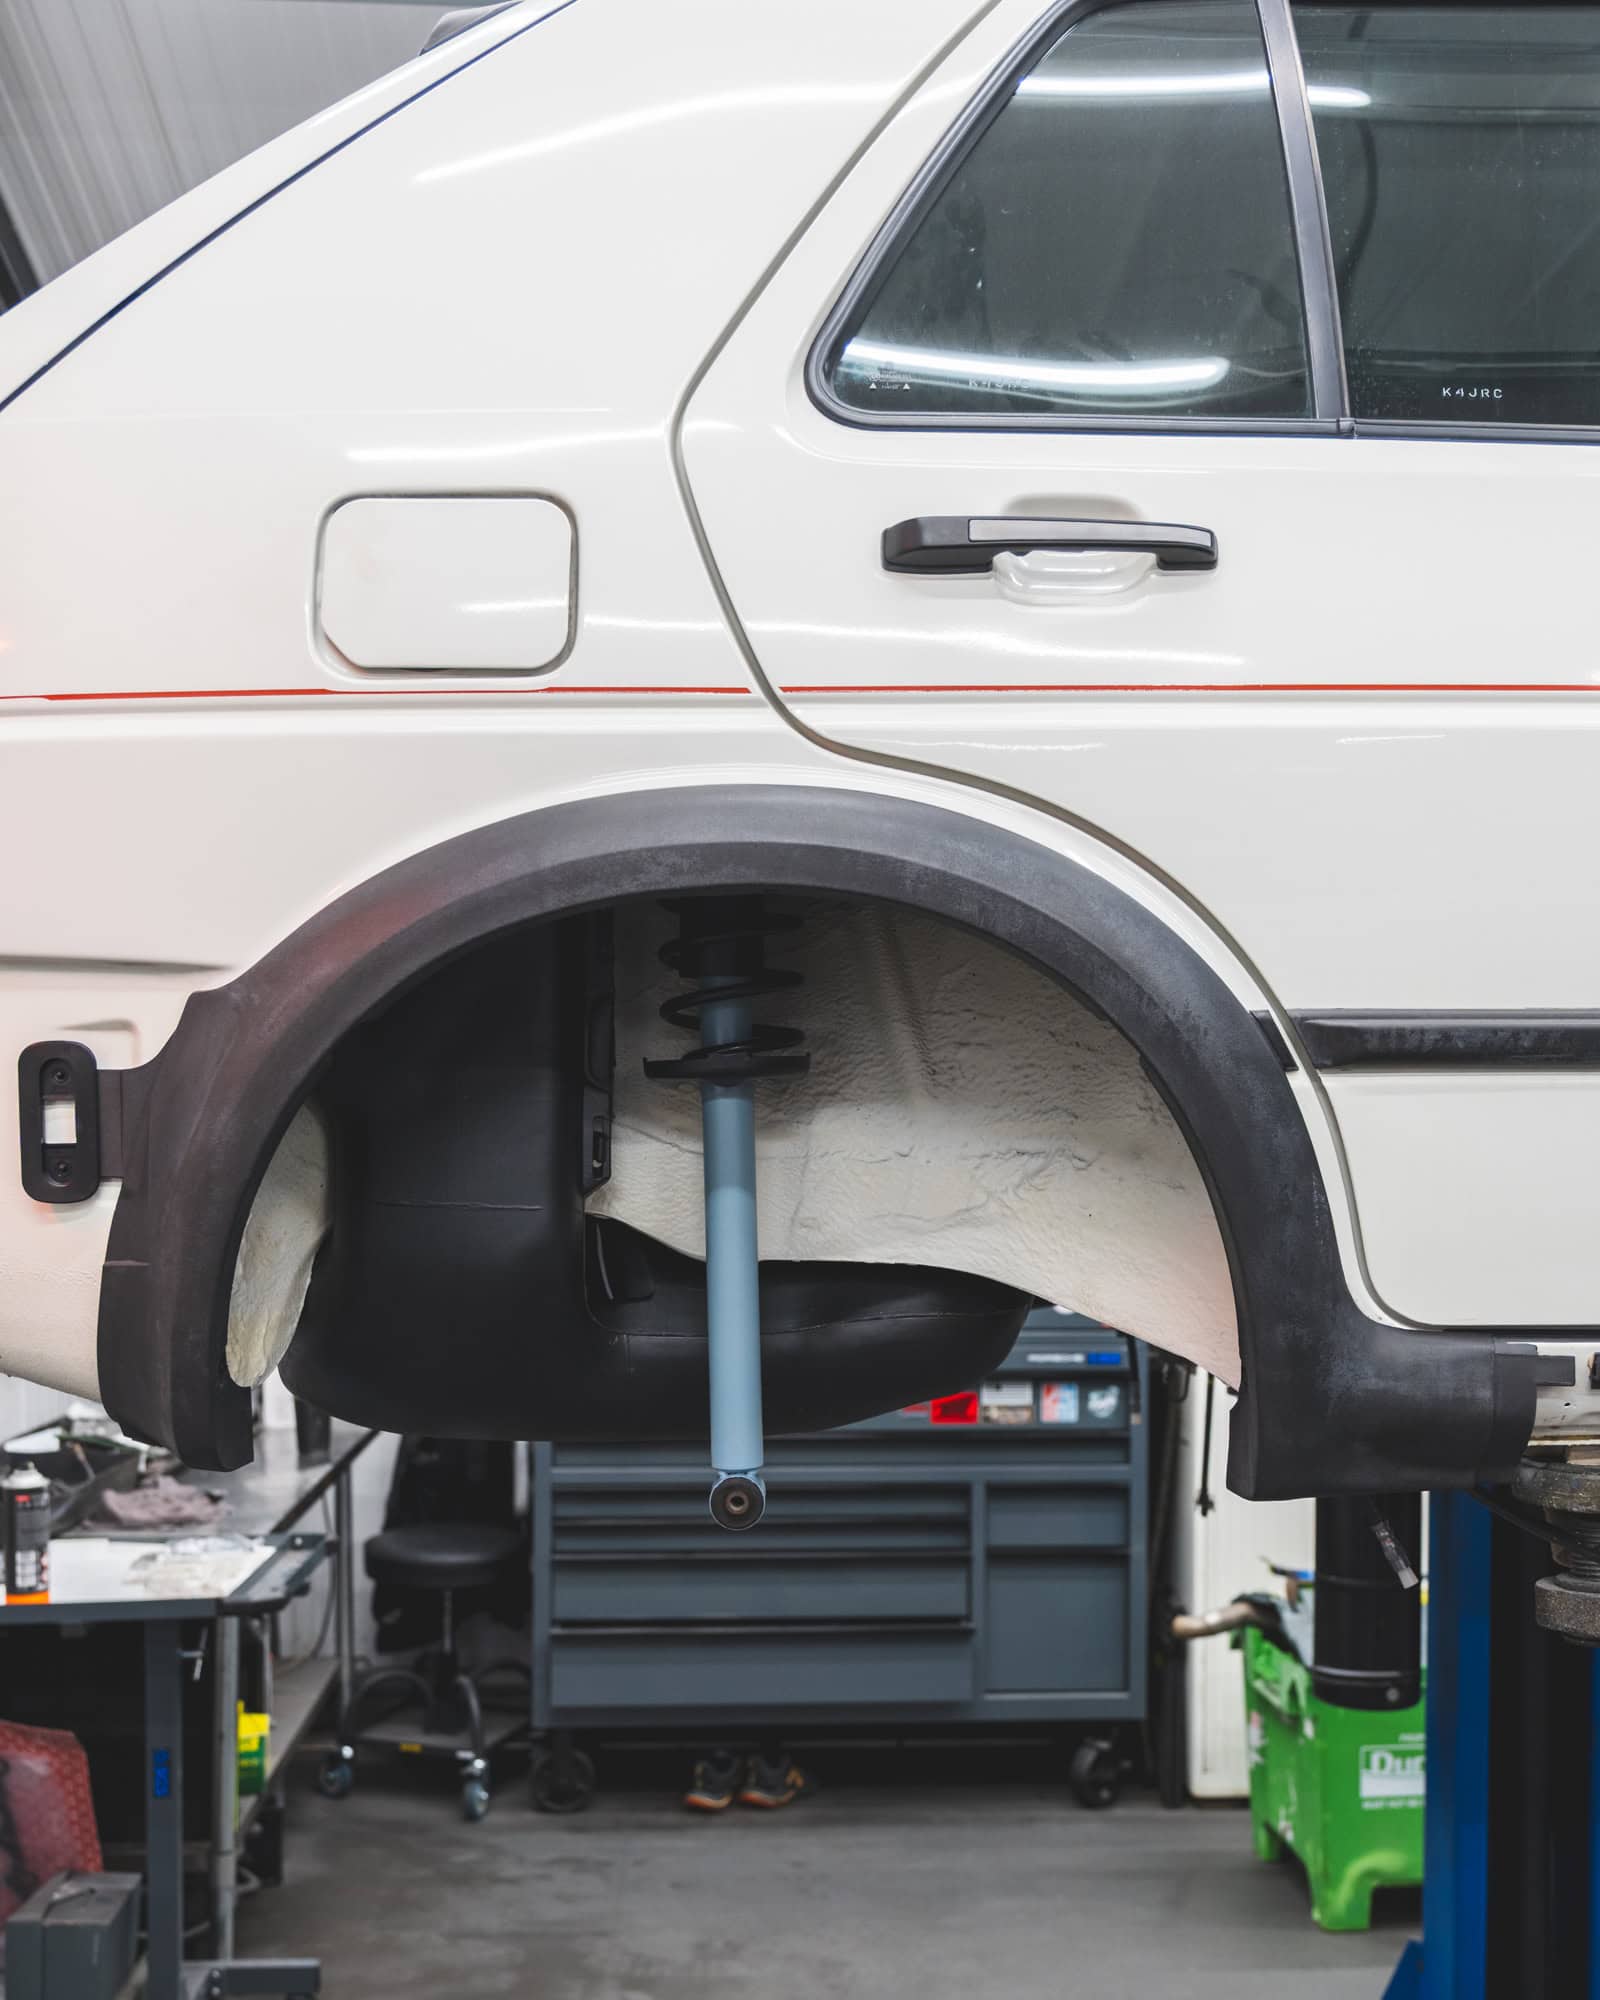
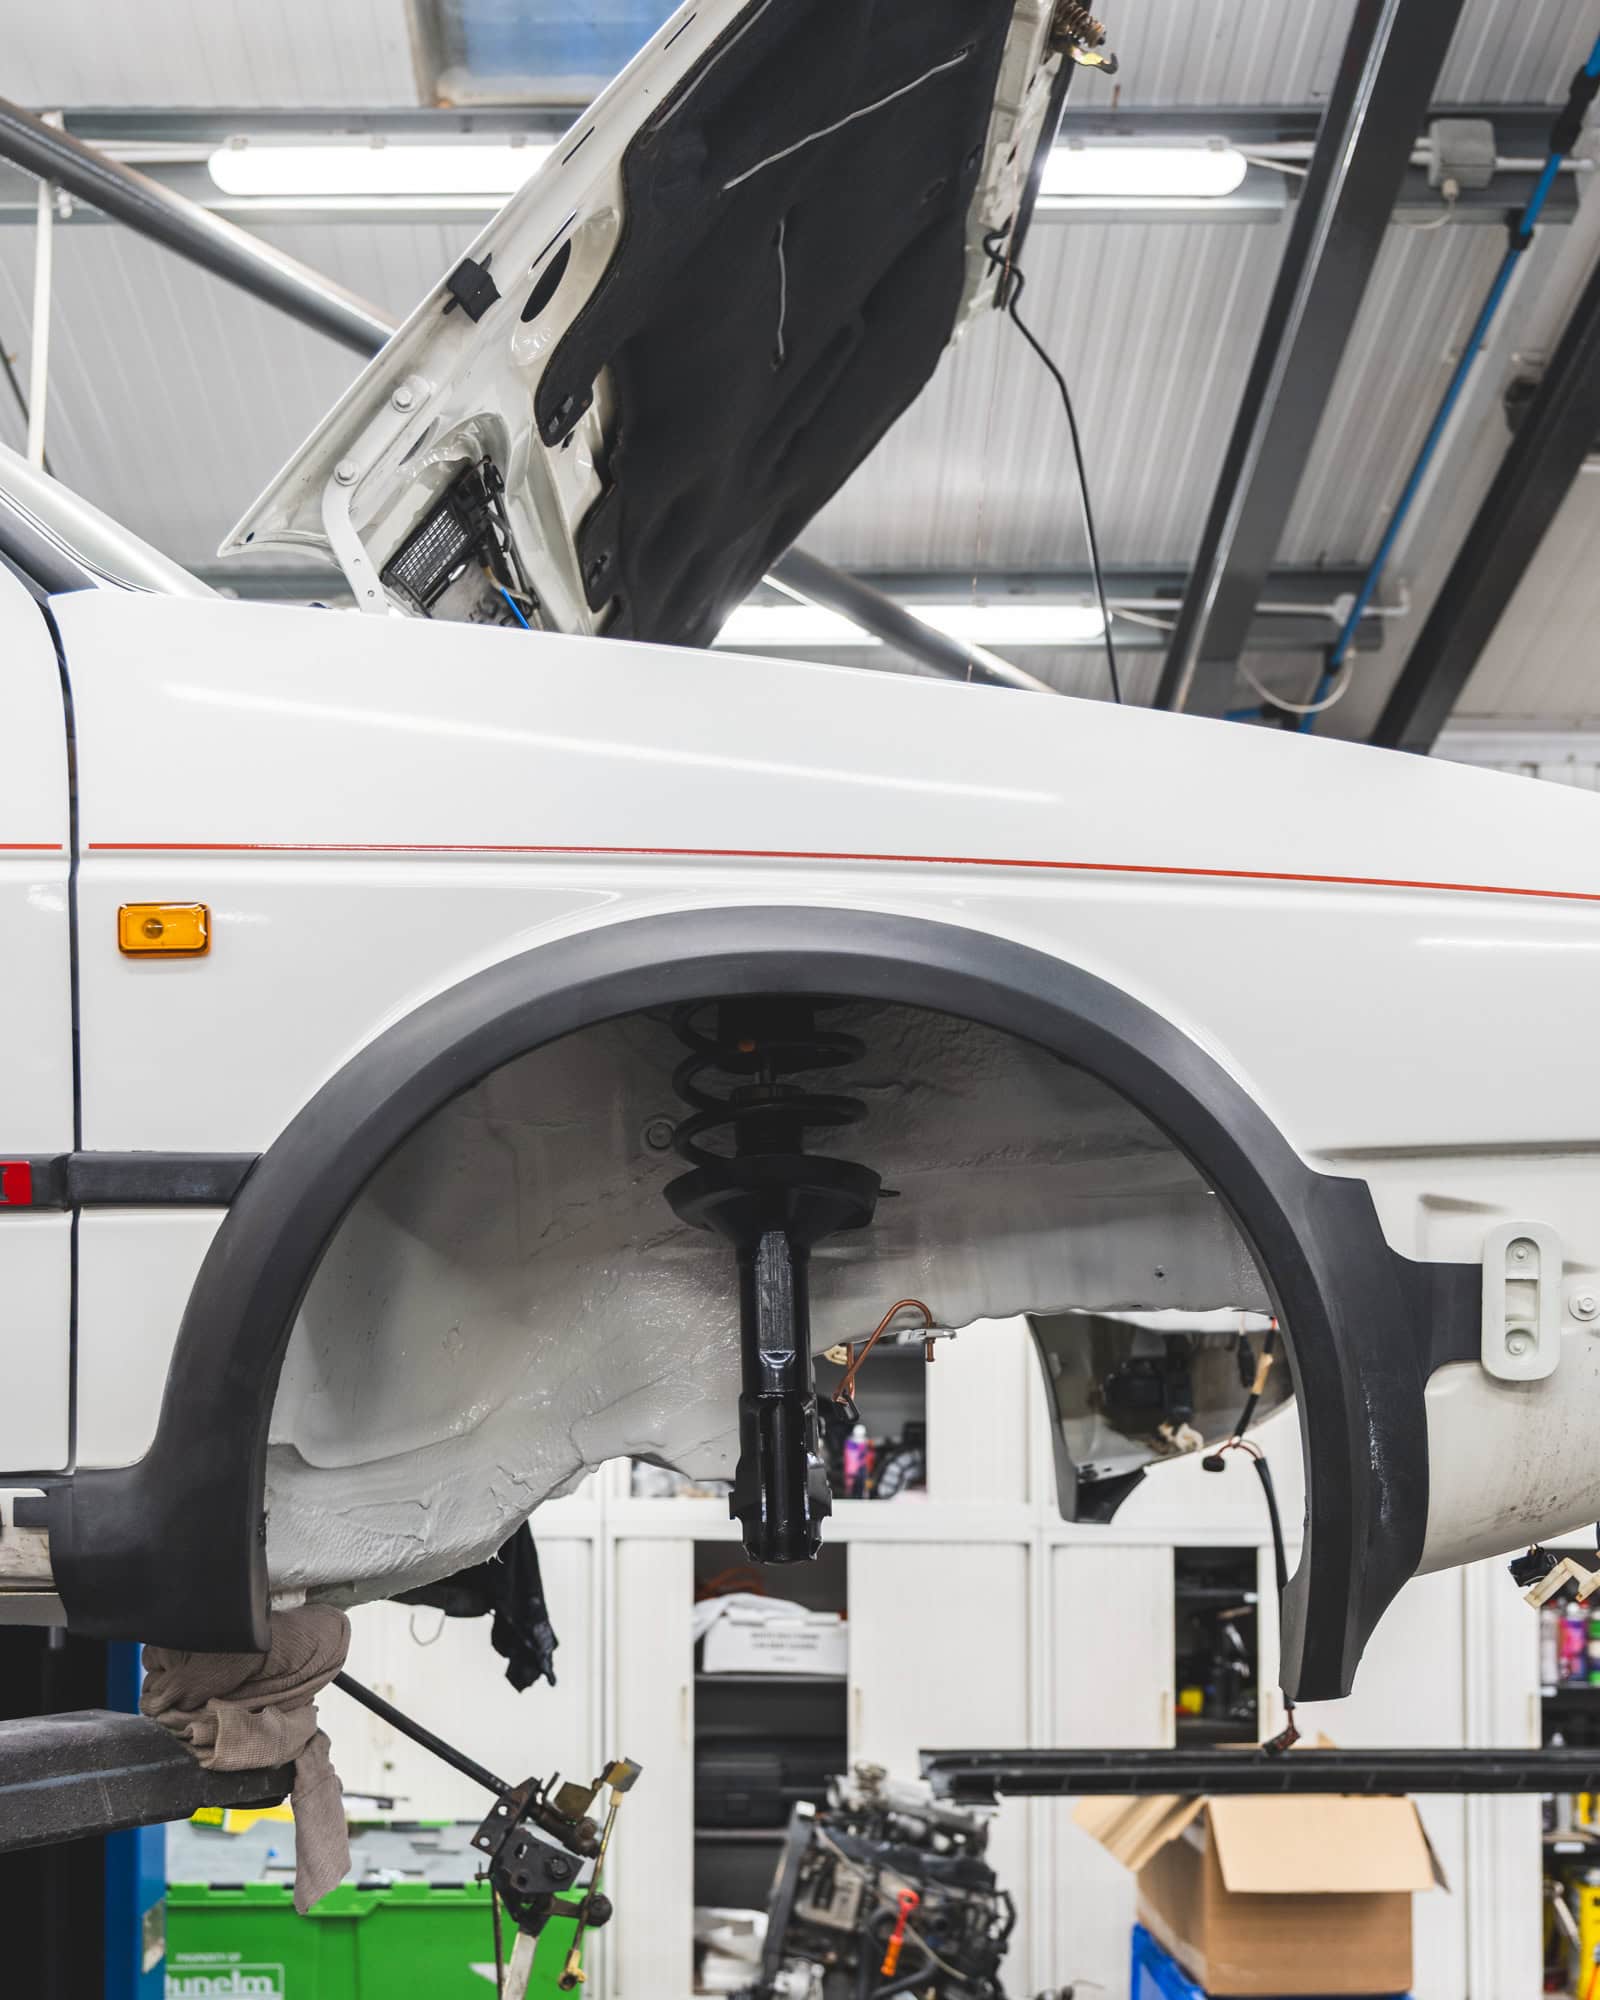
Now clean and back on the ramps, we could start unbolting the suspension and subframes ready to be media blasted and painted.
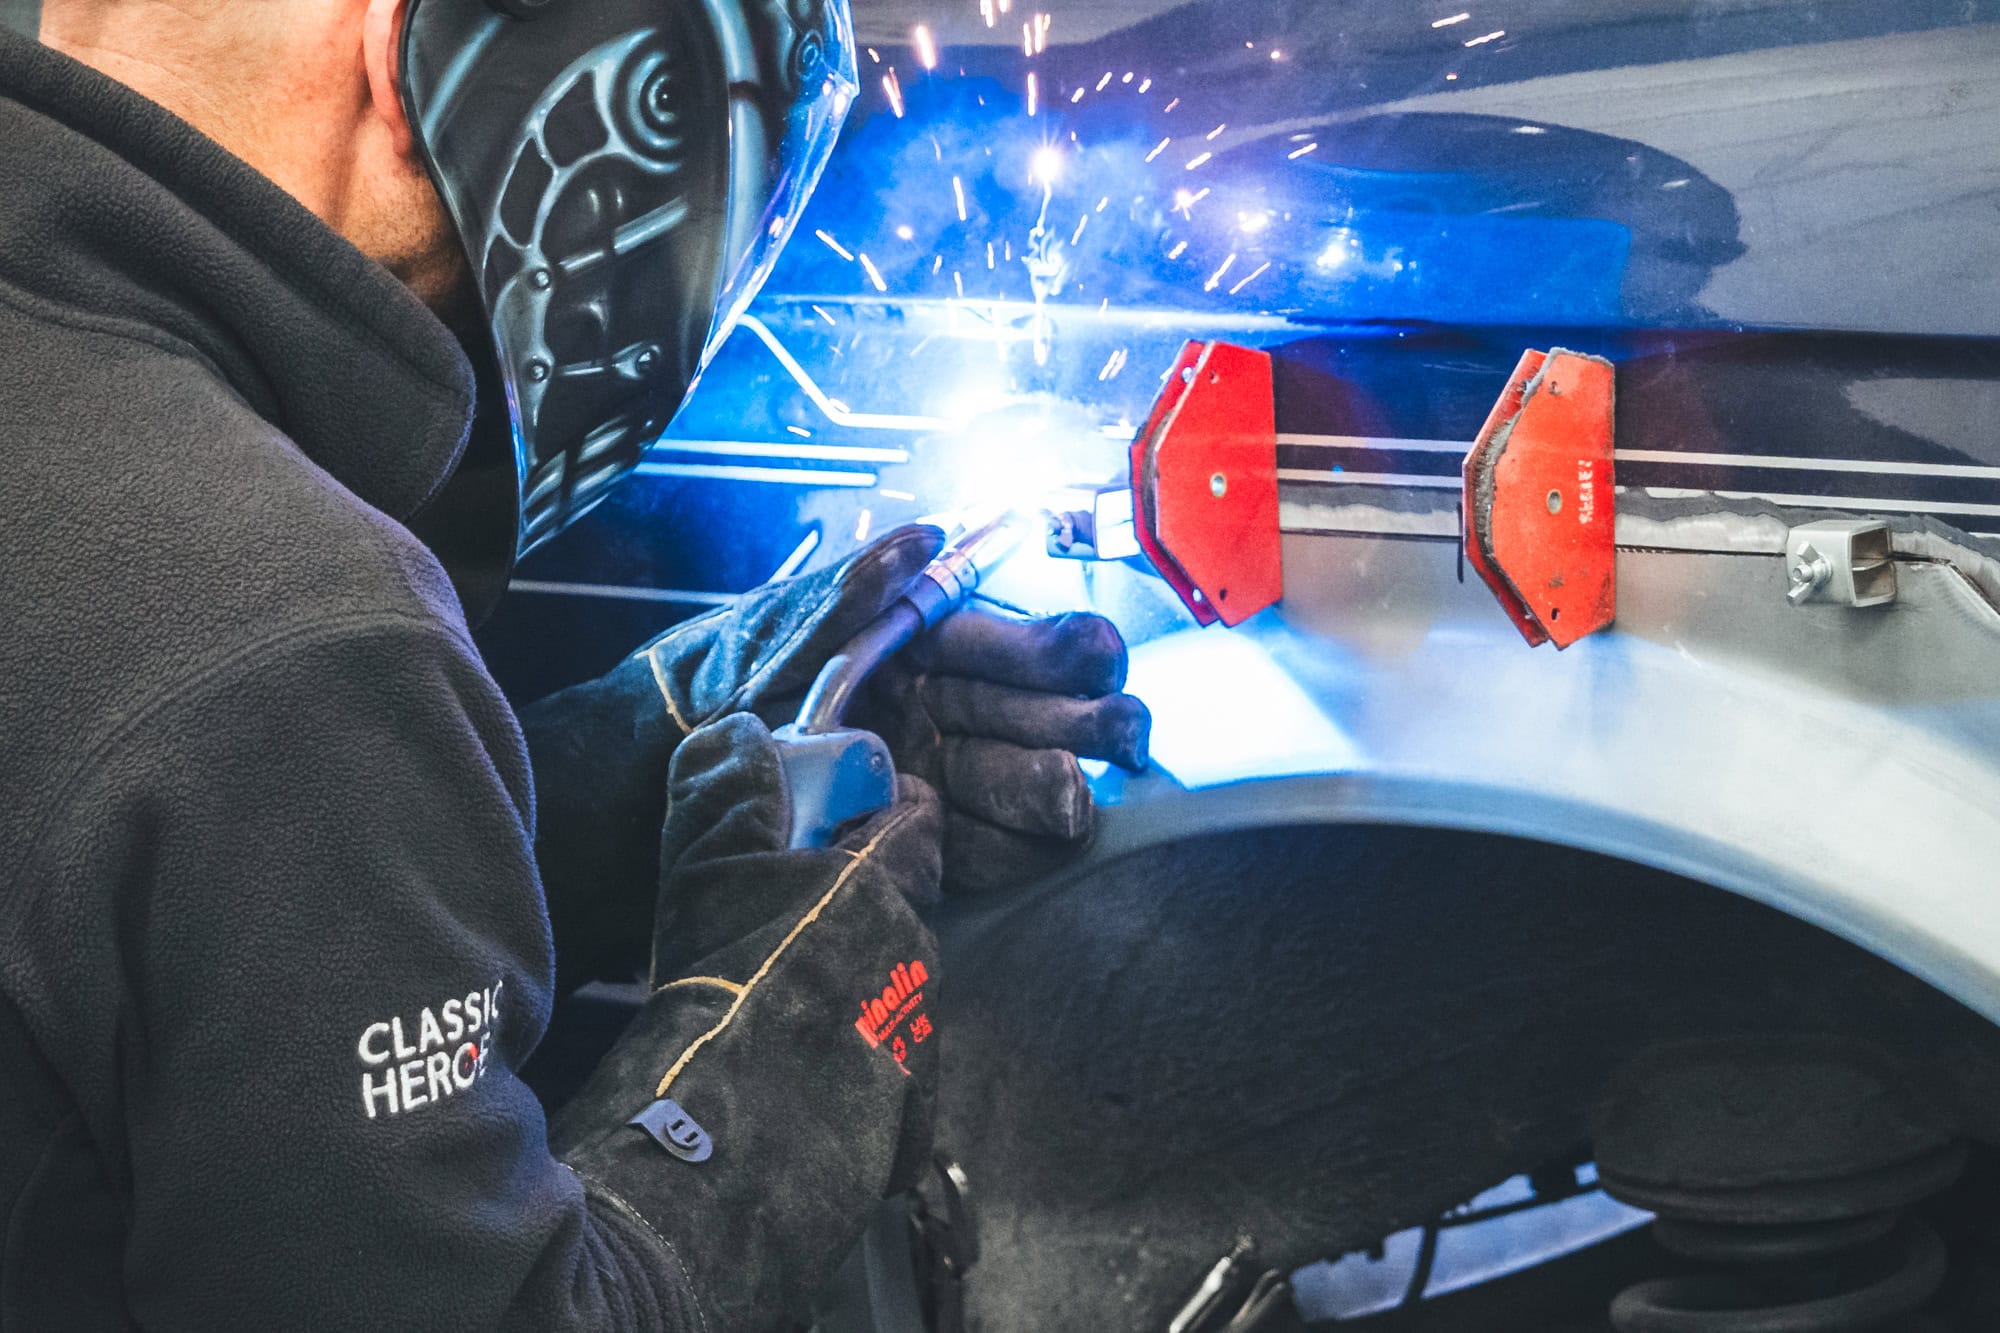
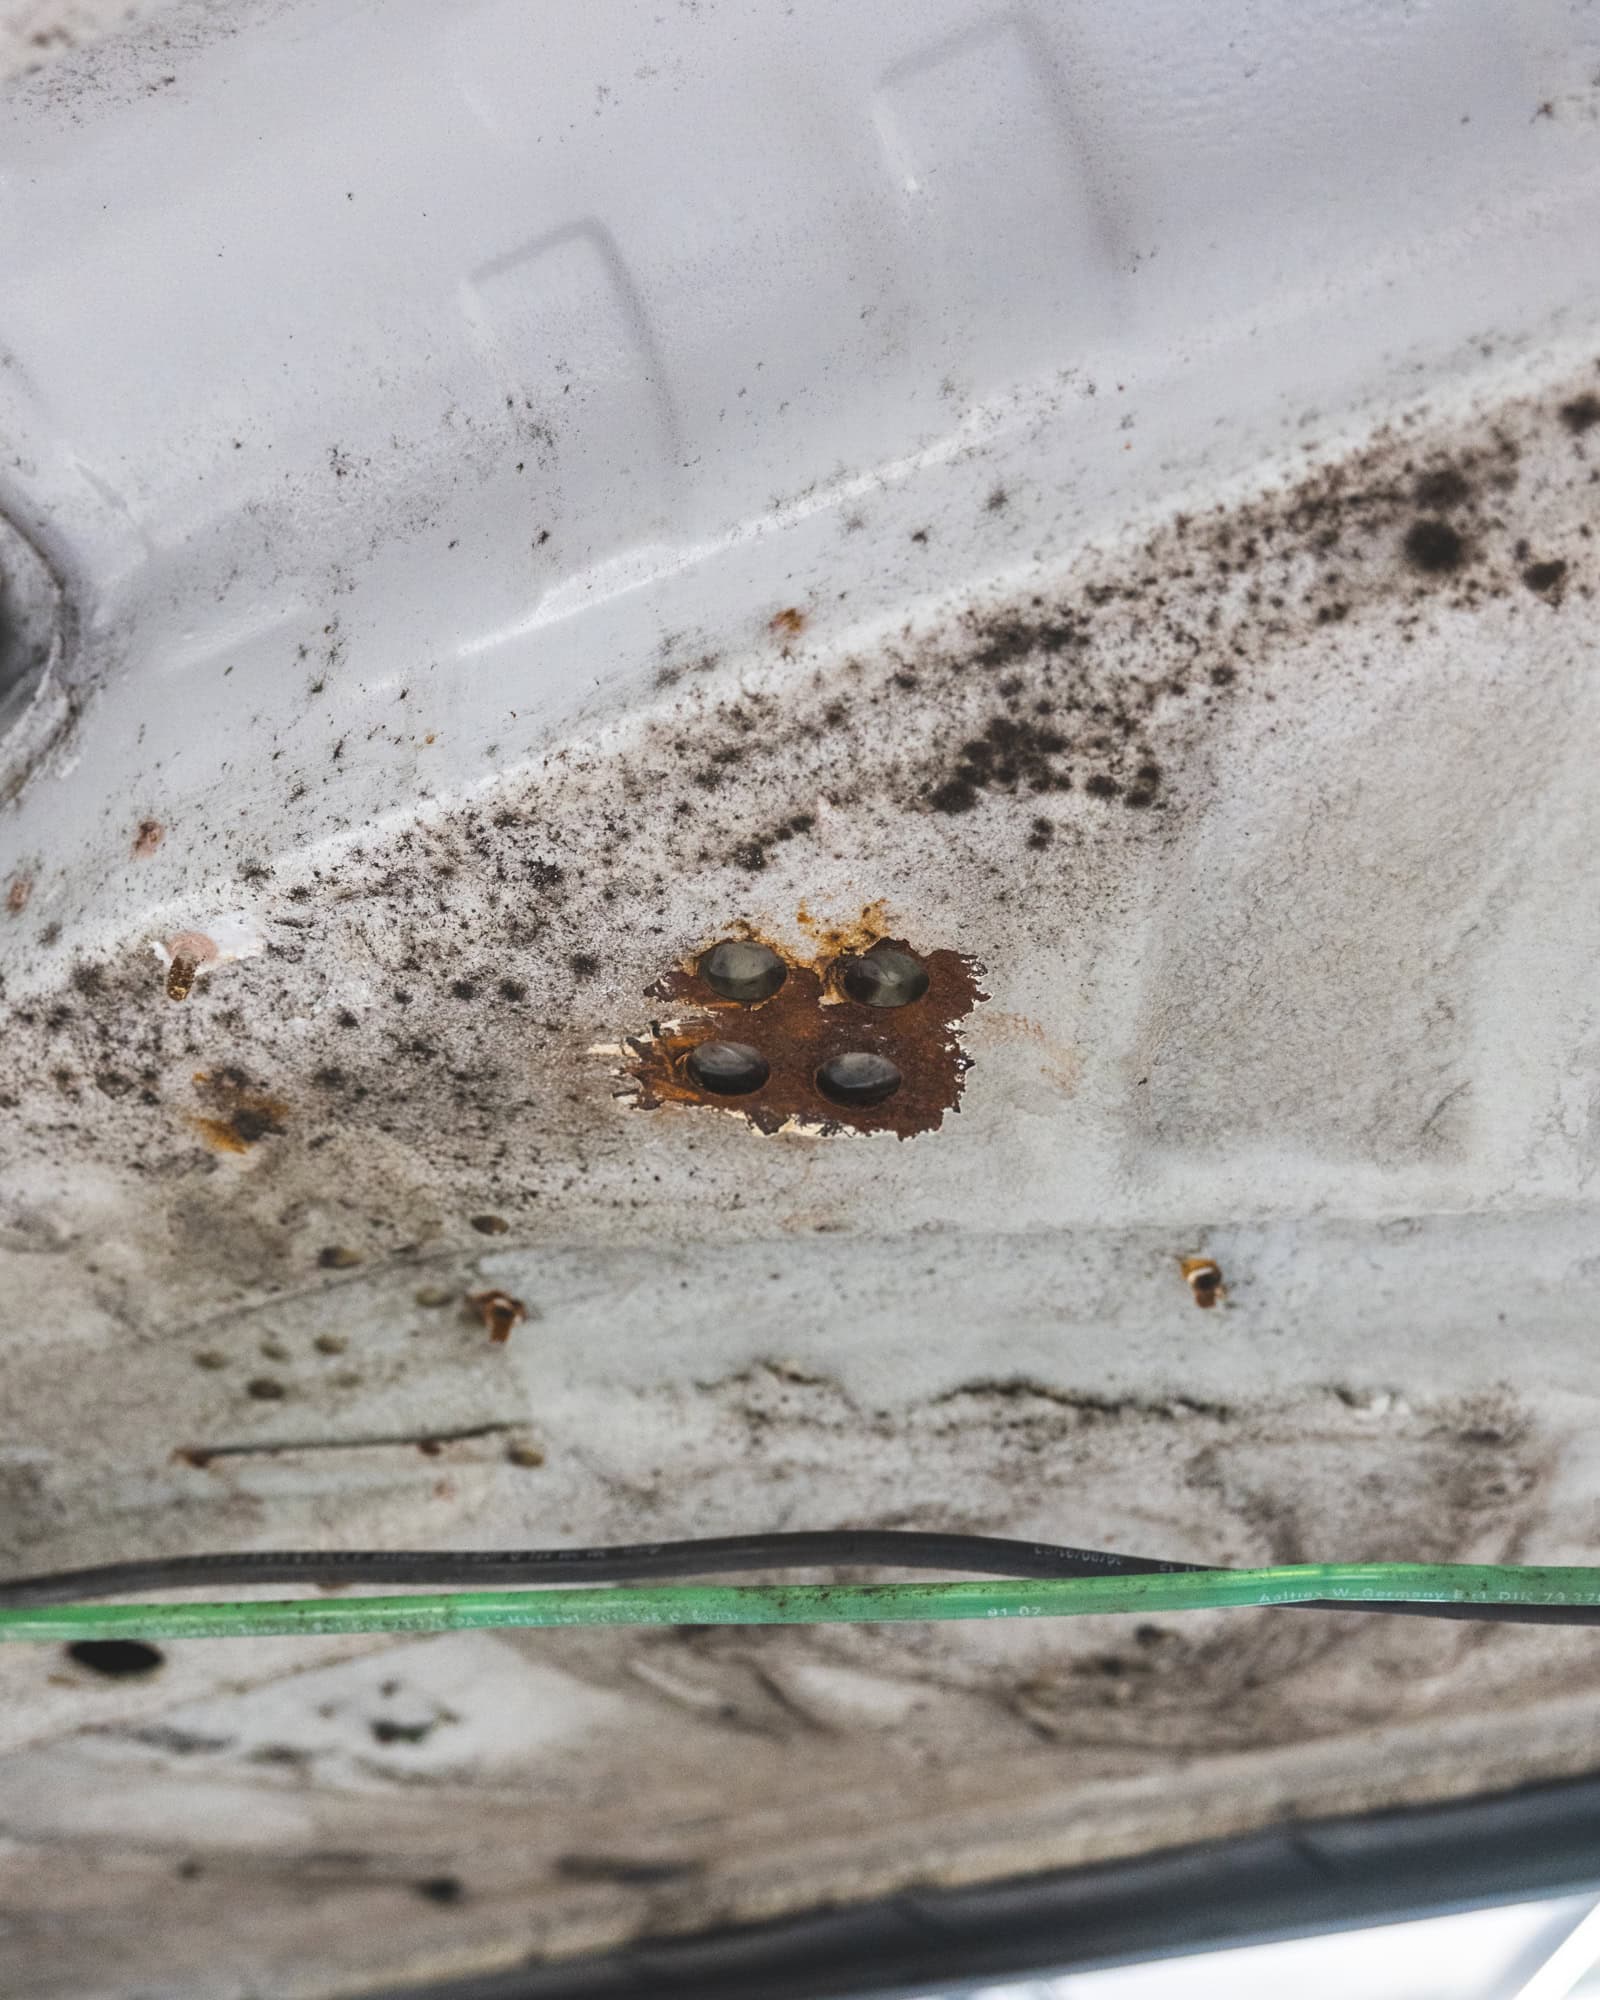
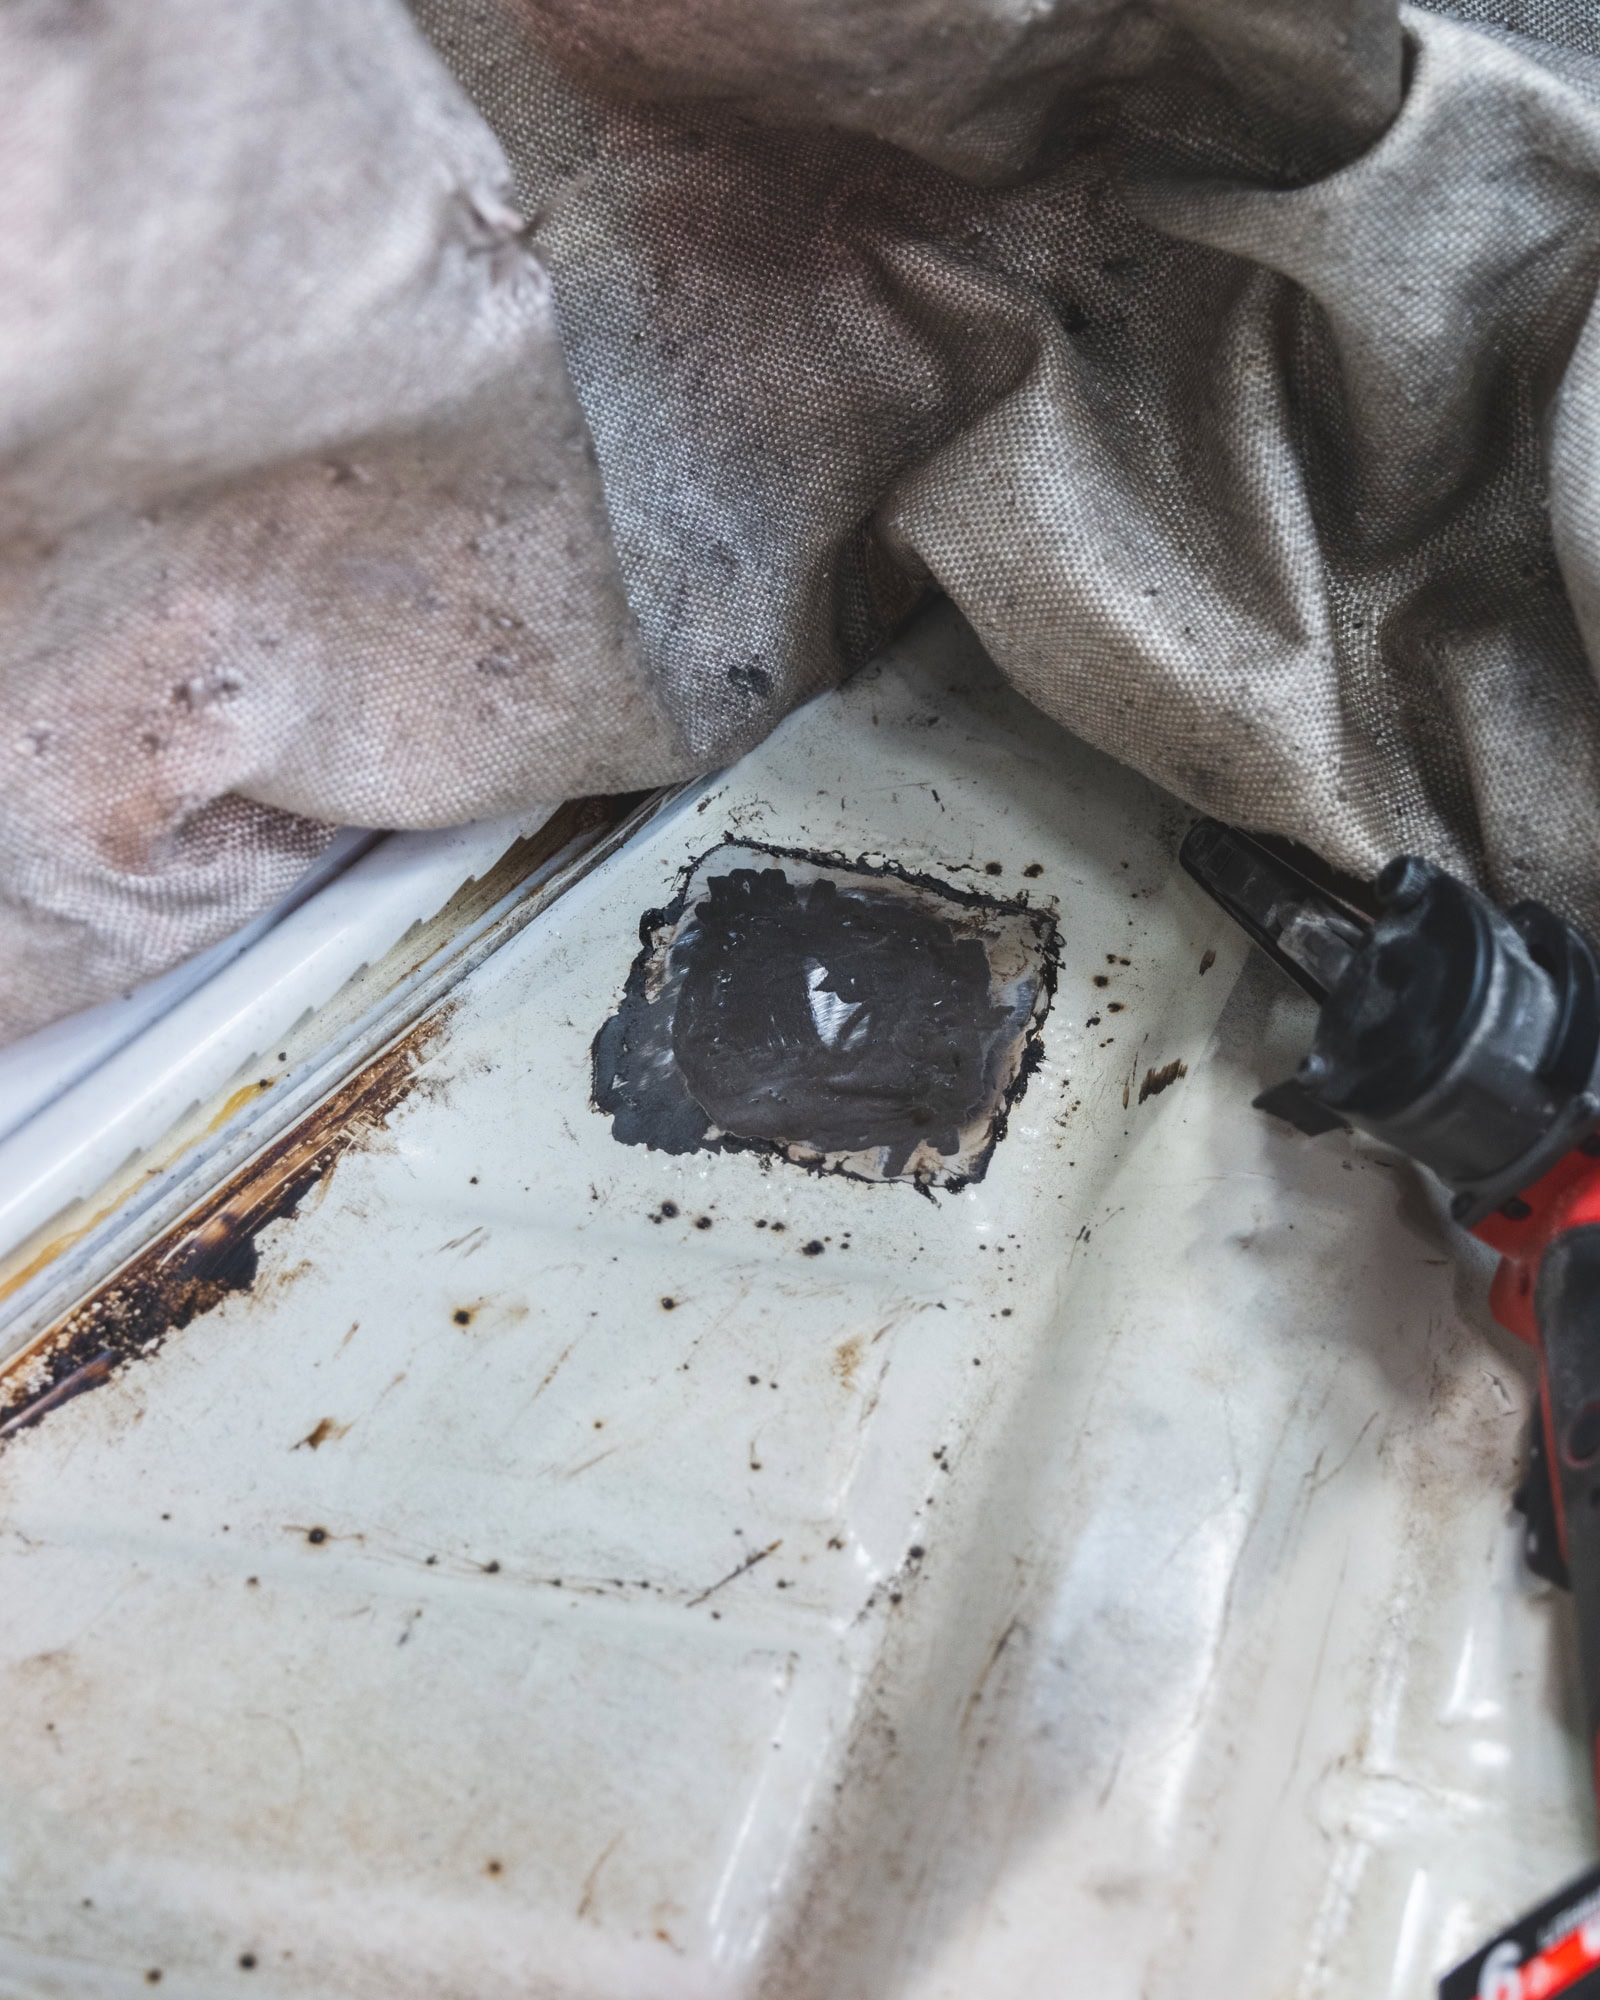
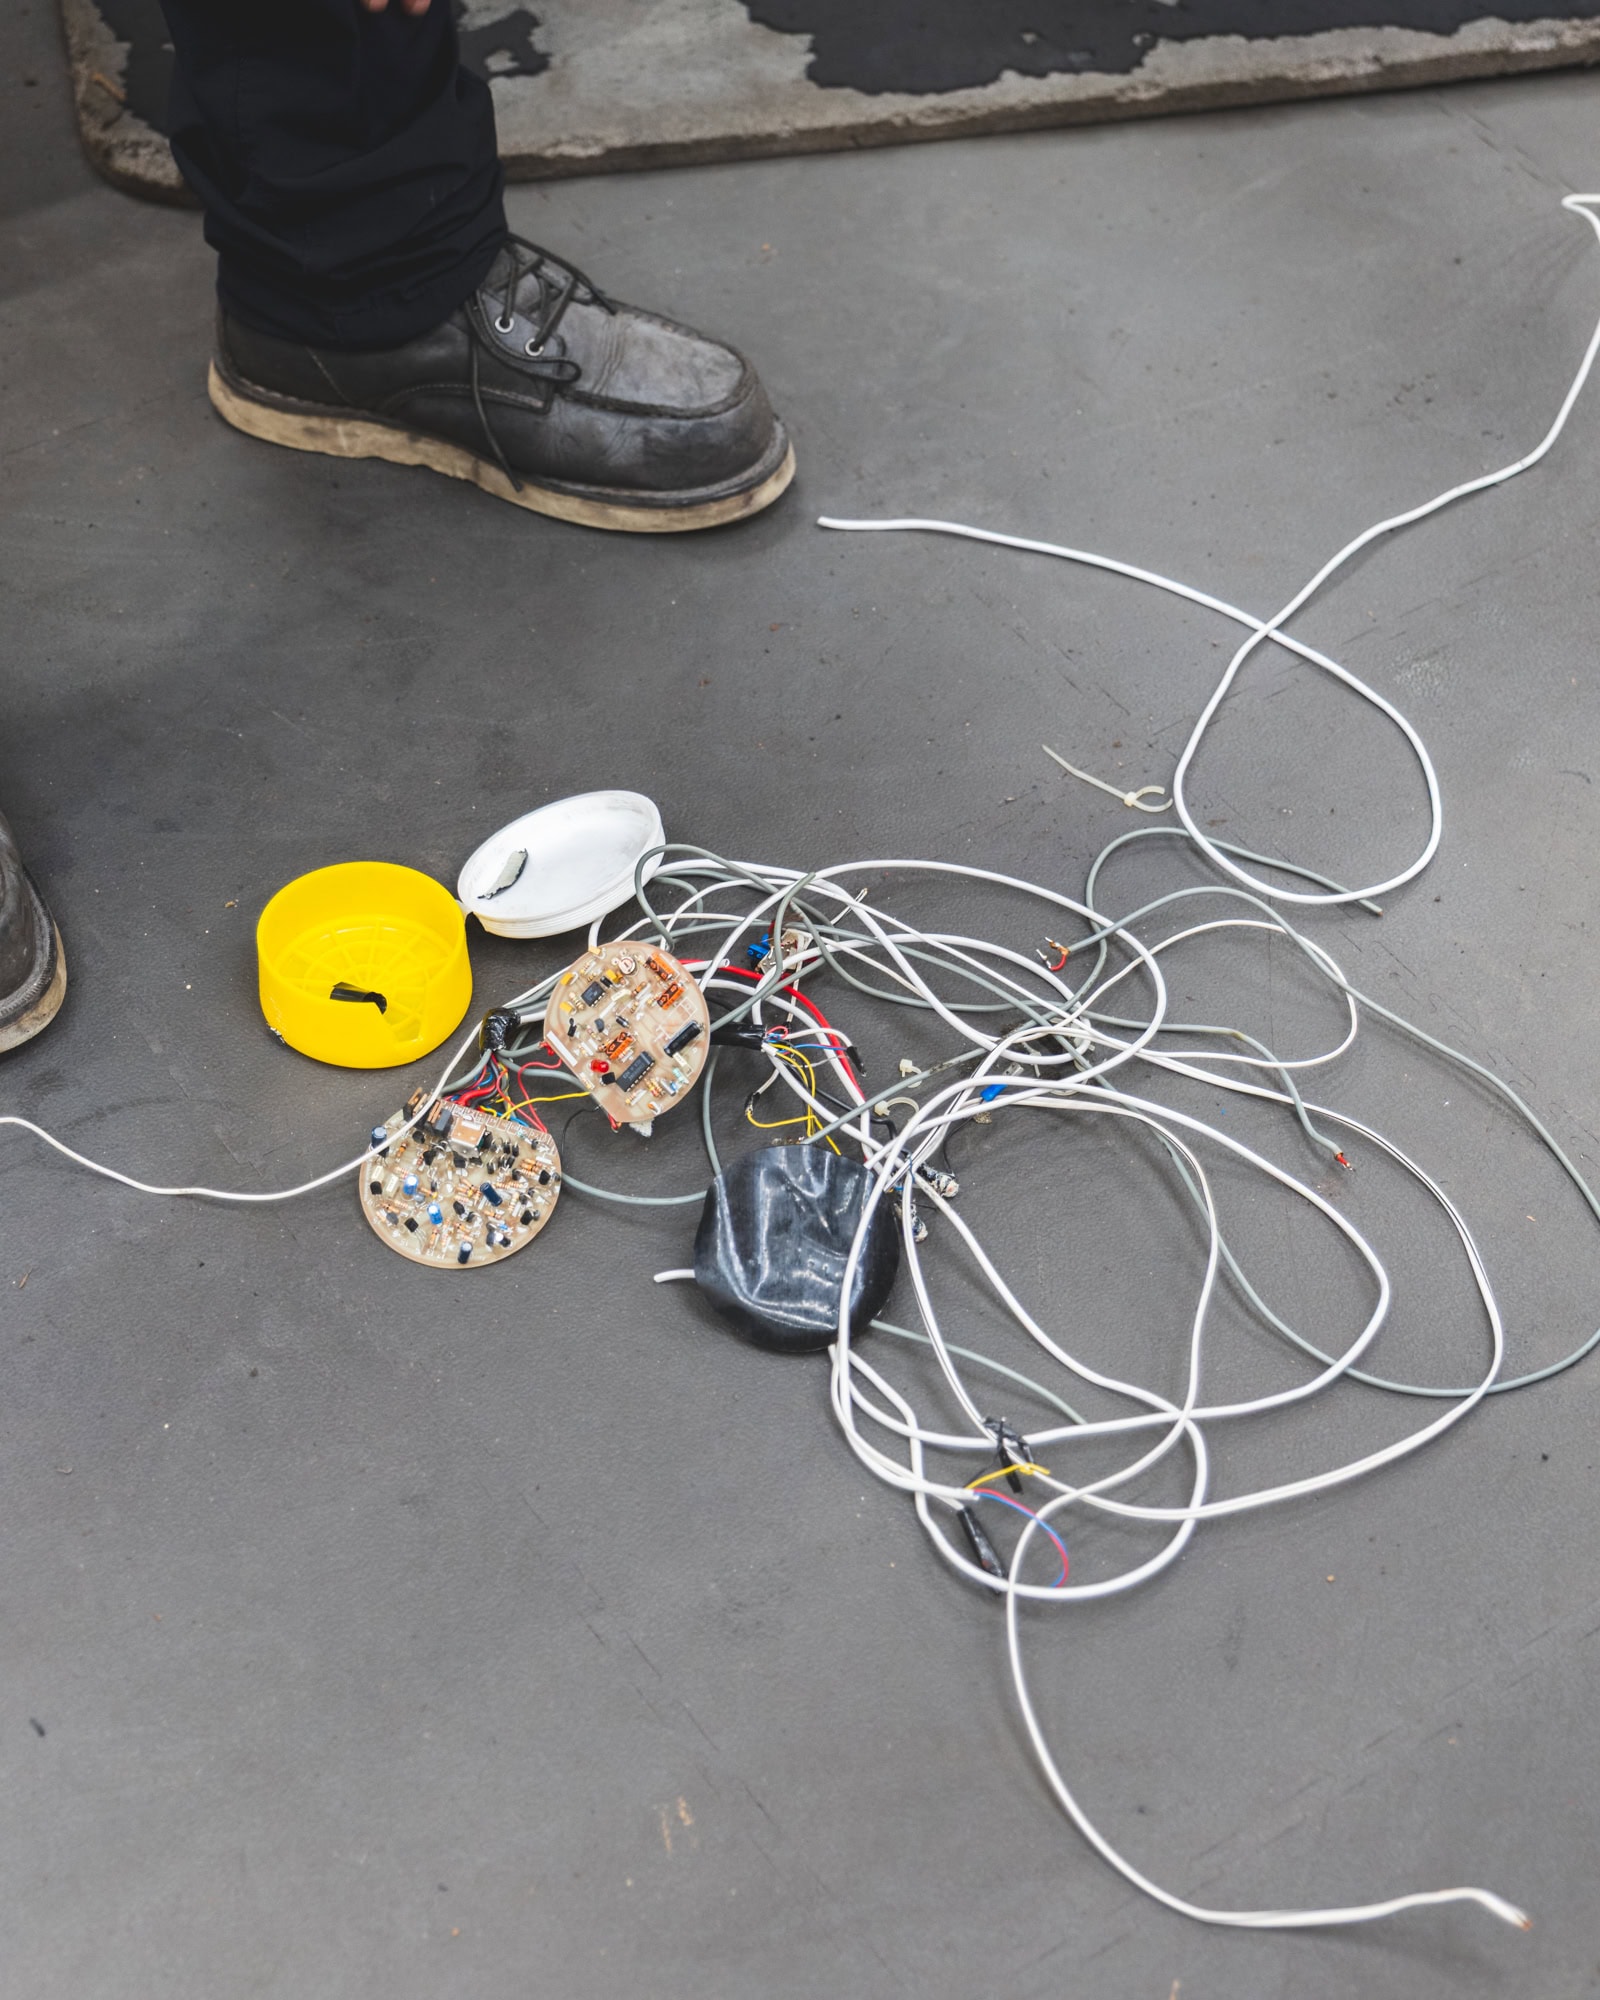
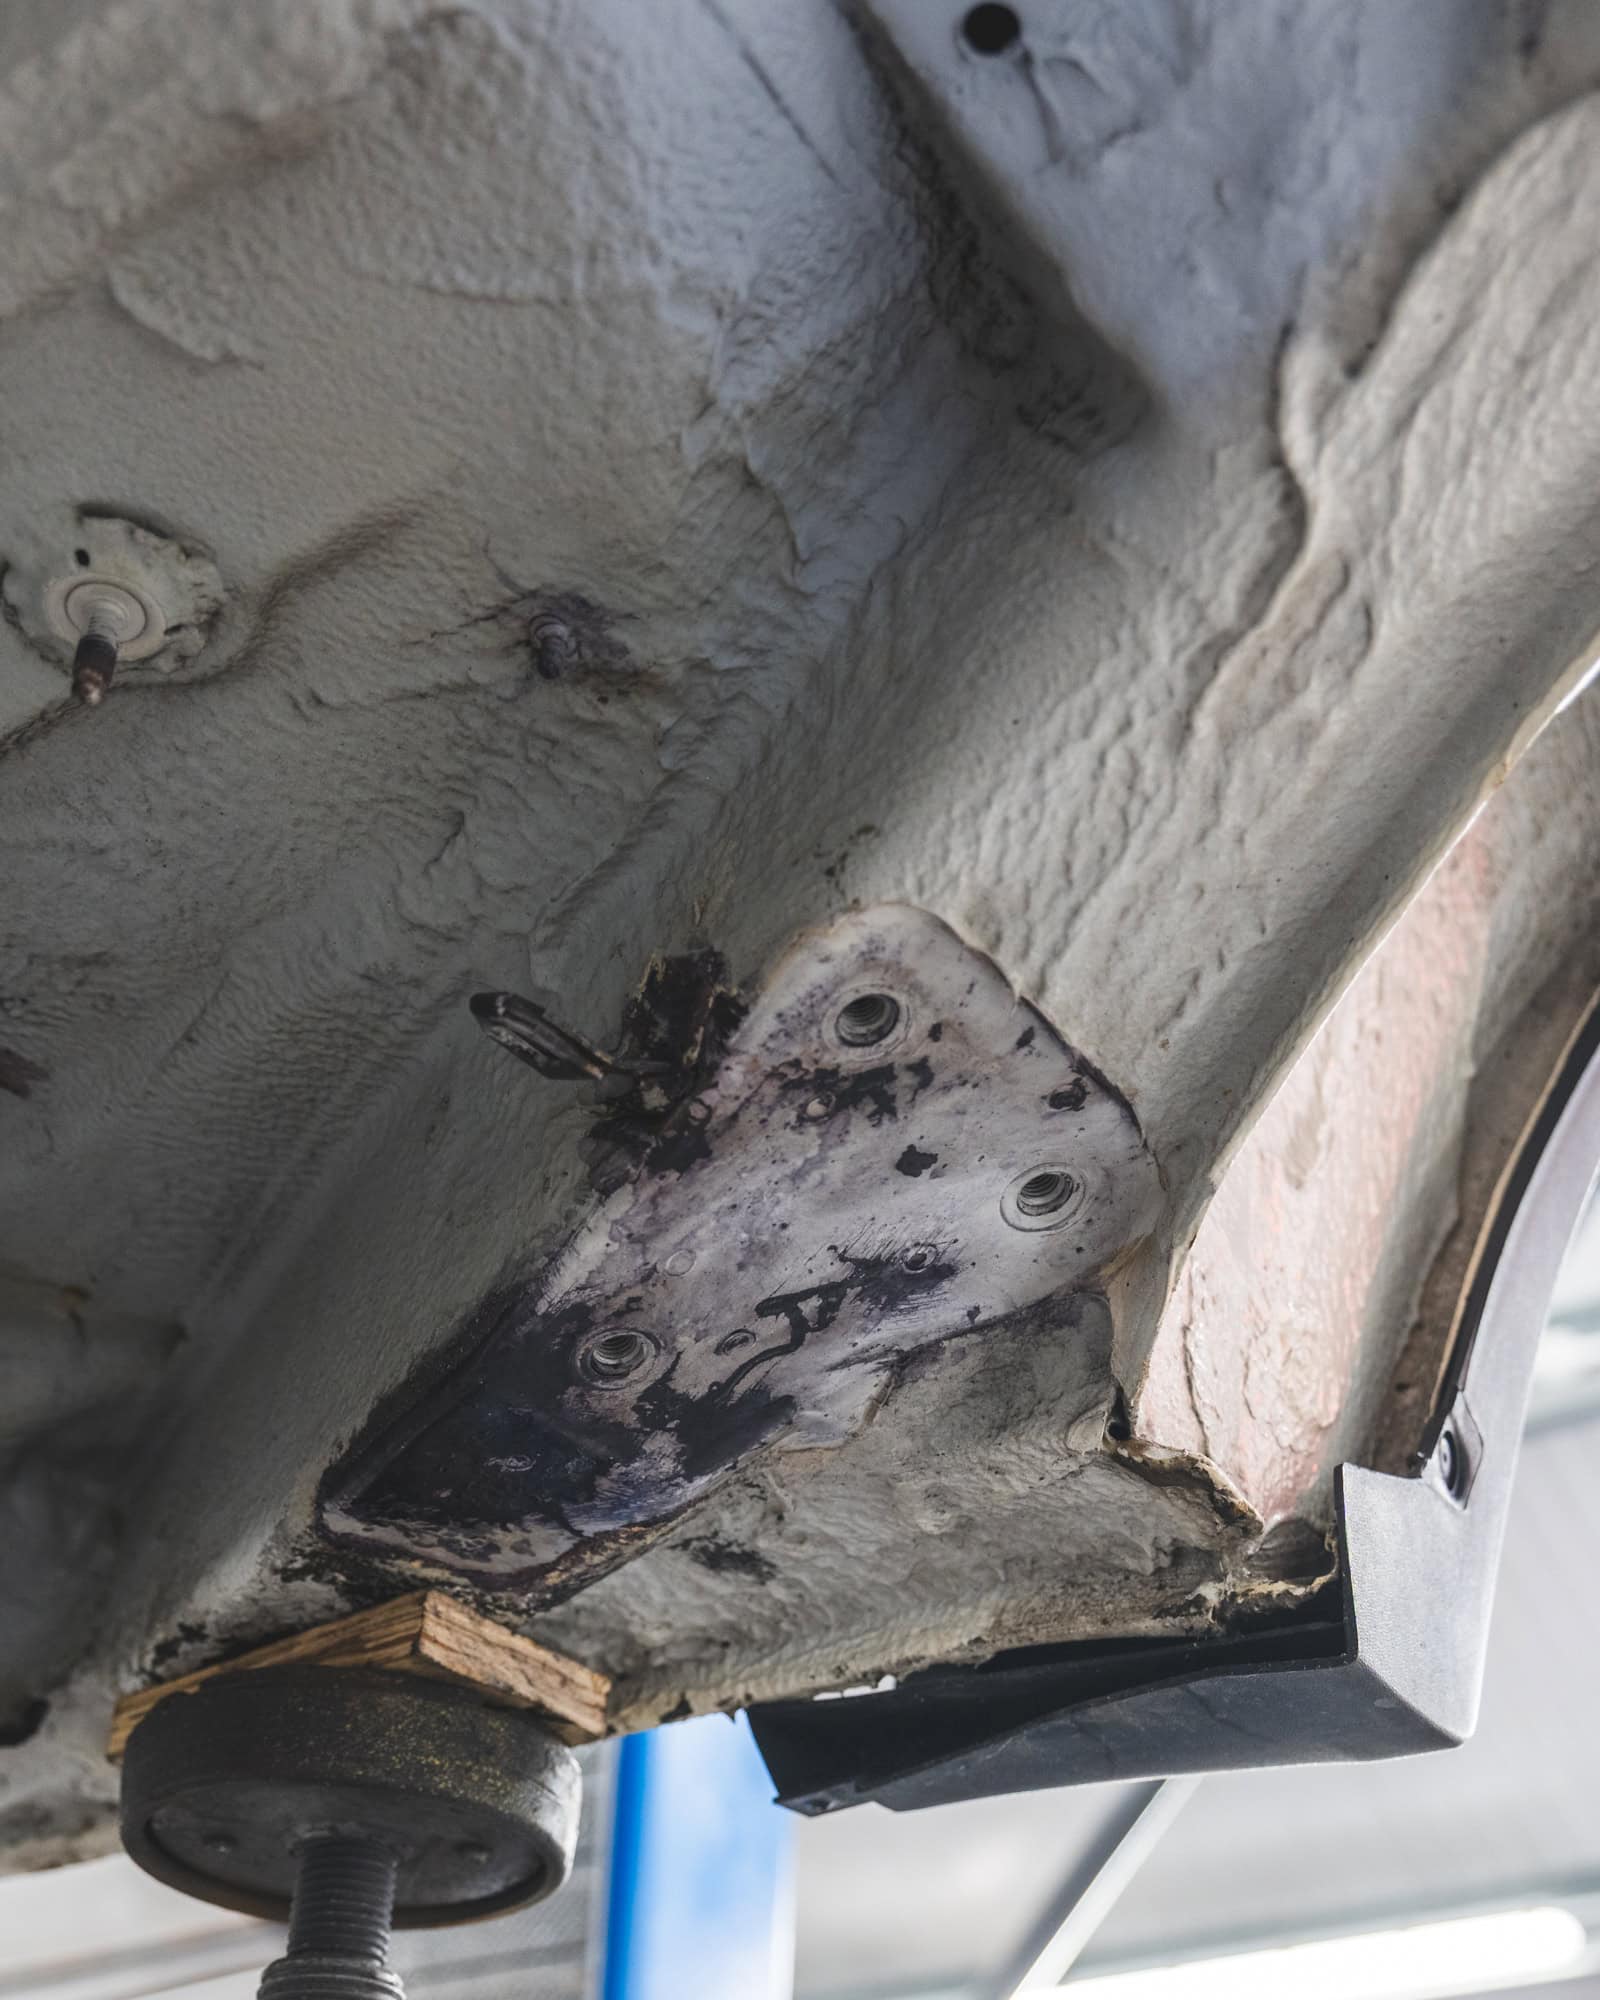
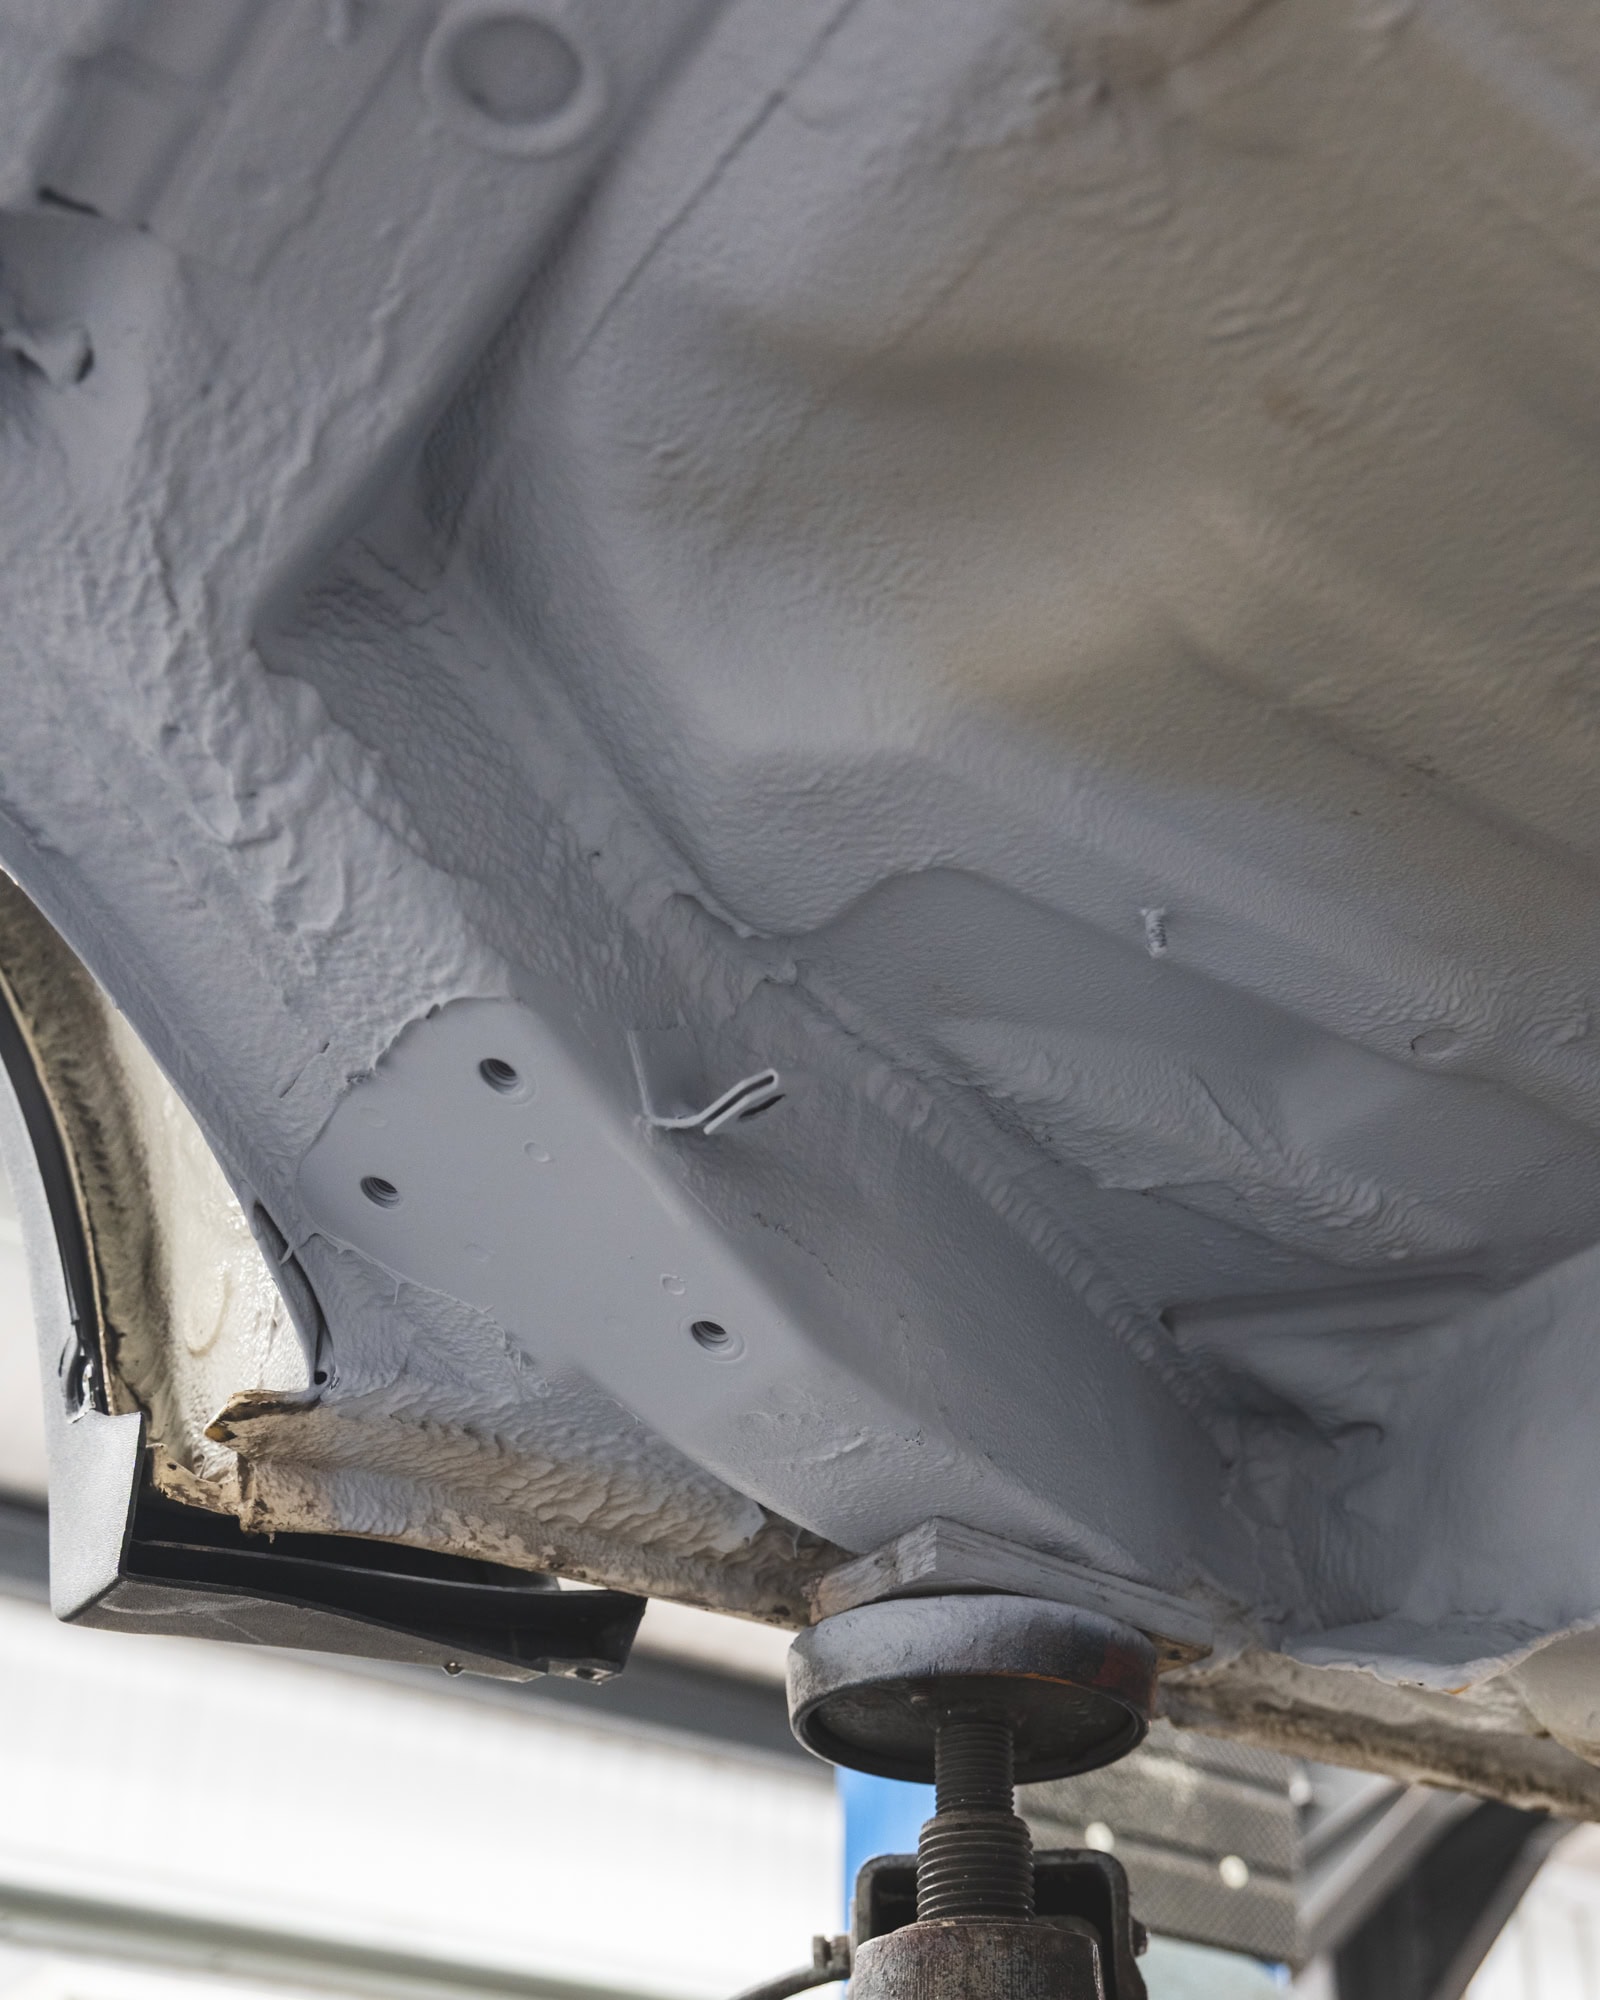
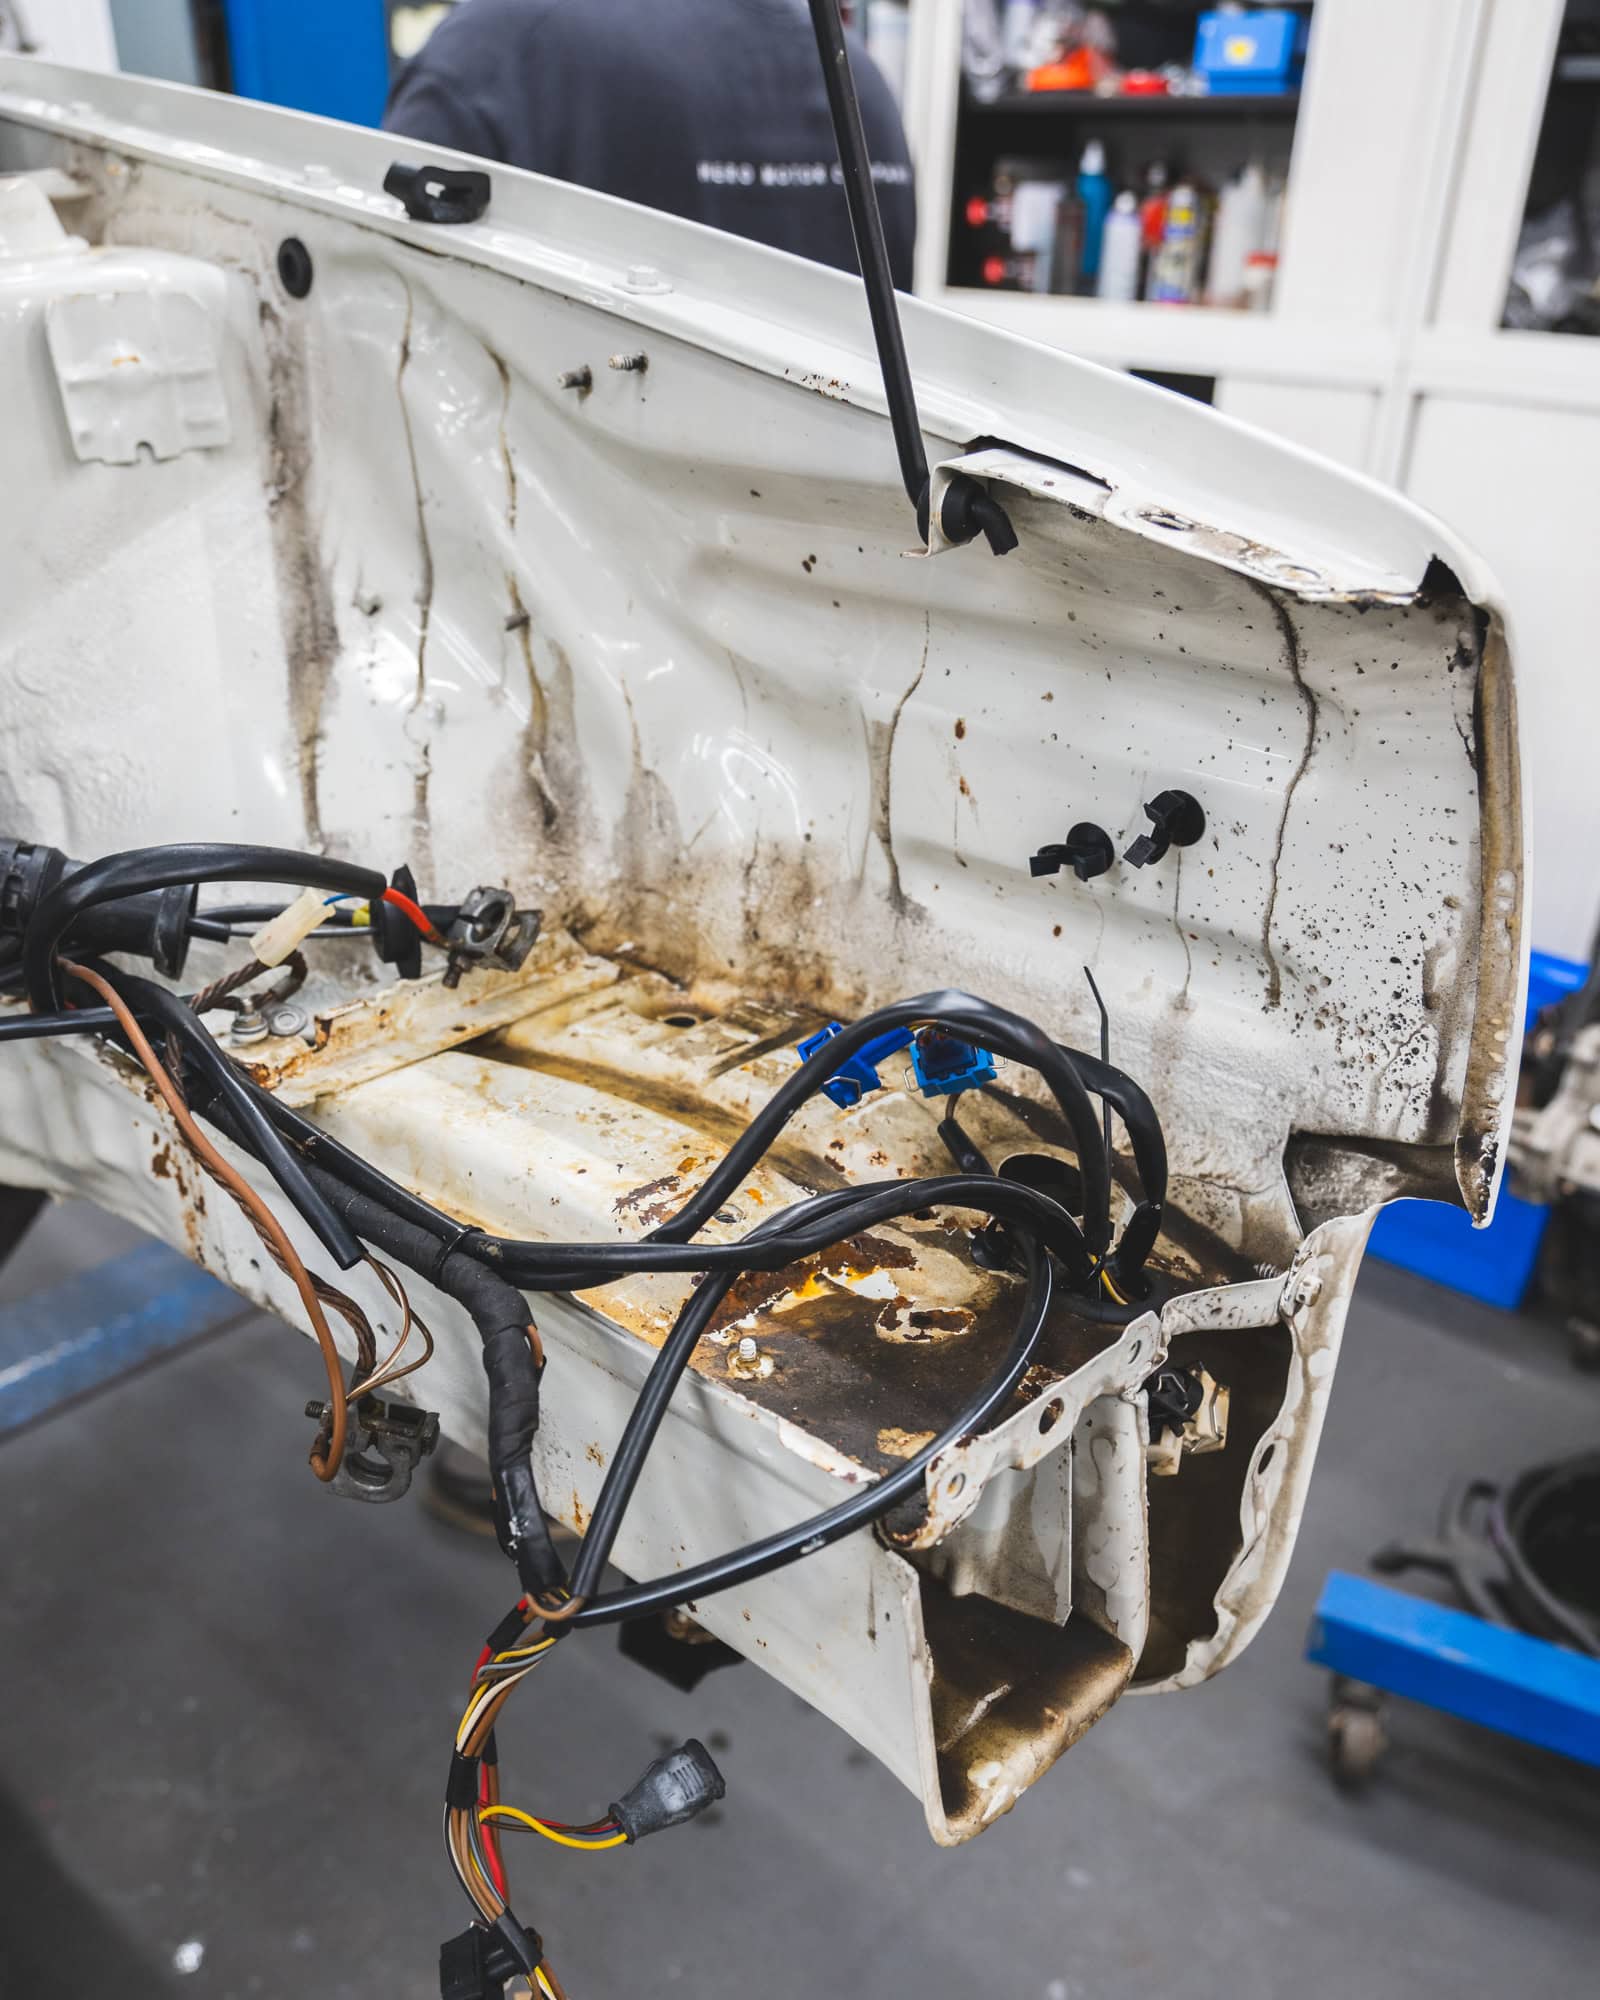
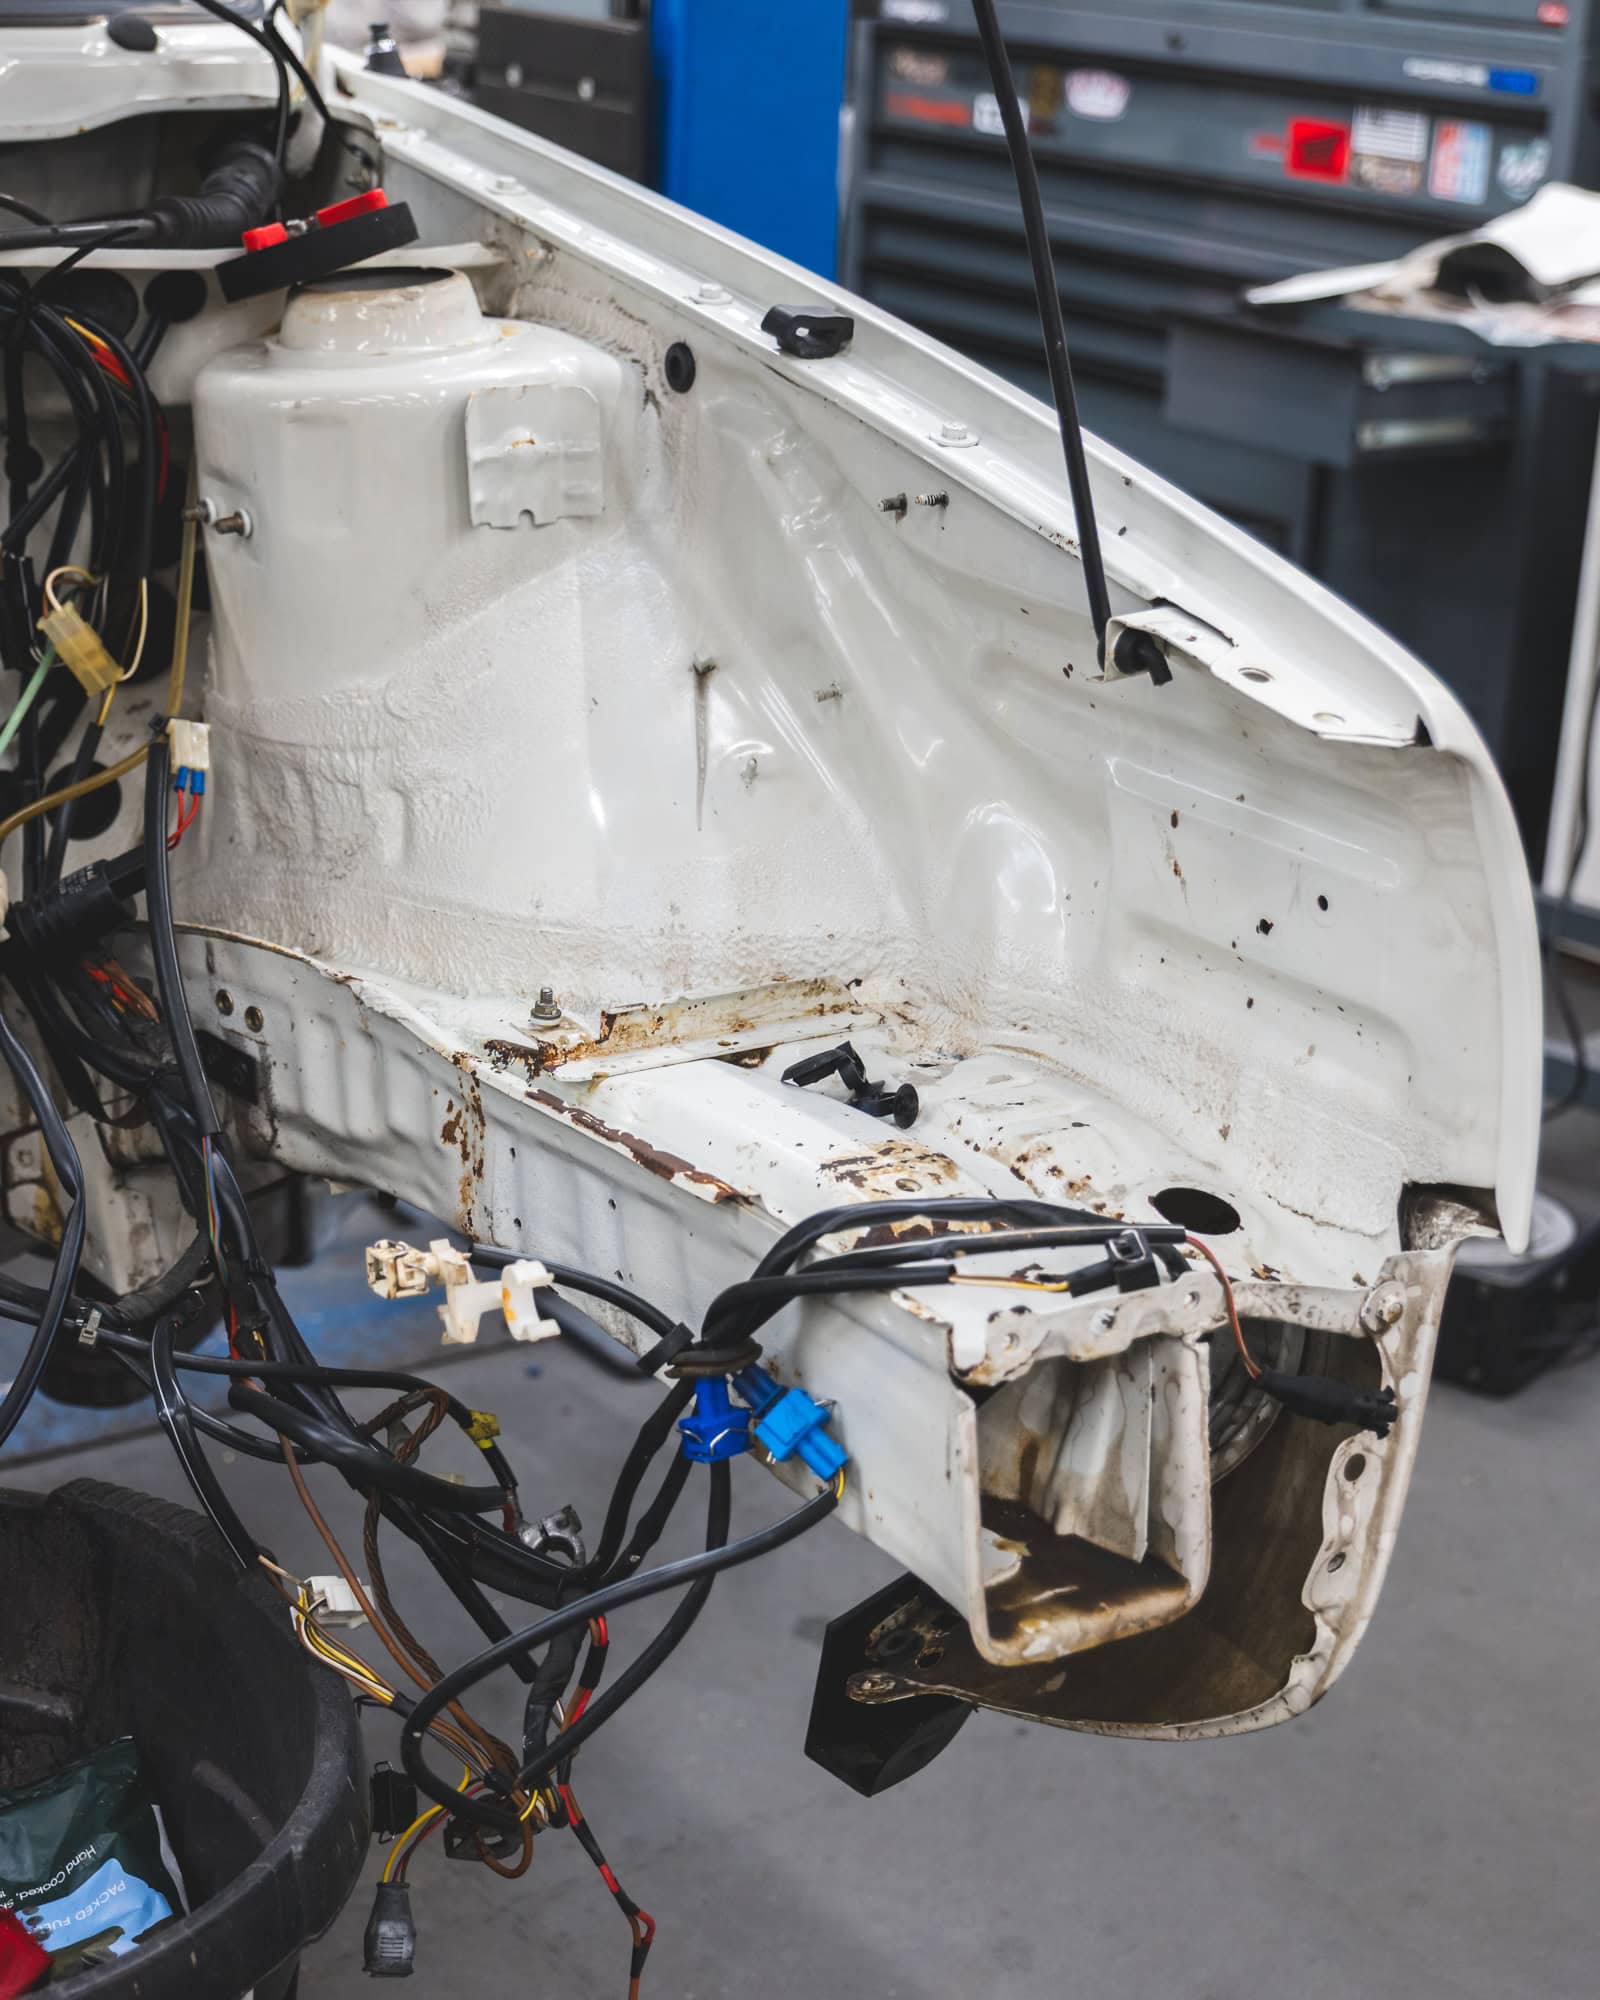
During our initial inspection of the Golf GTI, we discovered four holes on the underside of the car that we couldn’t identify. It wasn’t until we lifted the carpets that we discovered a small speaker stuck to the floor. We assumed it could only be part of an aftermarket alarm system that had been fitted sometime in the 90s; using a combination of telephone wire, speaker cable and mounted in a fisherman’s plastic bait box.
We removed it, and welded up the holes that had been drilled in the shell. Some things are best left in the past.
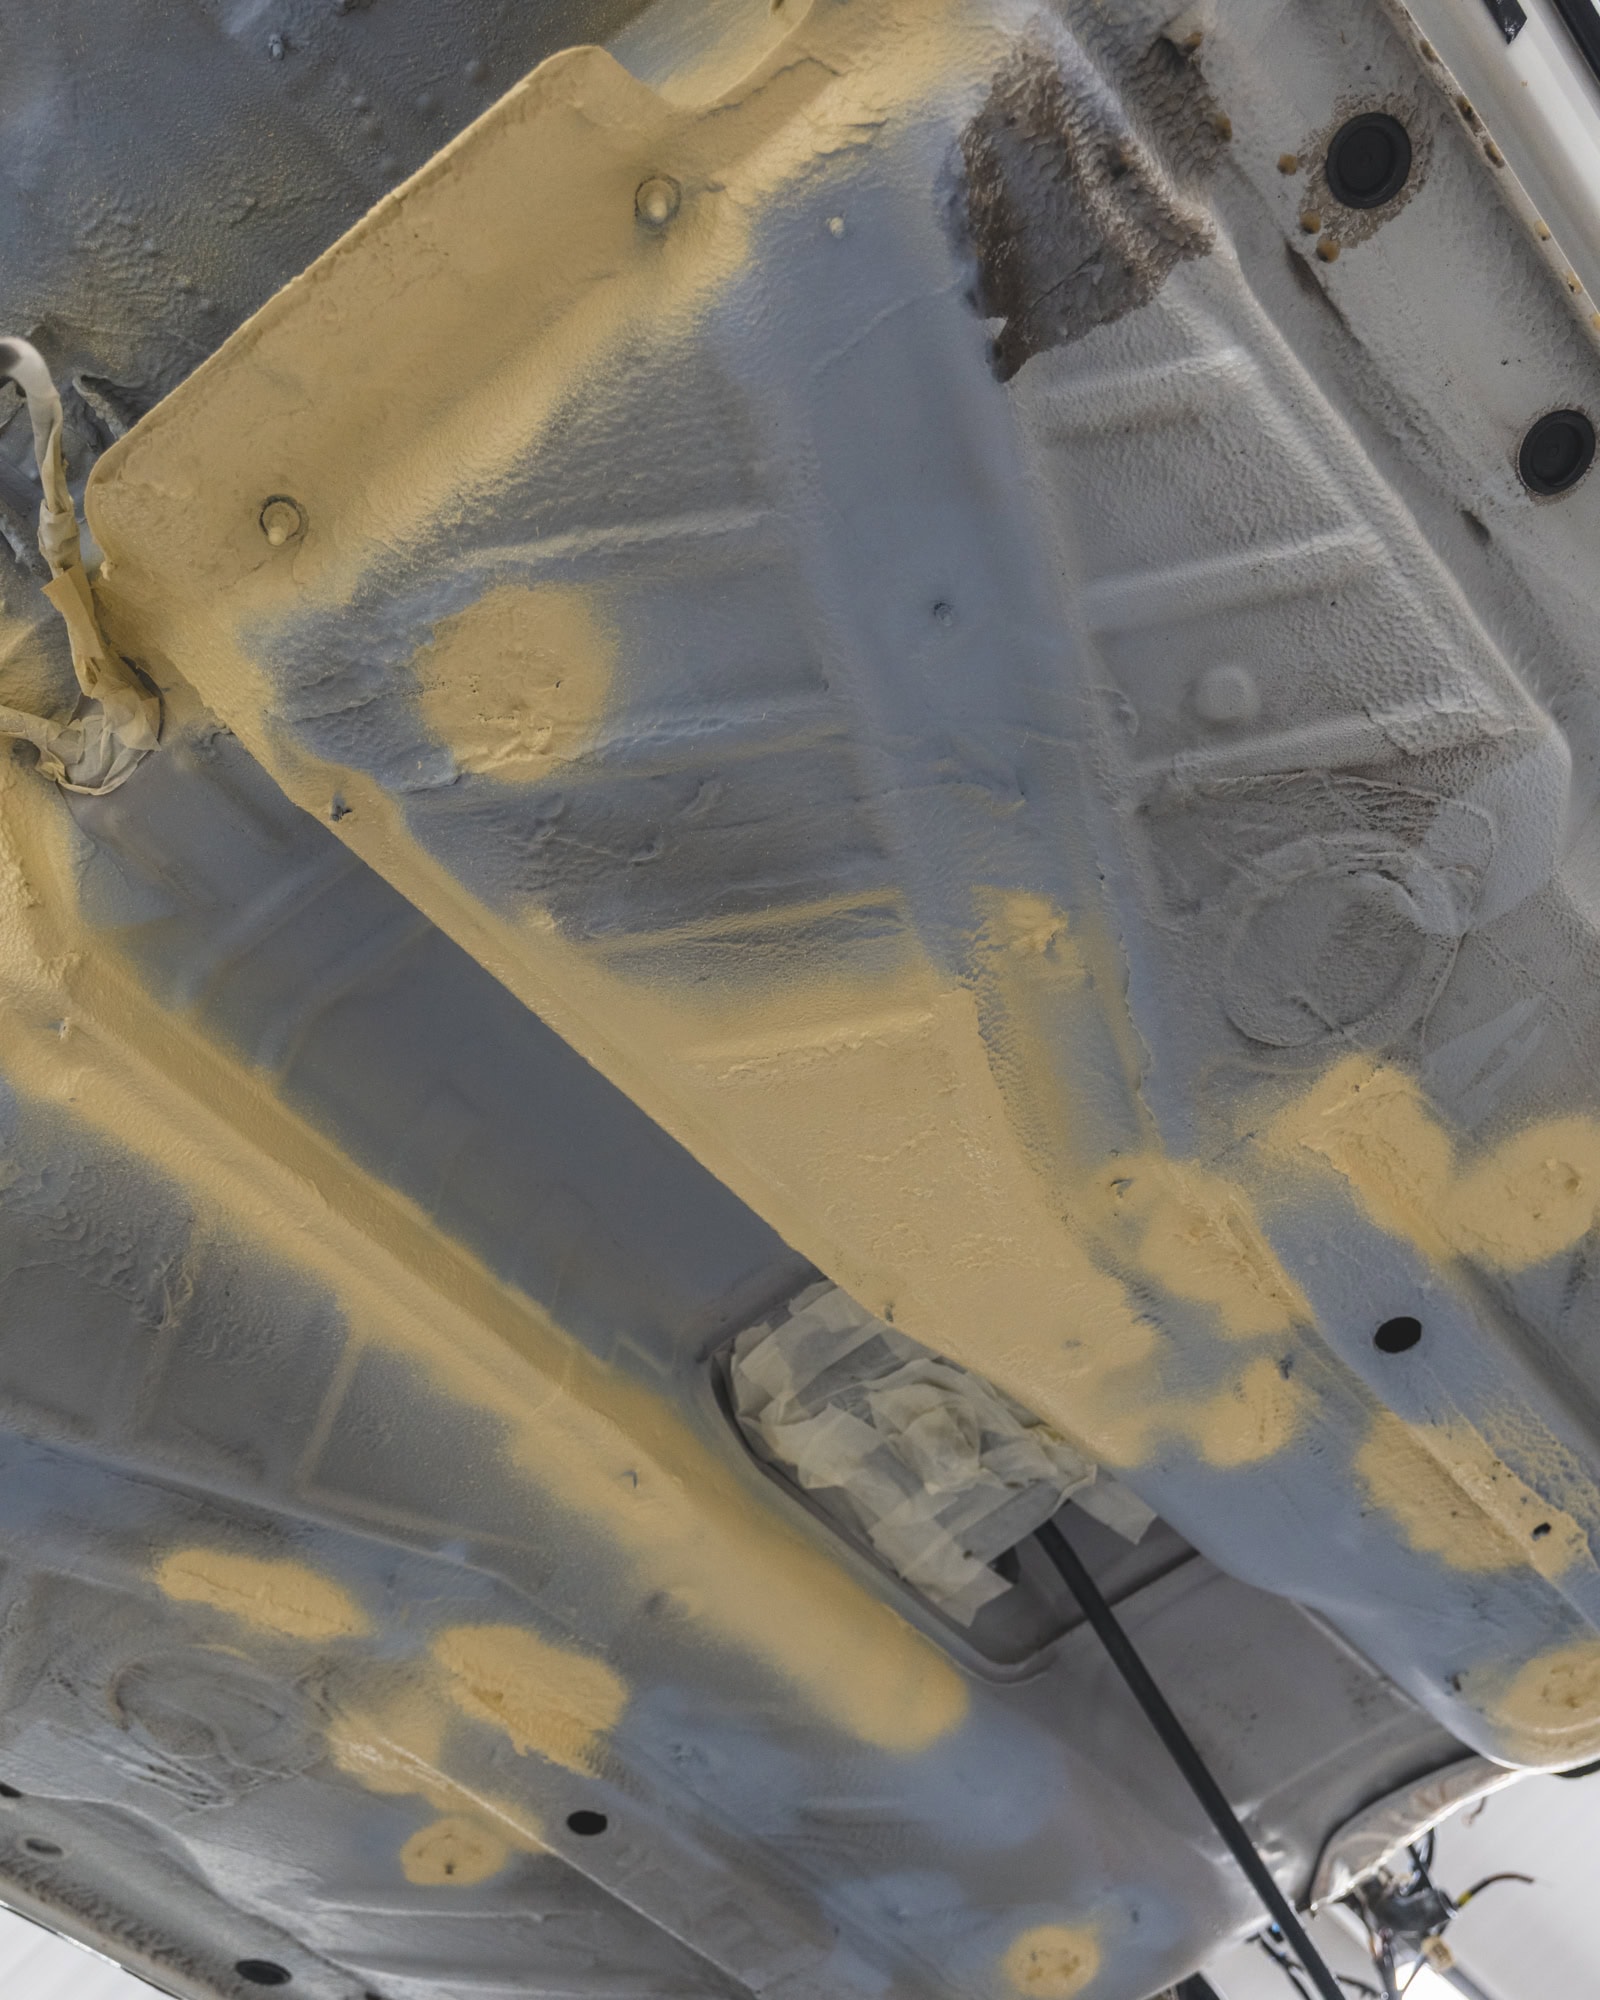
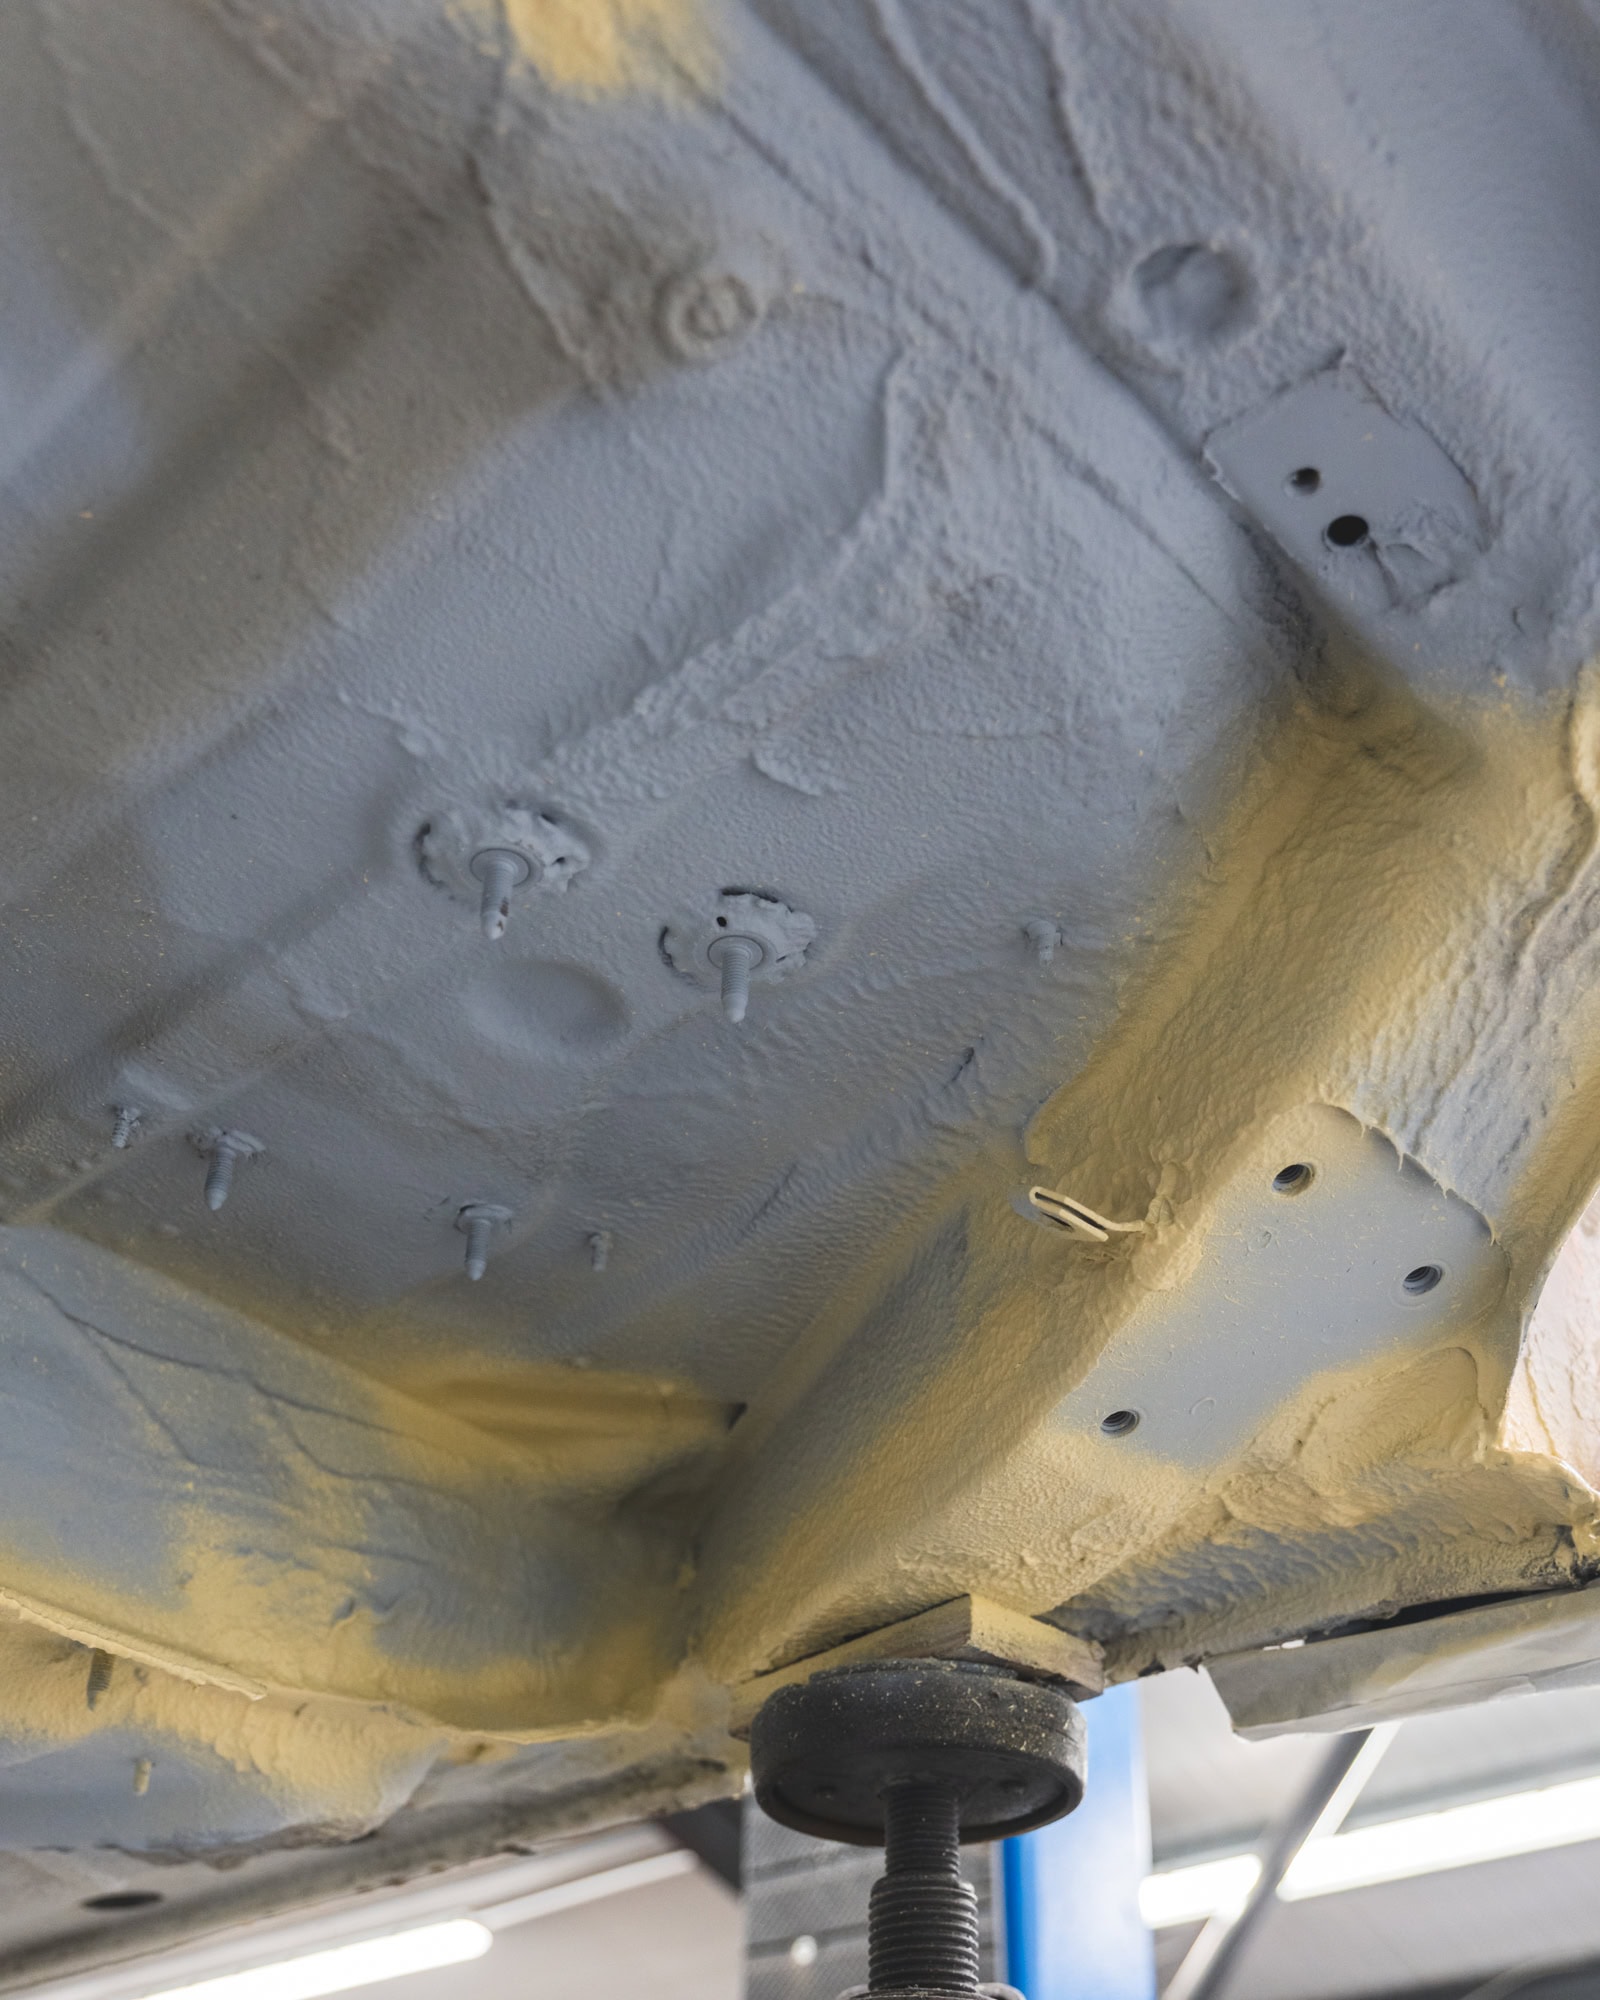
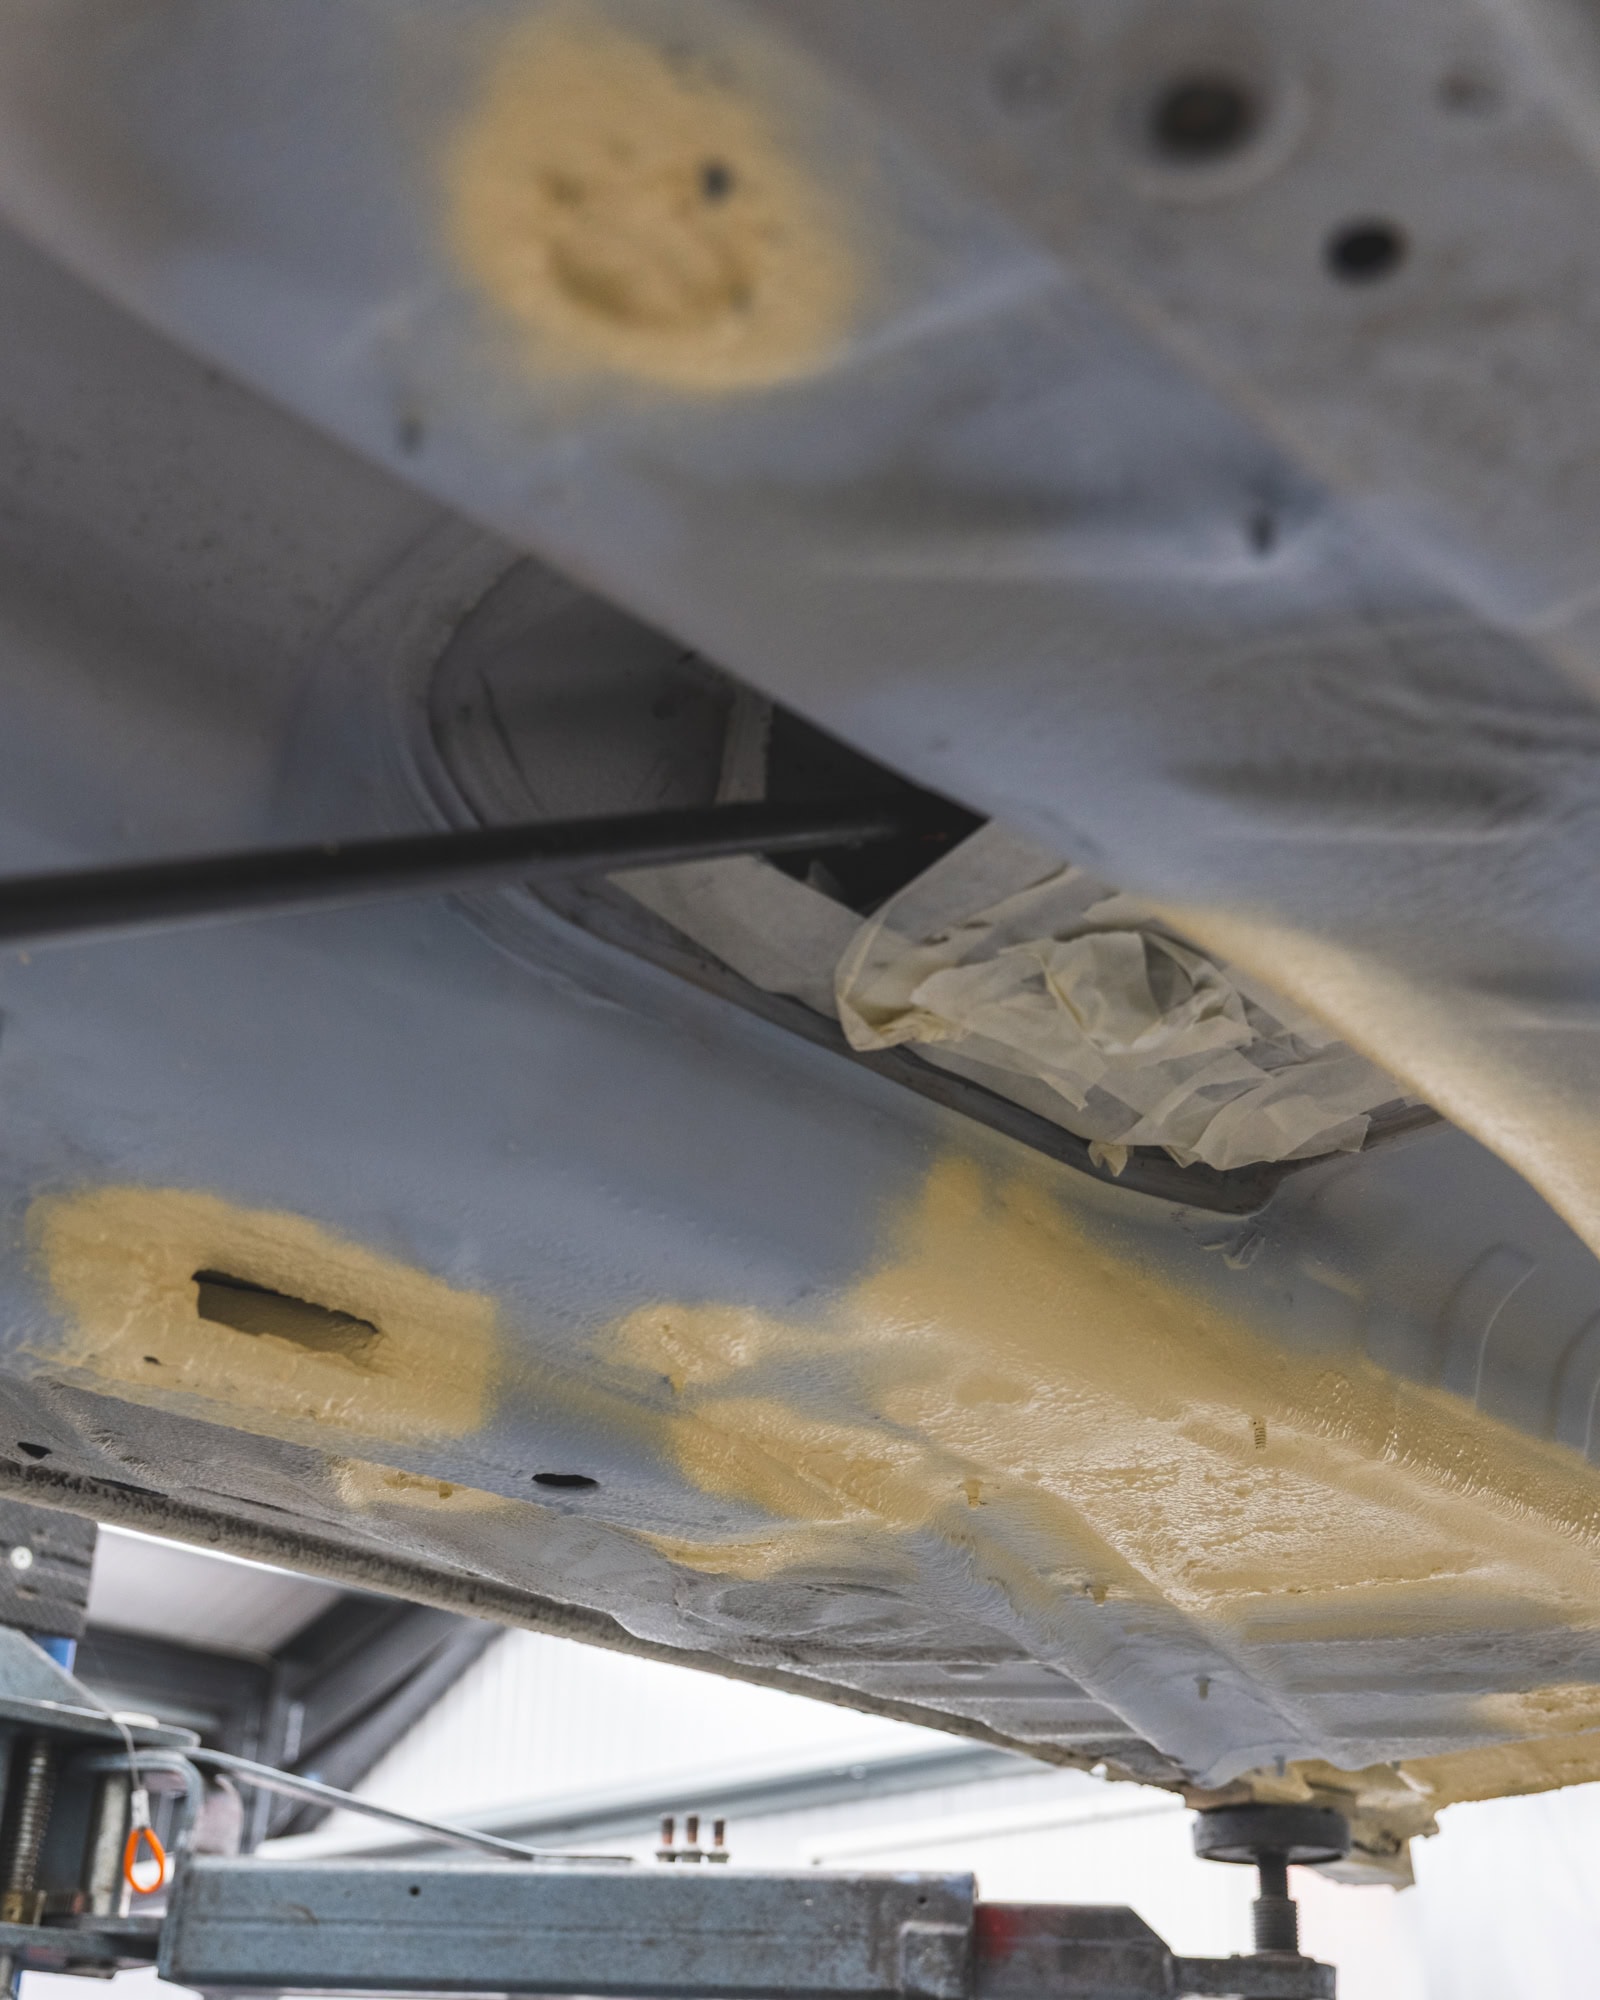
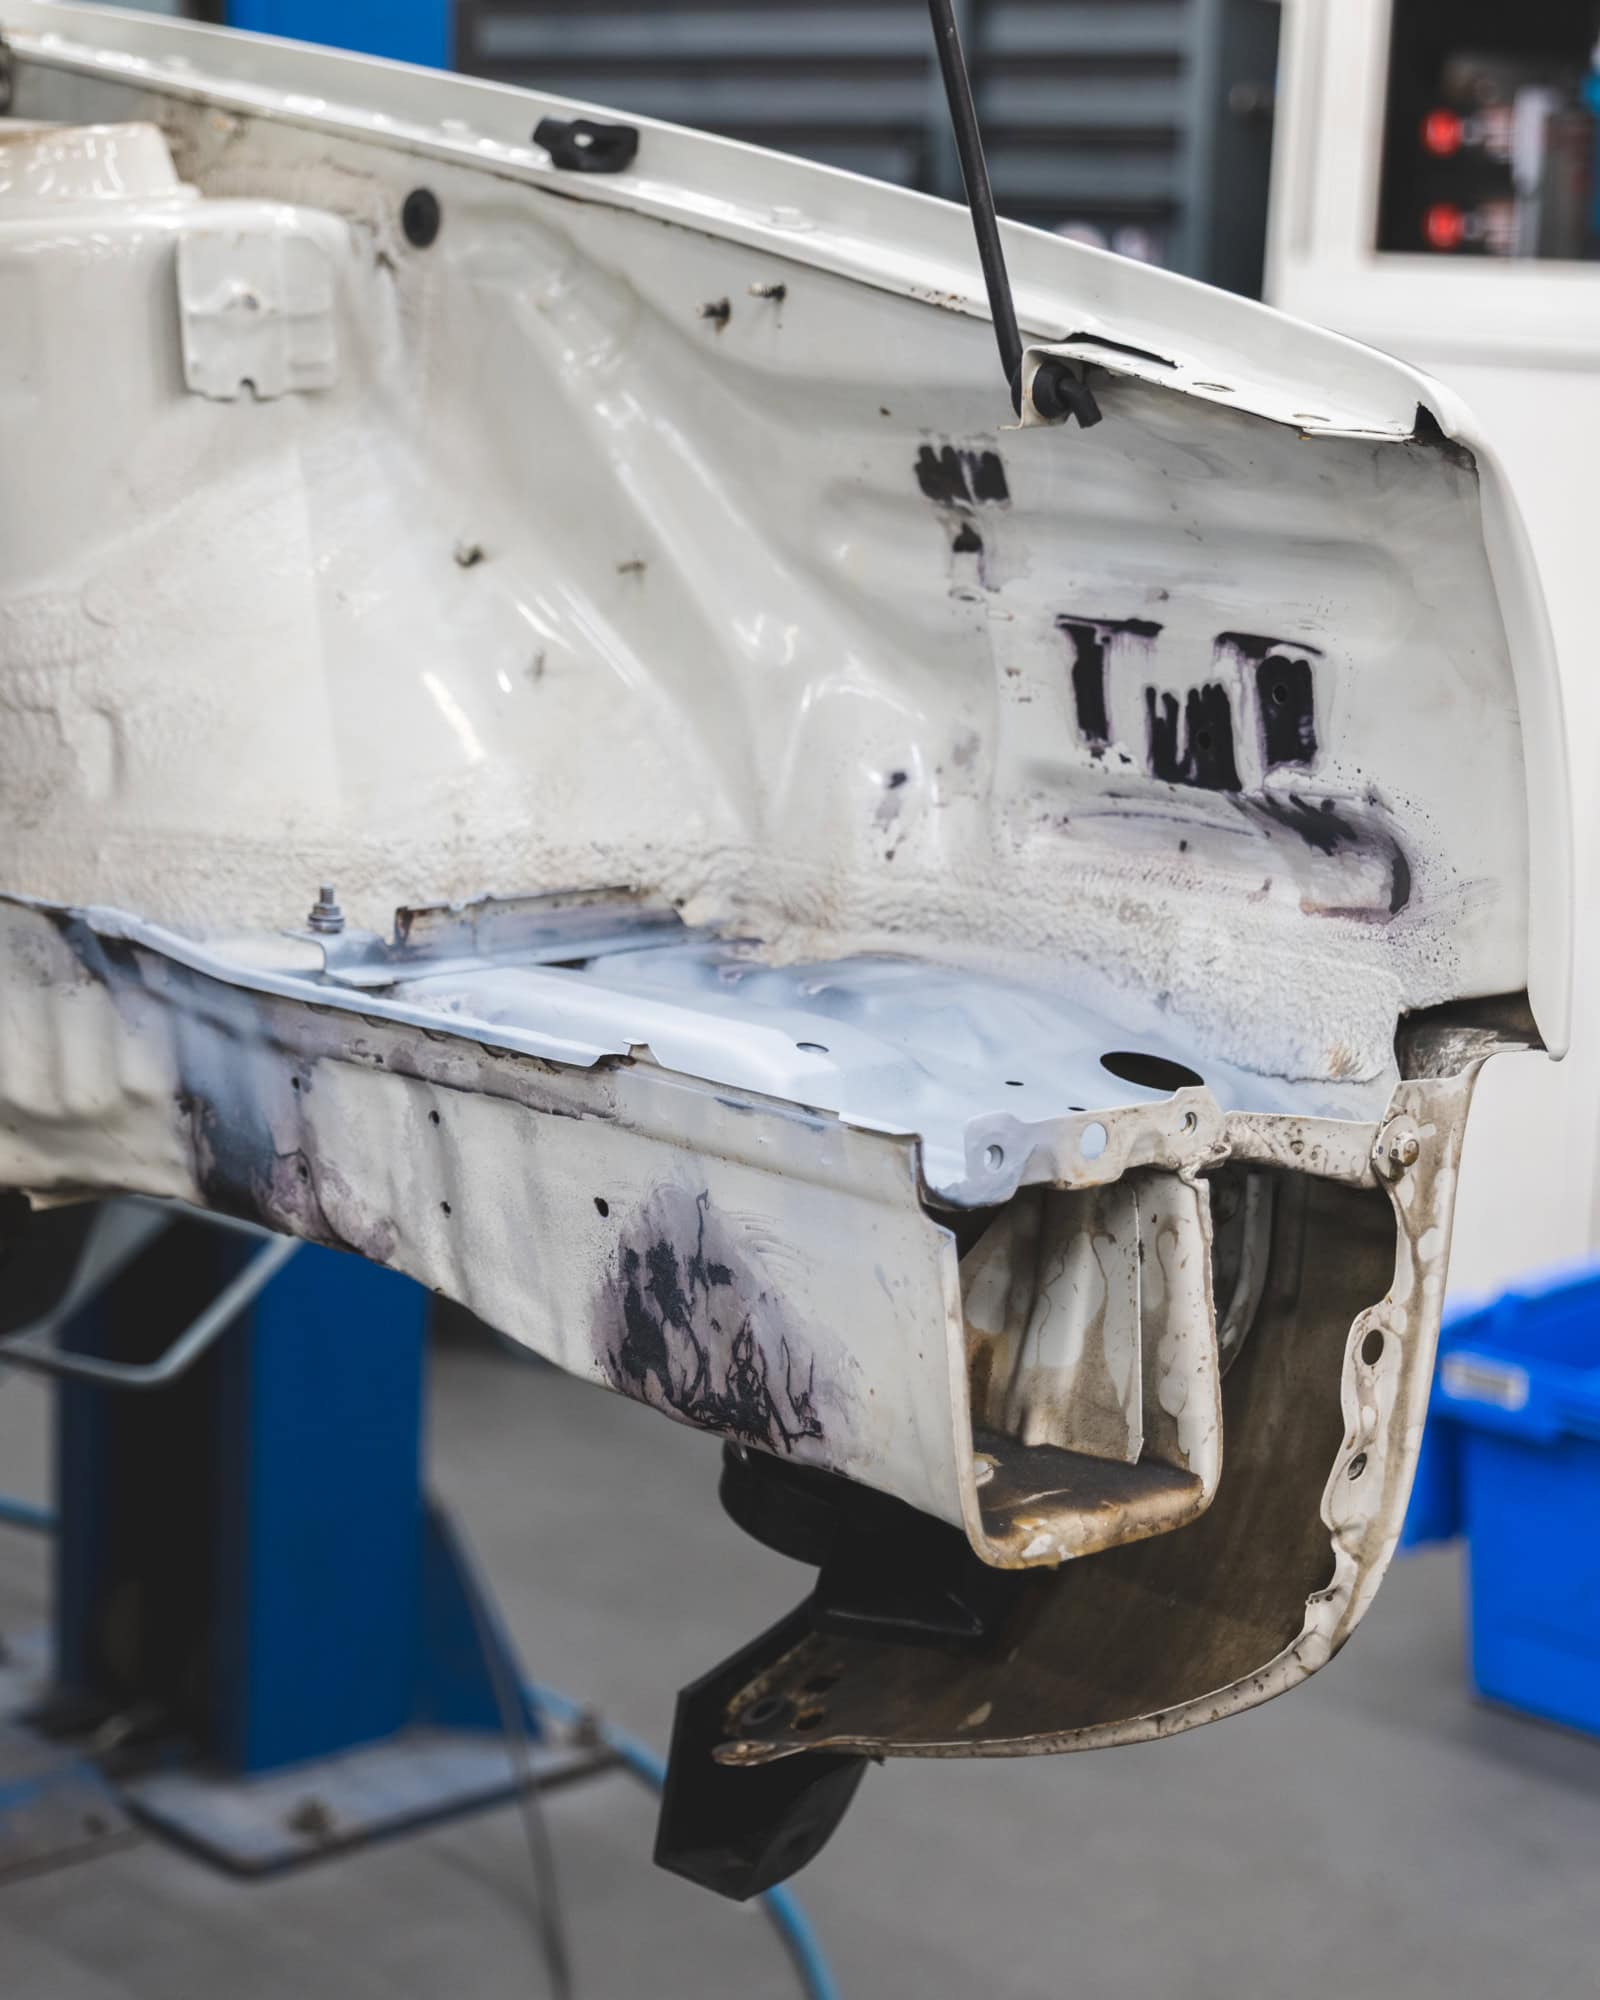
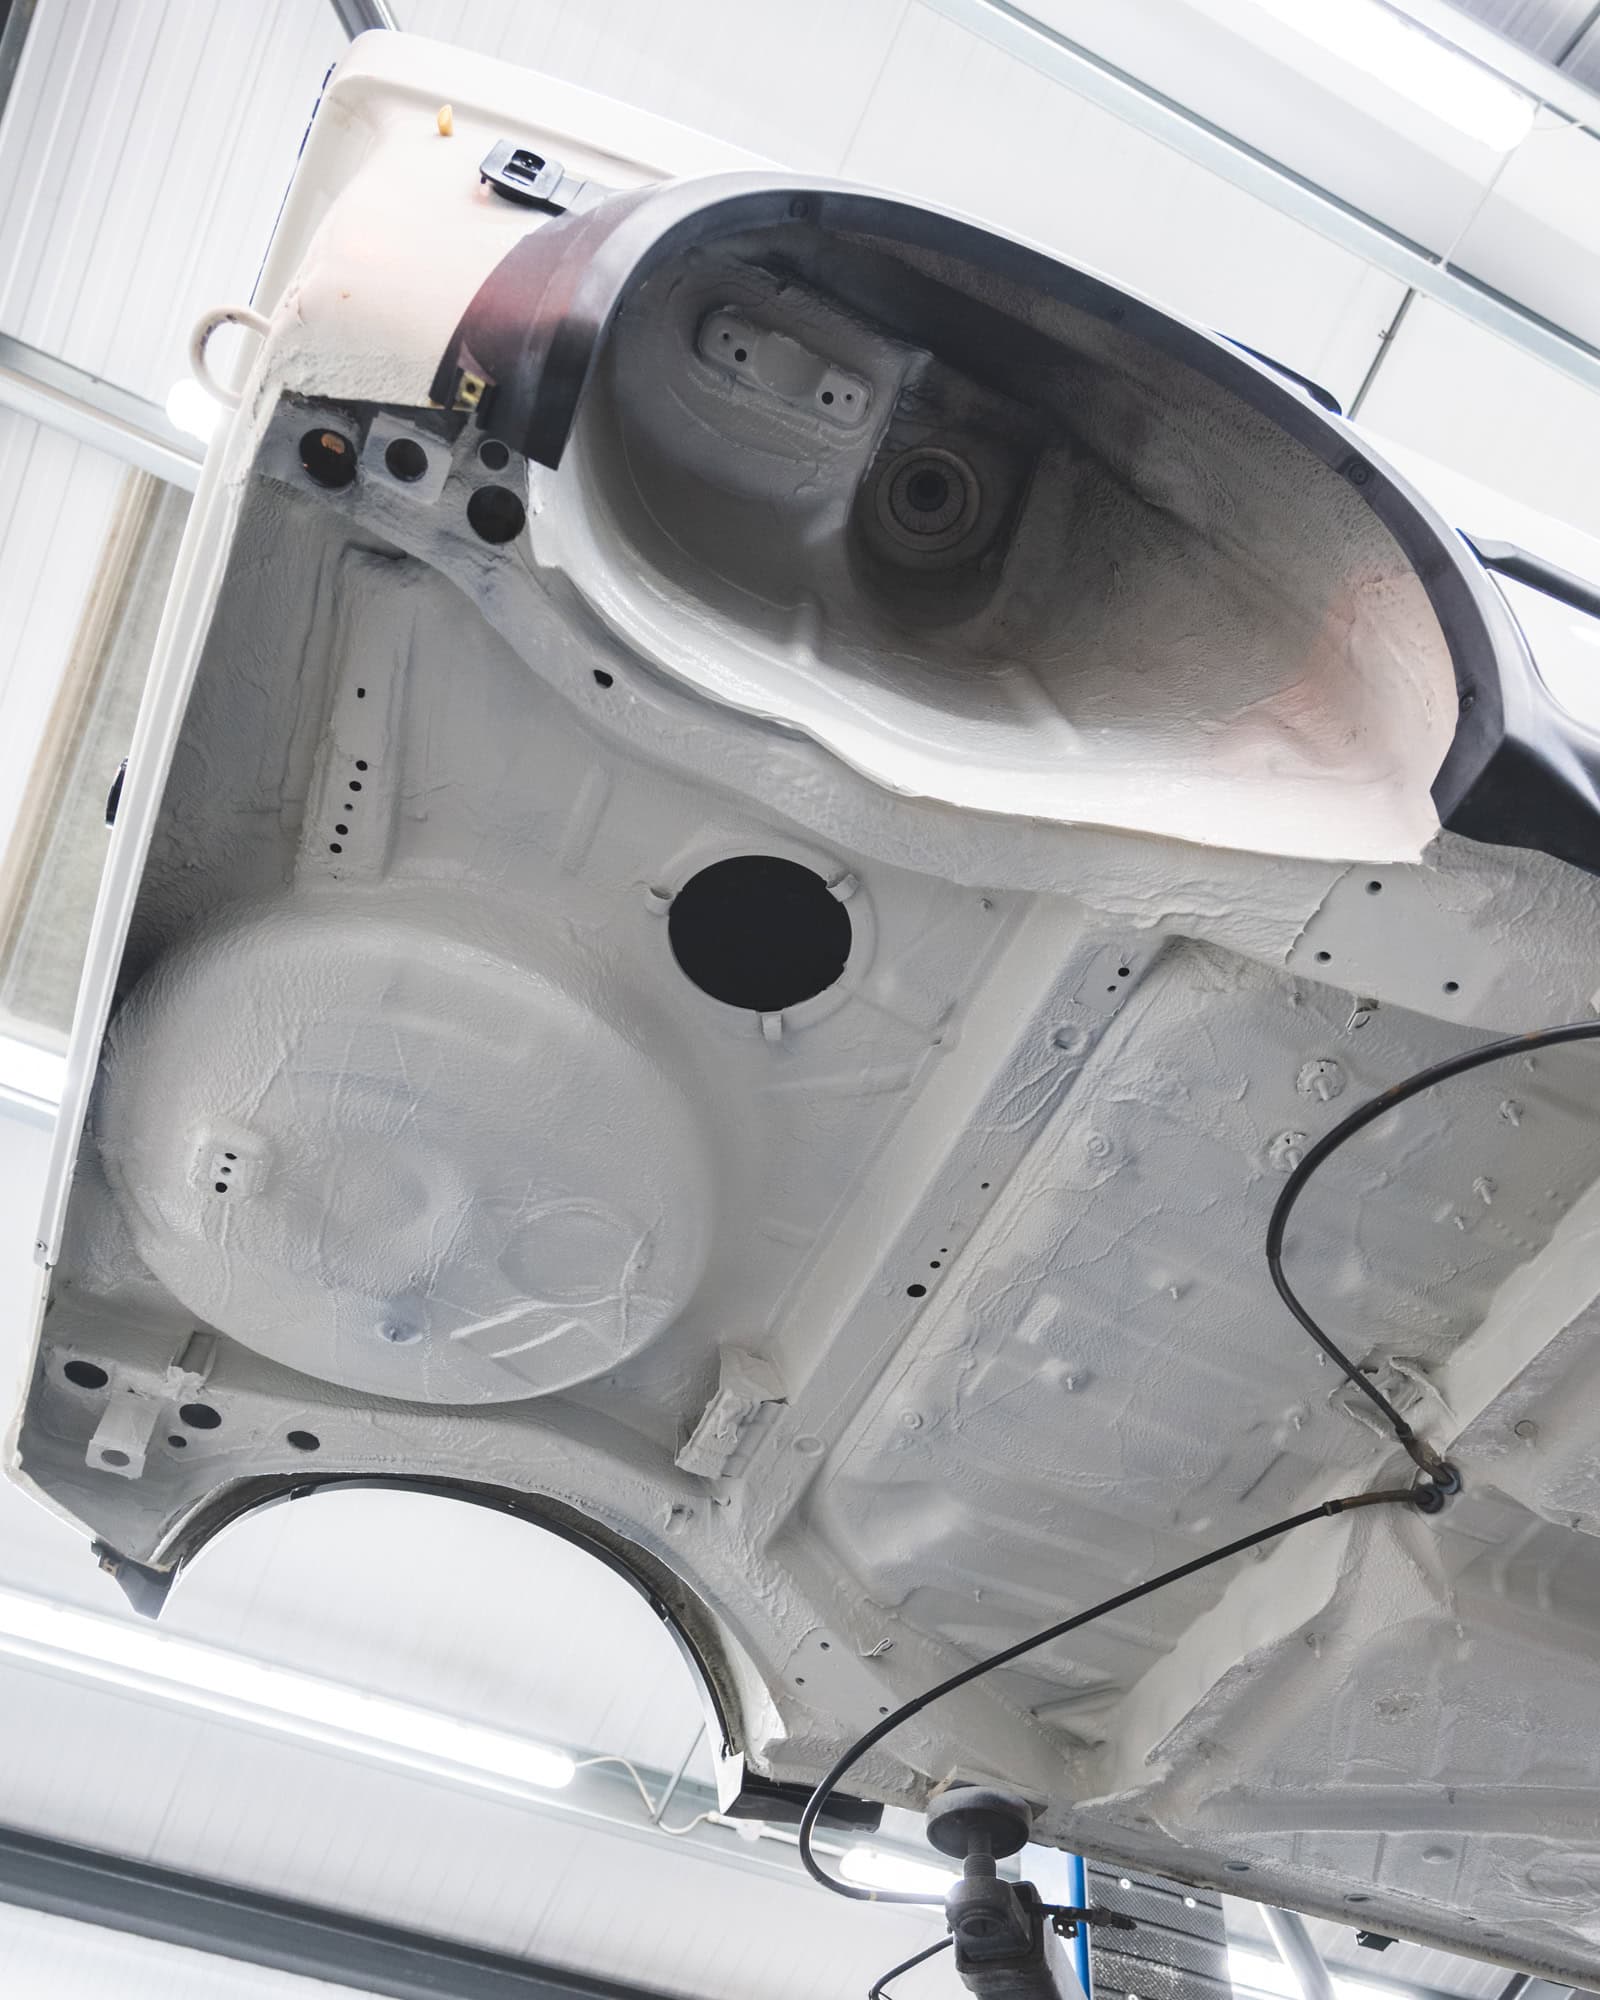
We were lucky that this Golf GTI shell required no welding and only required areas with light surface corrosion to be taken back to bare metal. These areas are then chemically treated, turning the metal a purplish black when the rust has been neutralised and covered with grey primer to protect the metal until the next step.
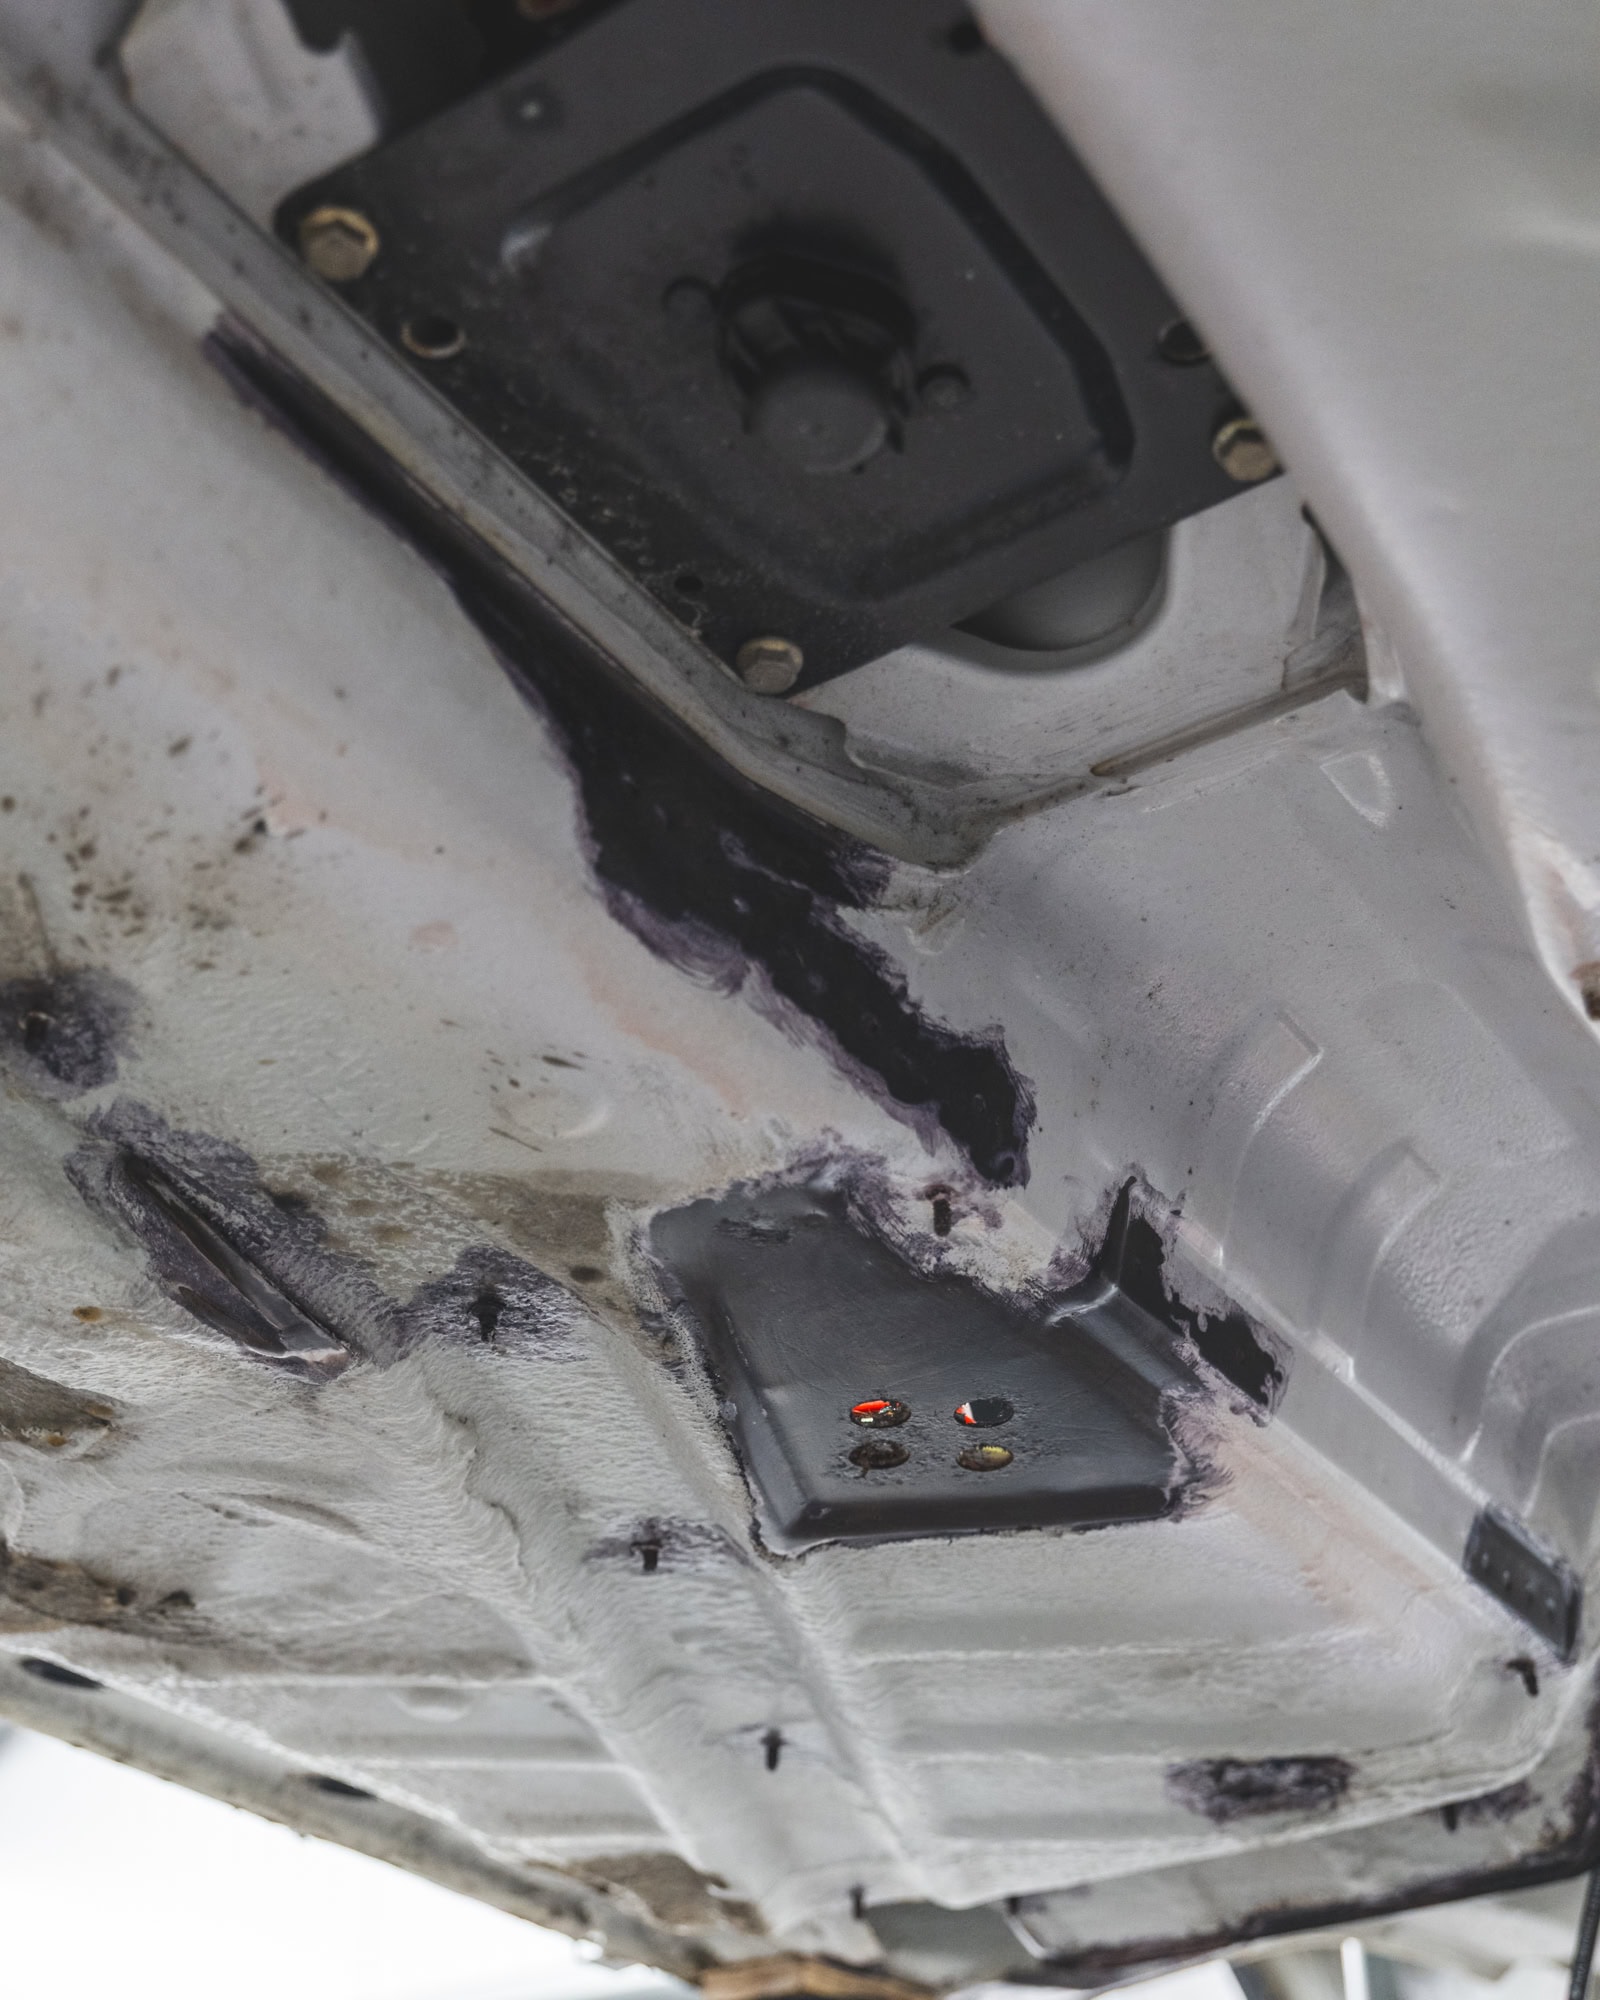
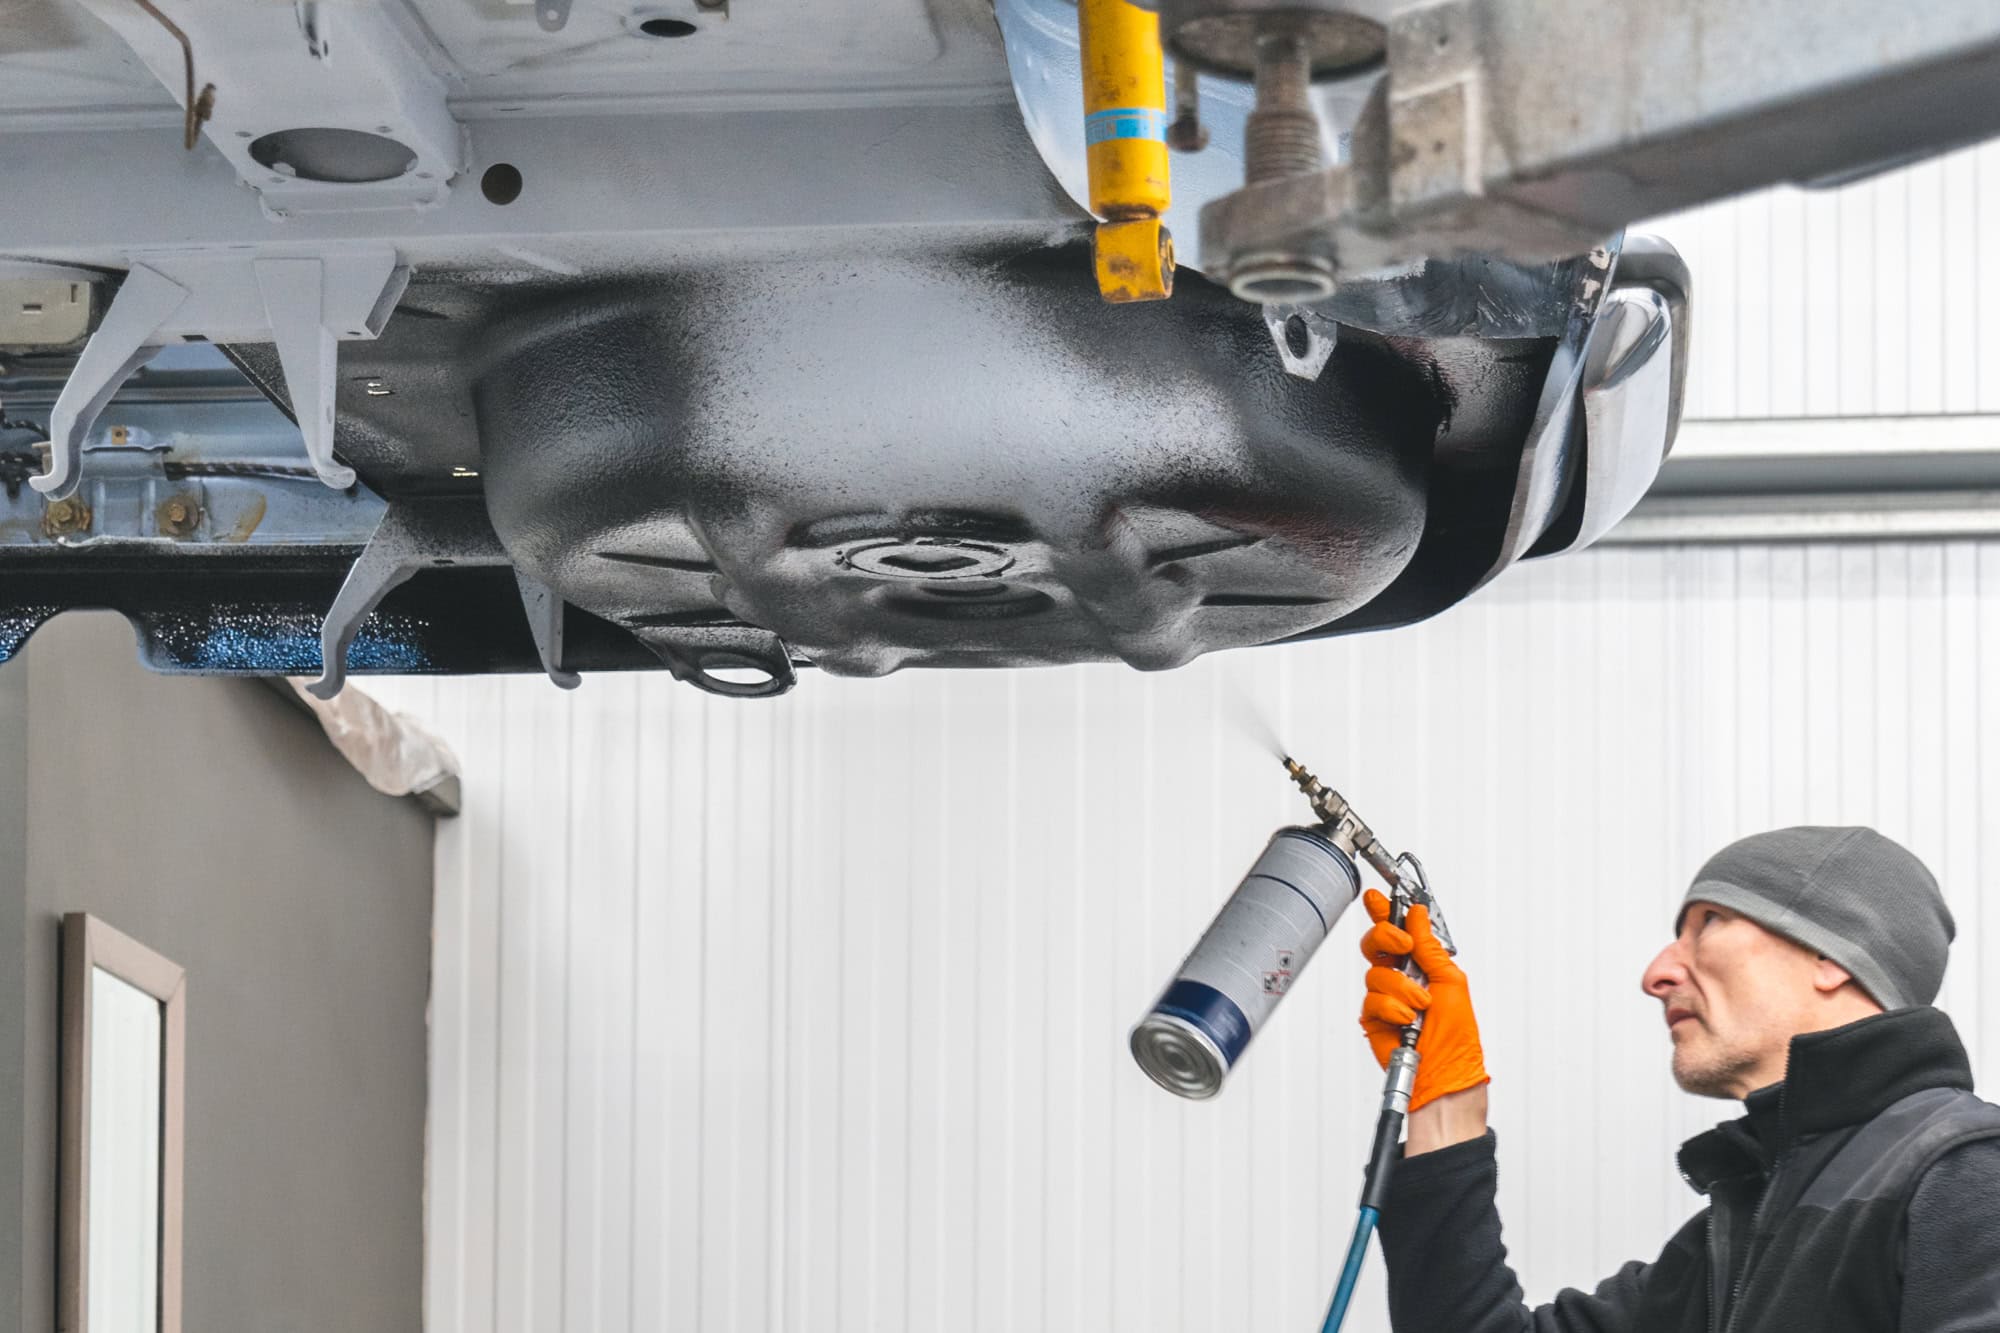
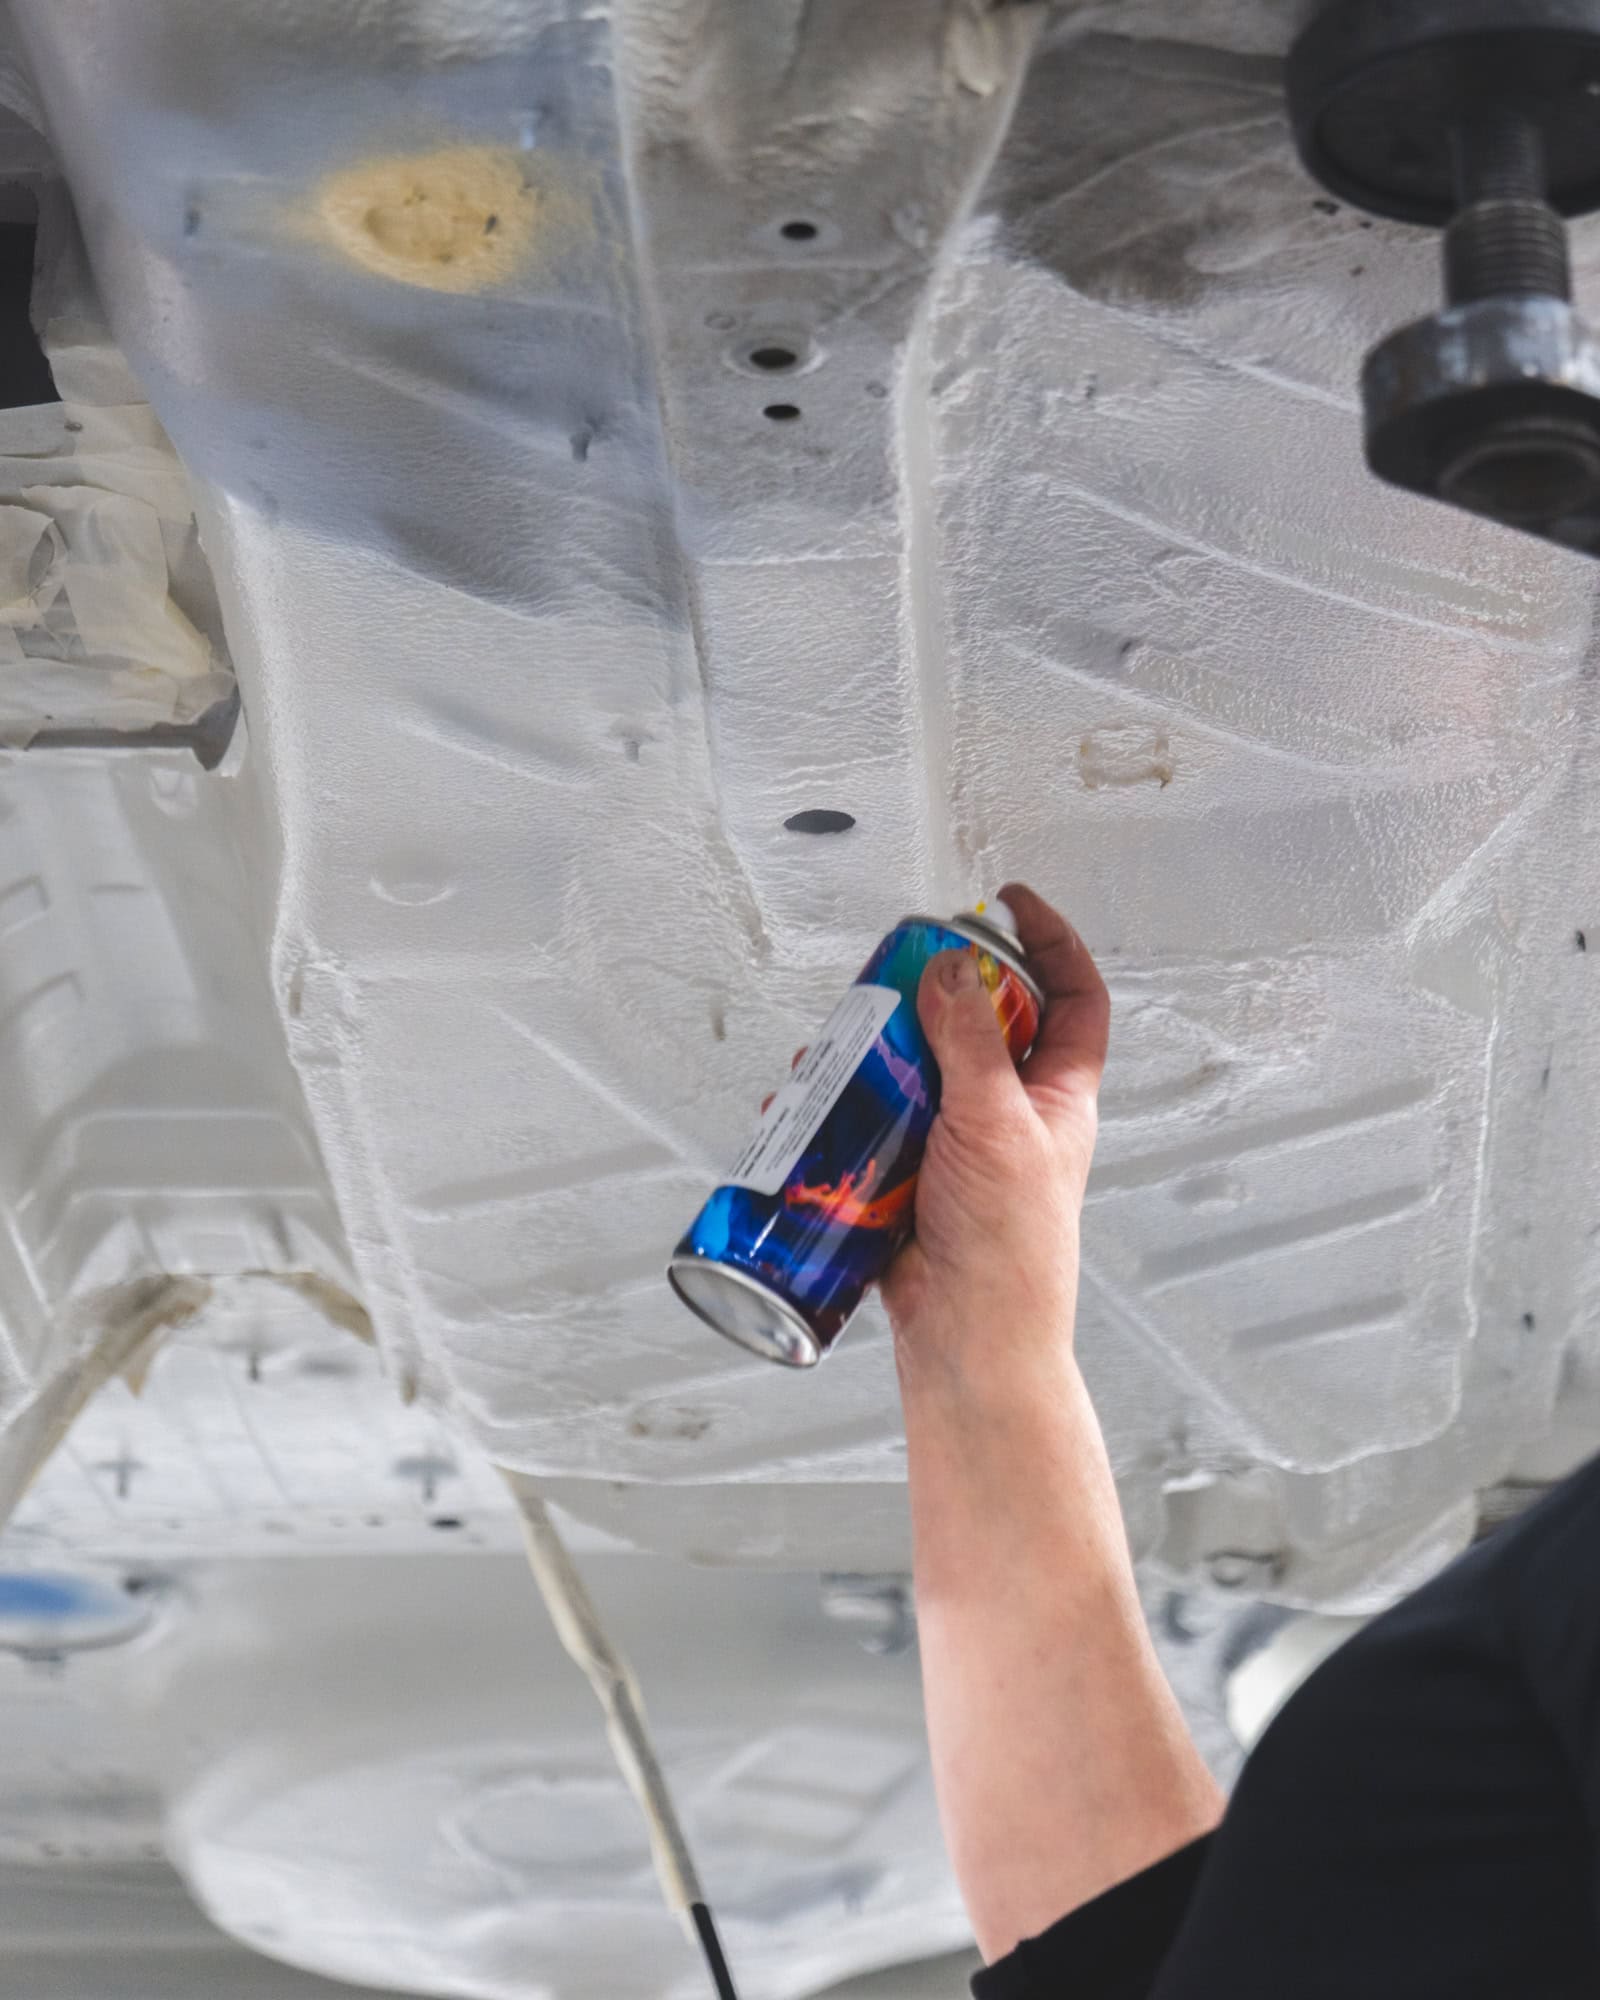
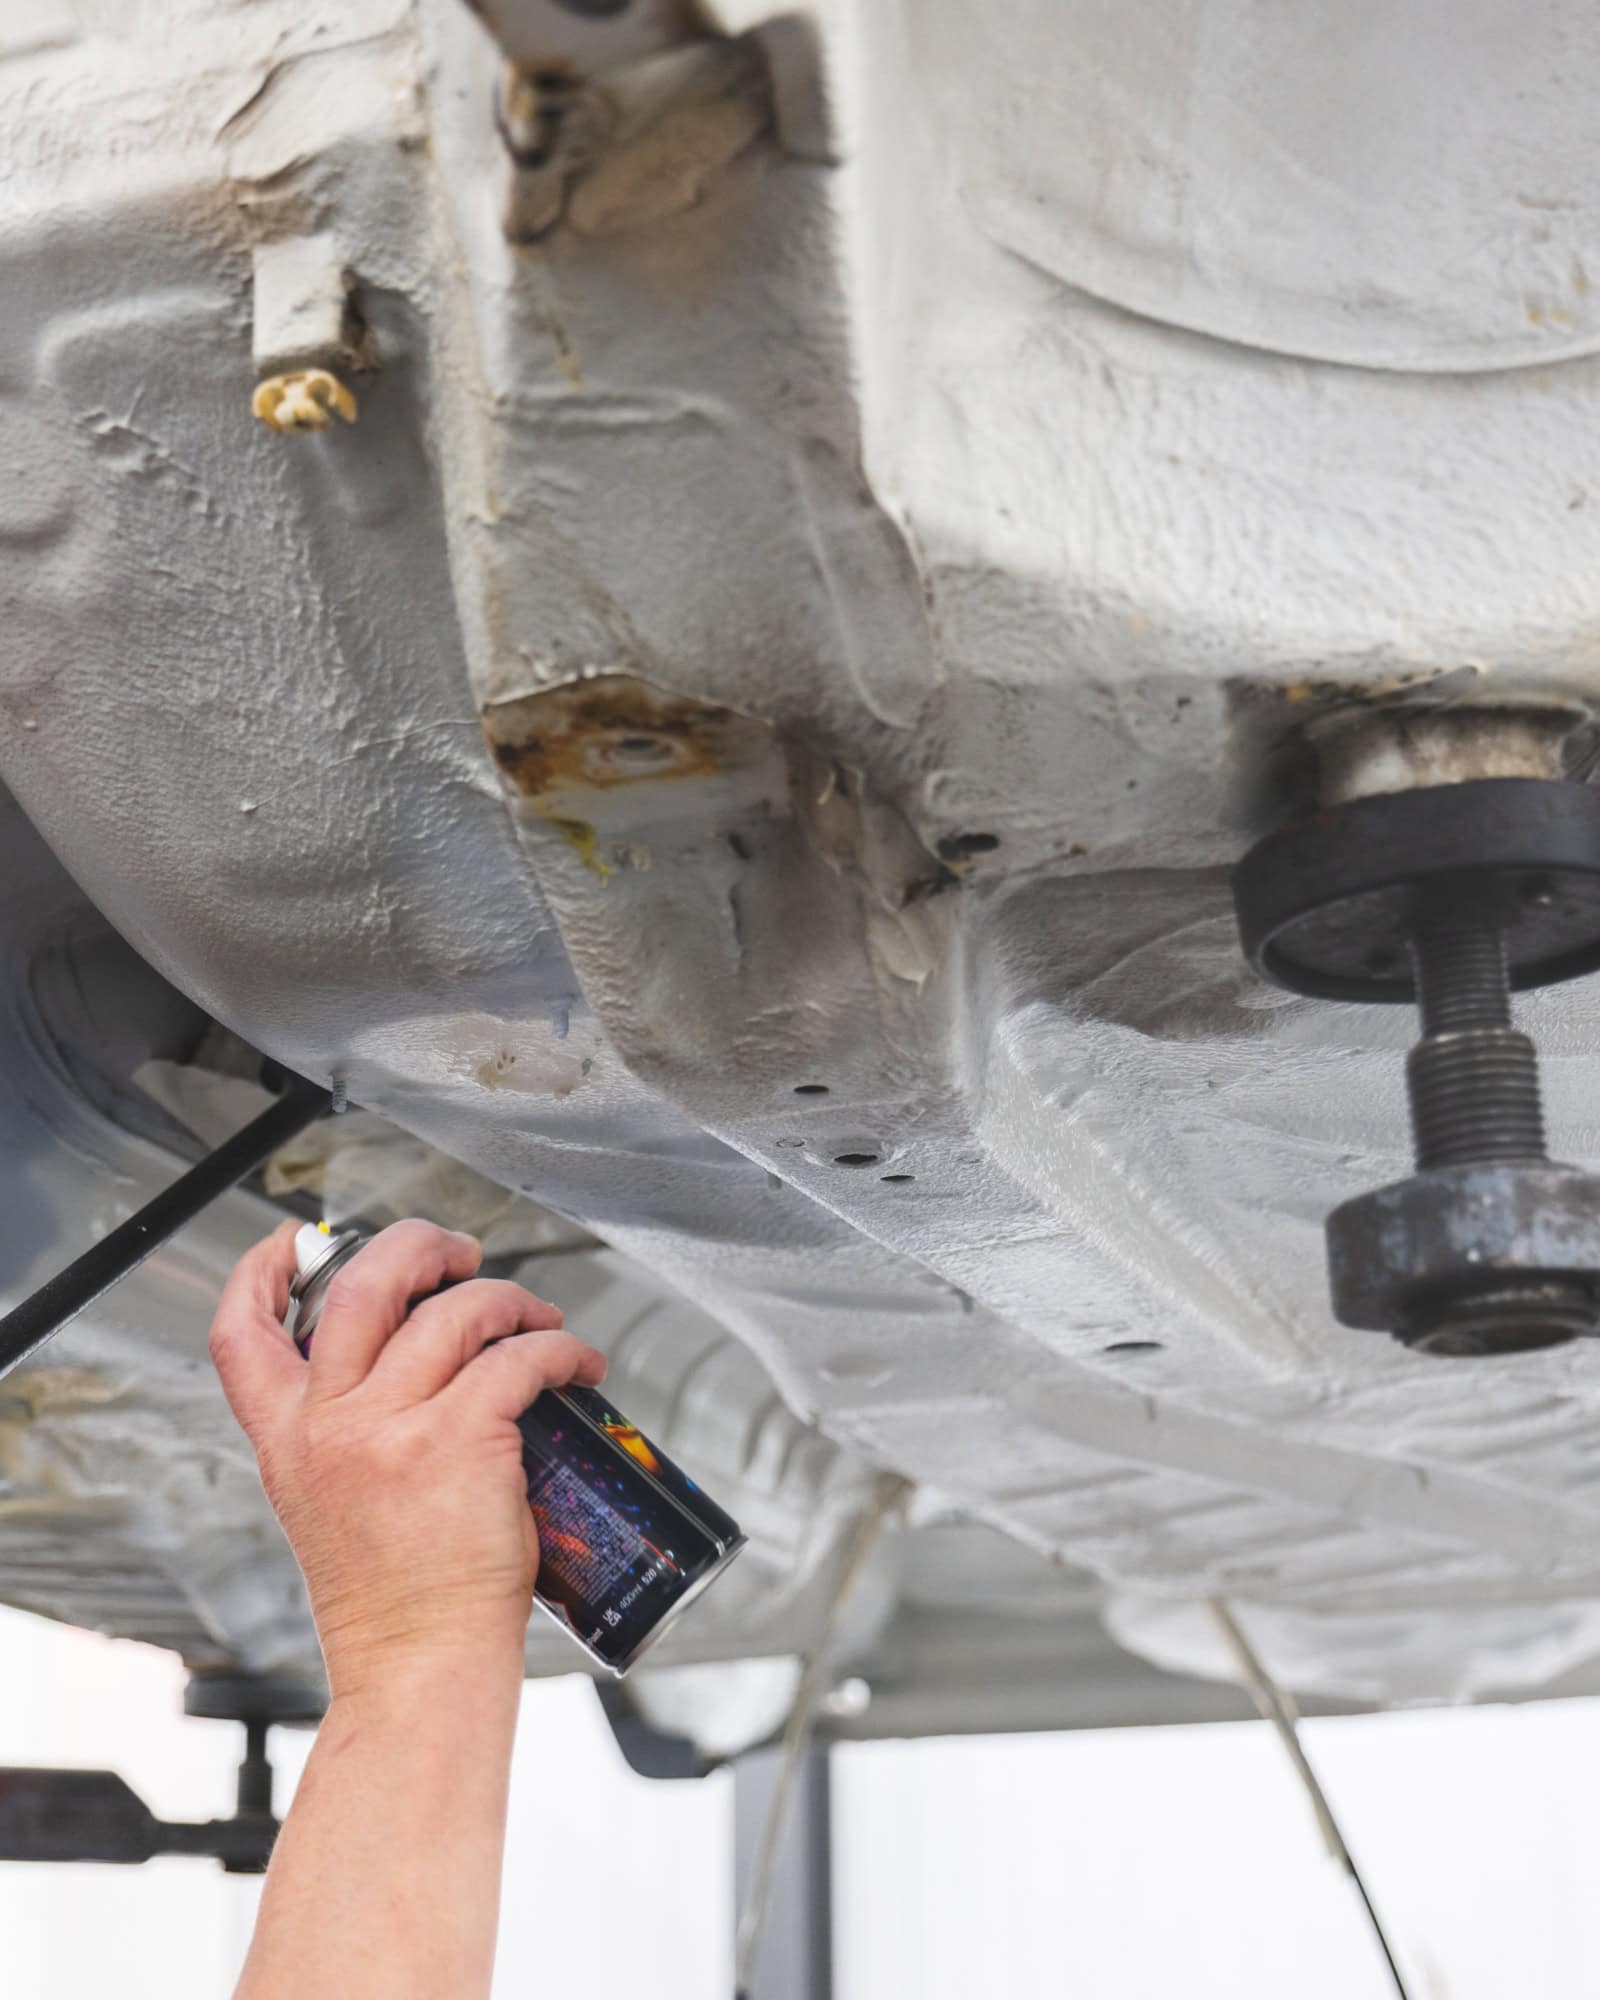
A thicker protection product can then be applied to blend the repaired sections in with the original factory textured finish.
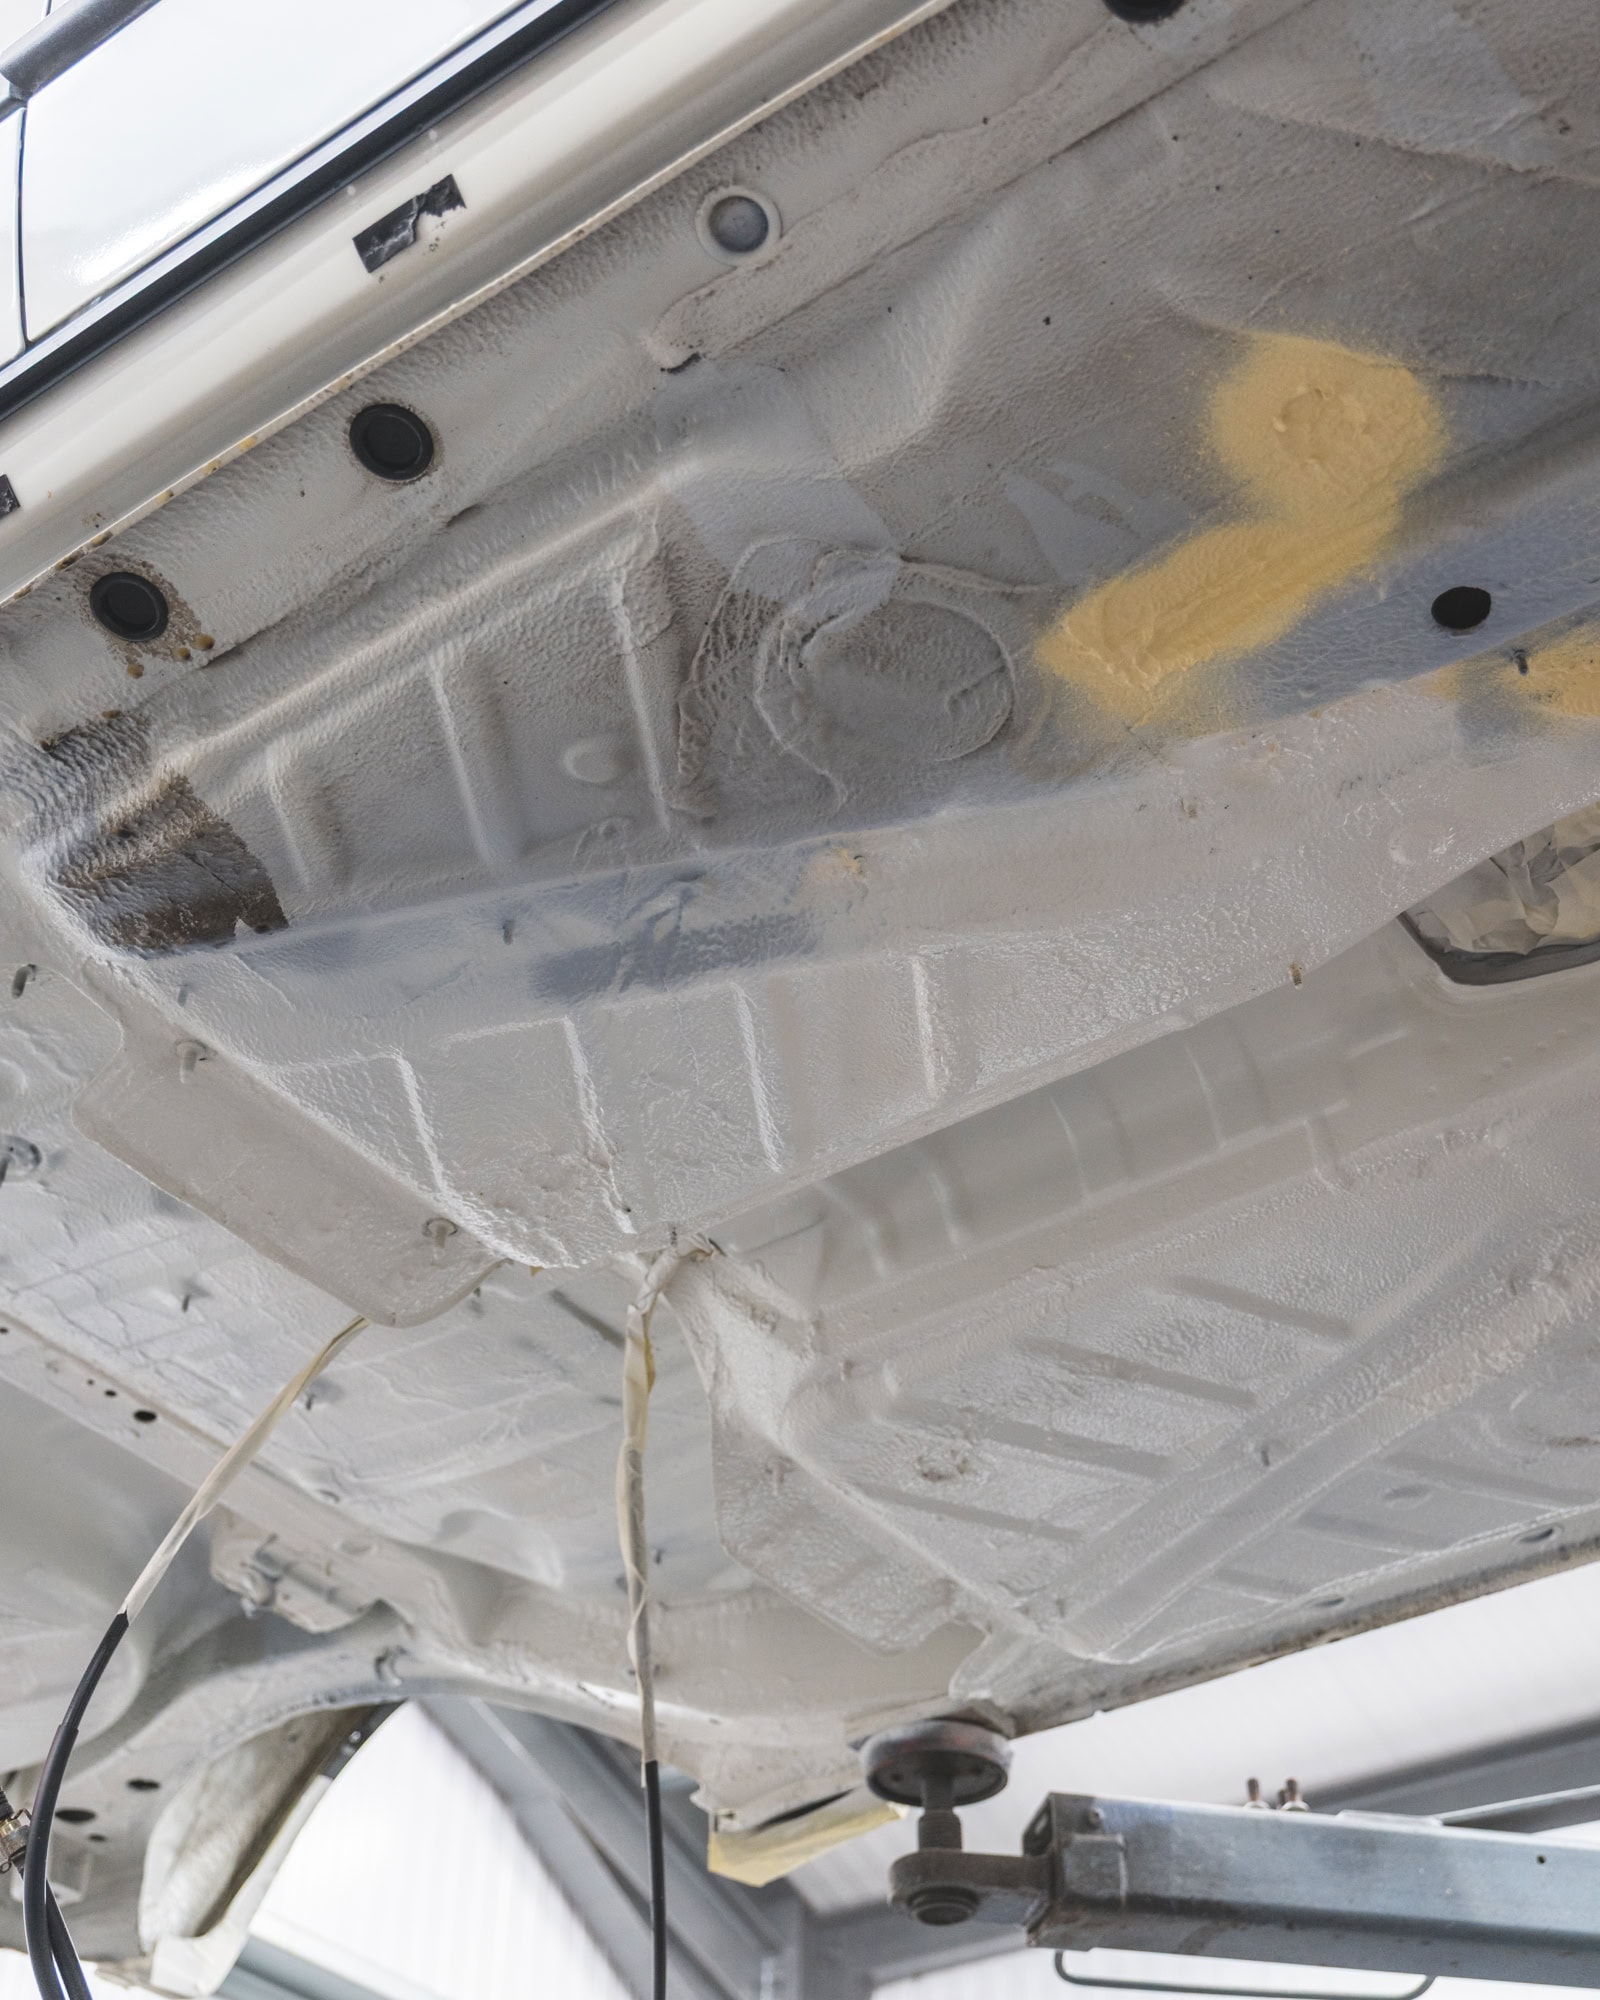
Nick completed the underside restoration of the Golf GTI in two sections, working from back to front and pausing at the bulkhead. The rear section of the underside was painted in Volkswagen Alpine White.
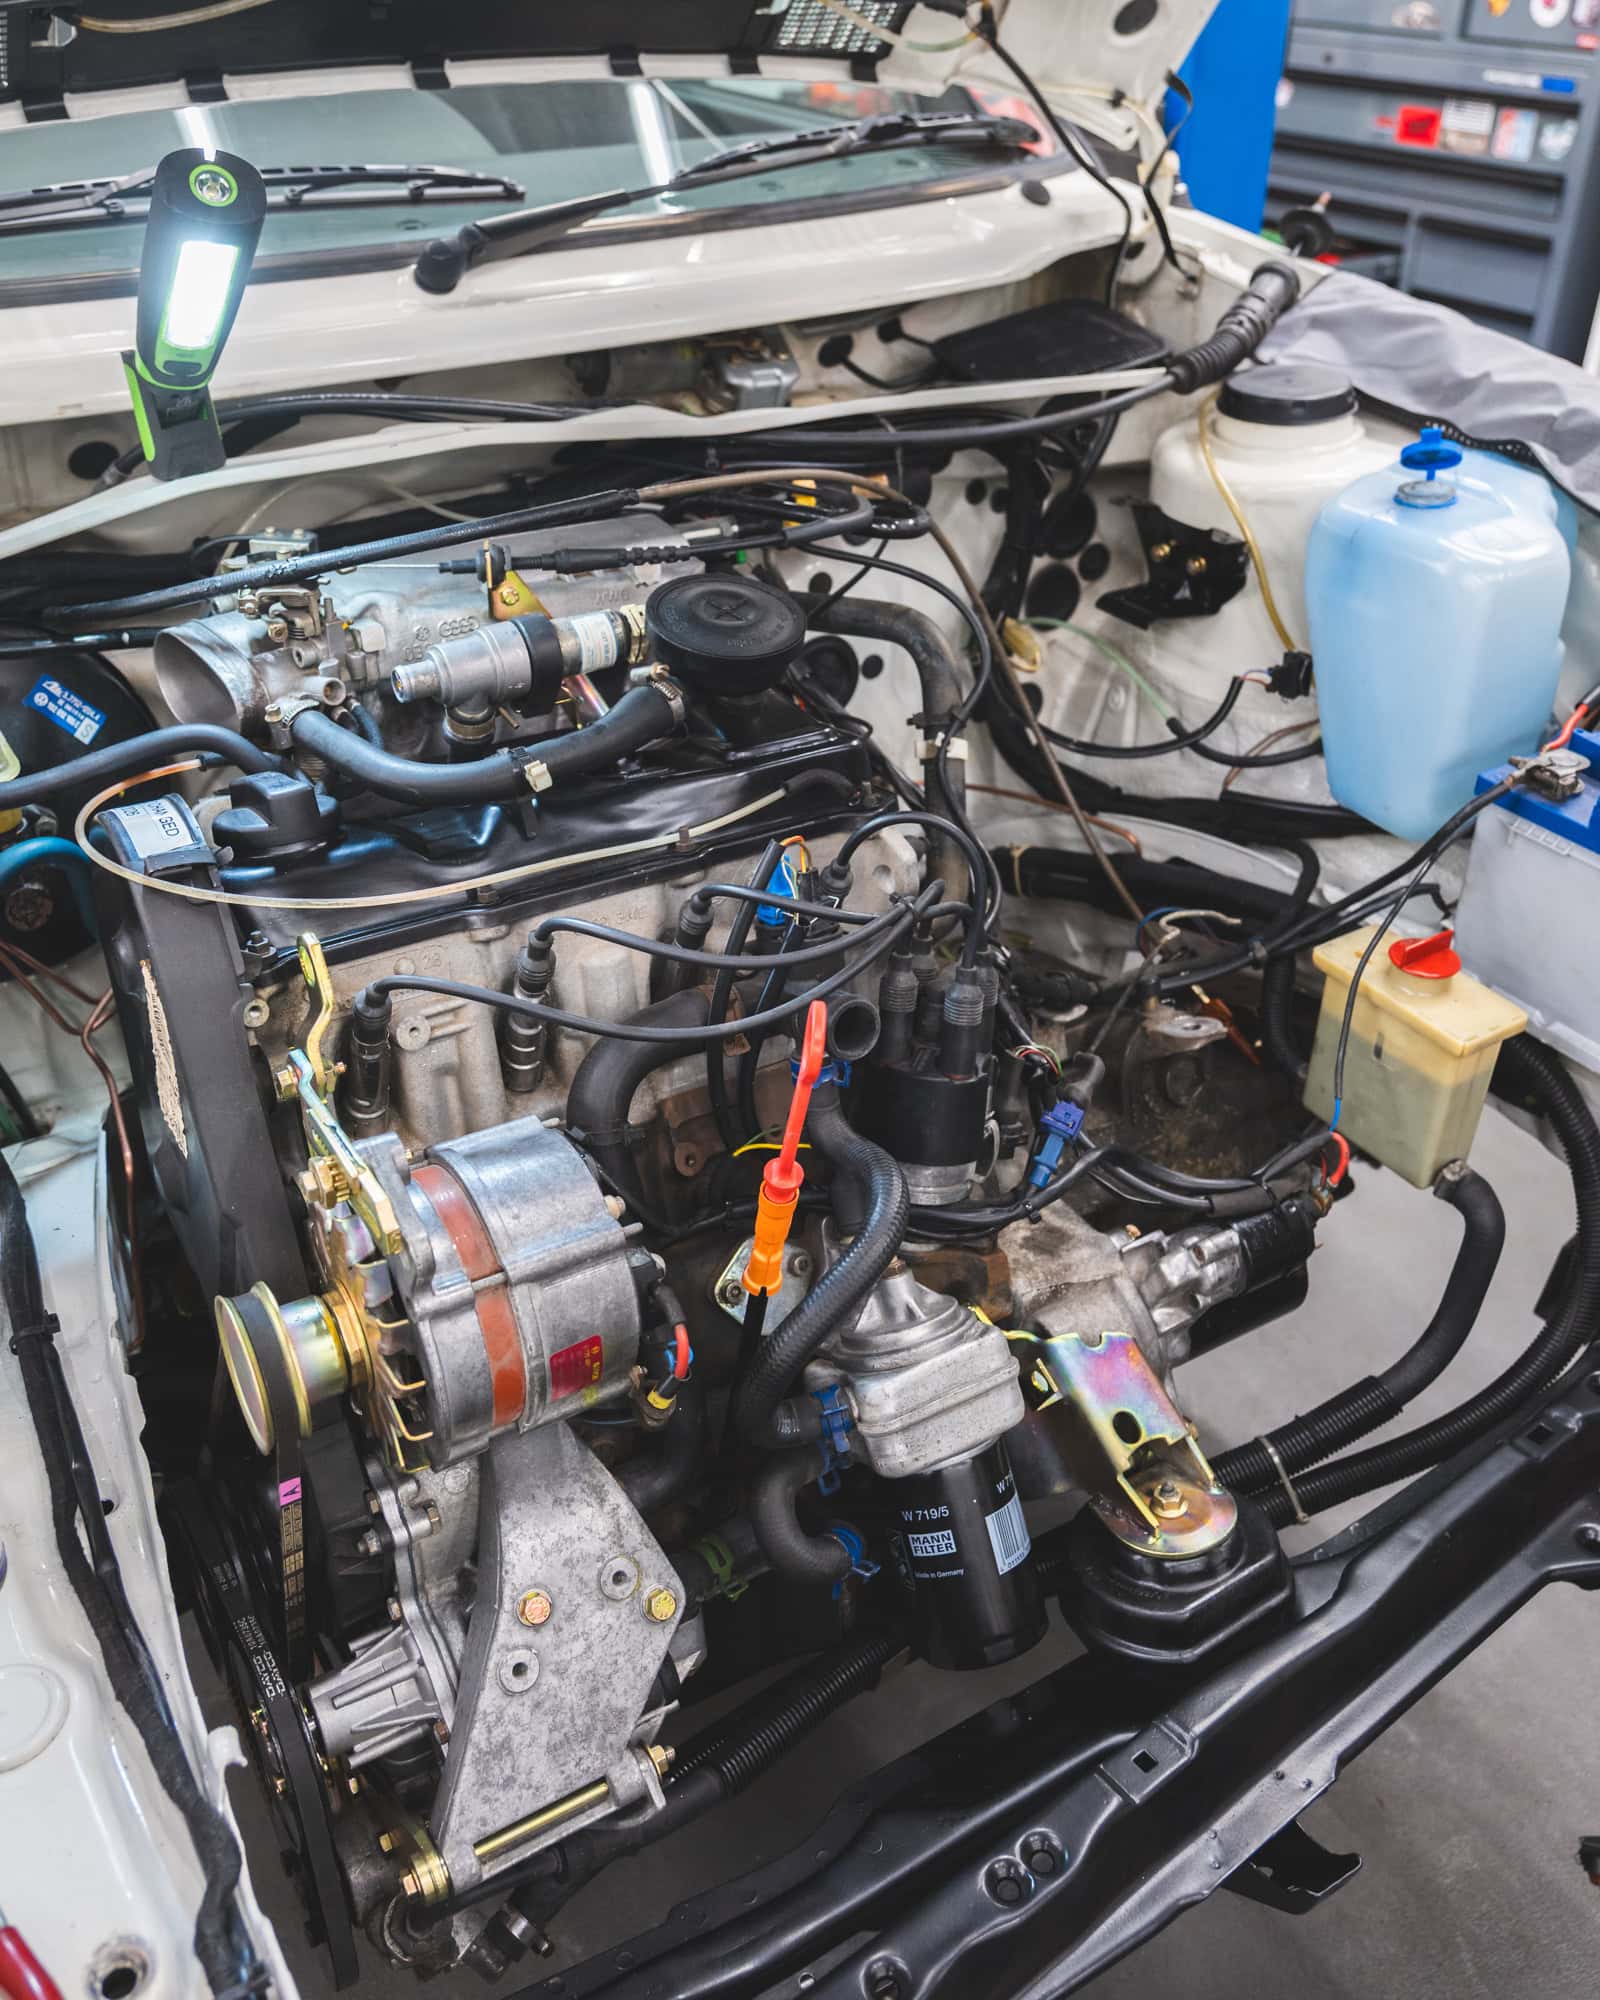
Battery trays are a devil at trapping water and muck out of sight. Whilst this engine bay certainly had its fair share of trapped dirt and debris, the majority of which proved to be superficial.
The engine bay received the same course of treatment as the rest of the bodywork.
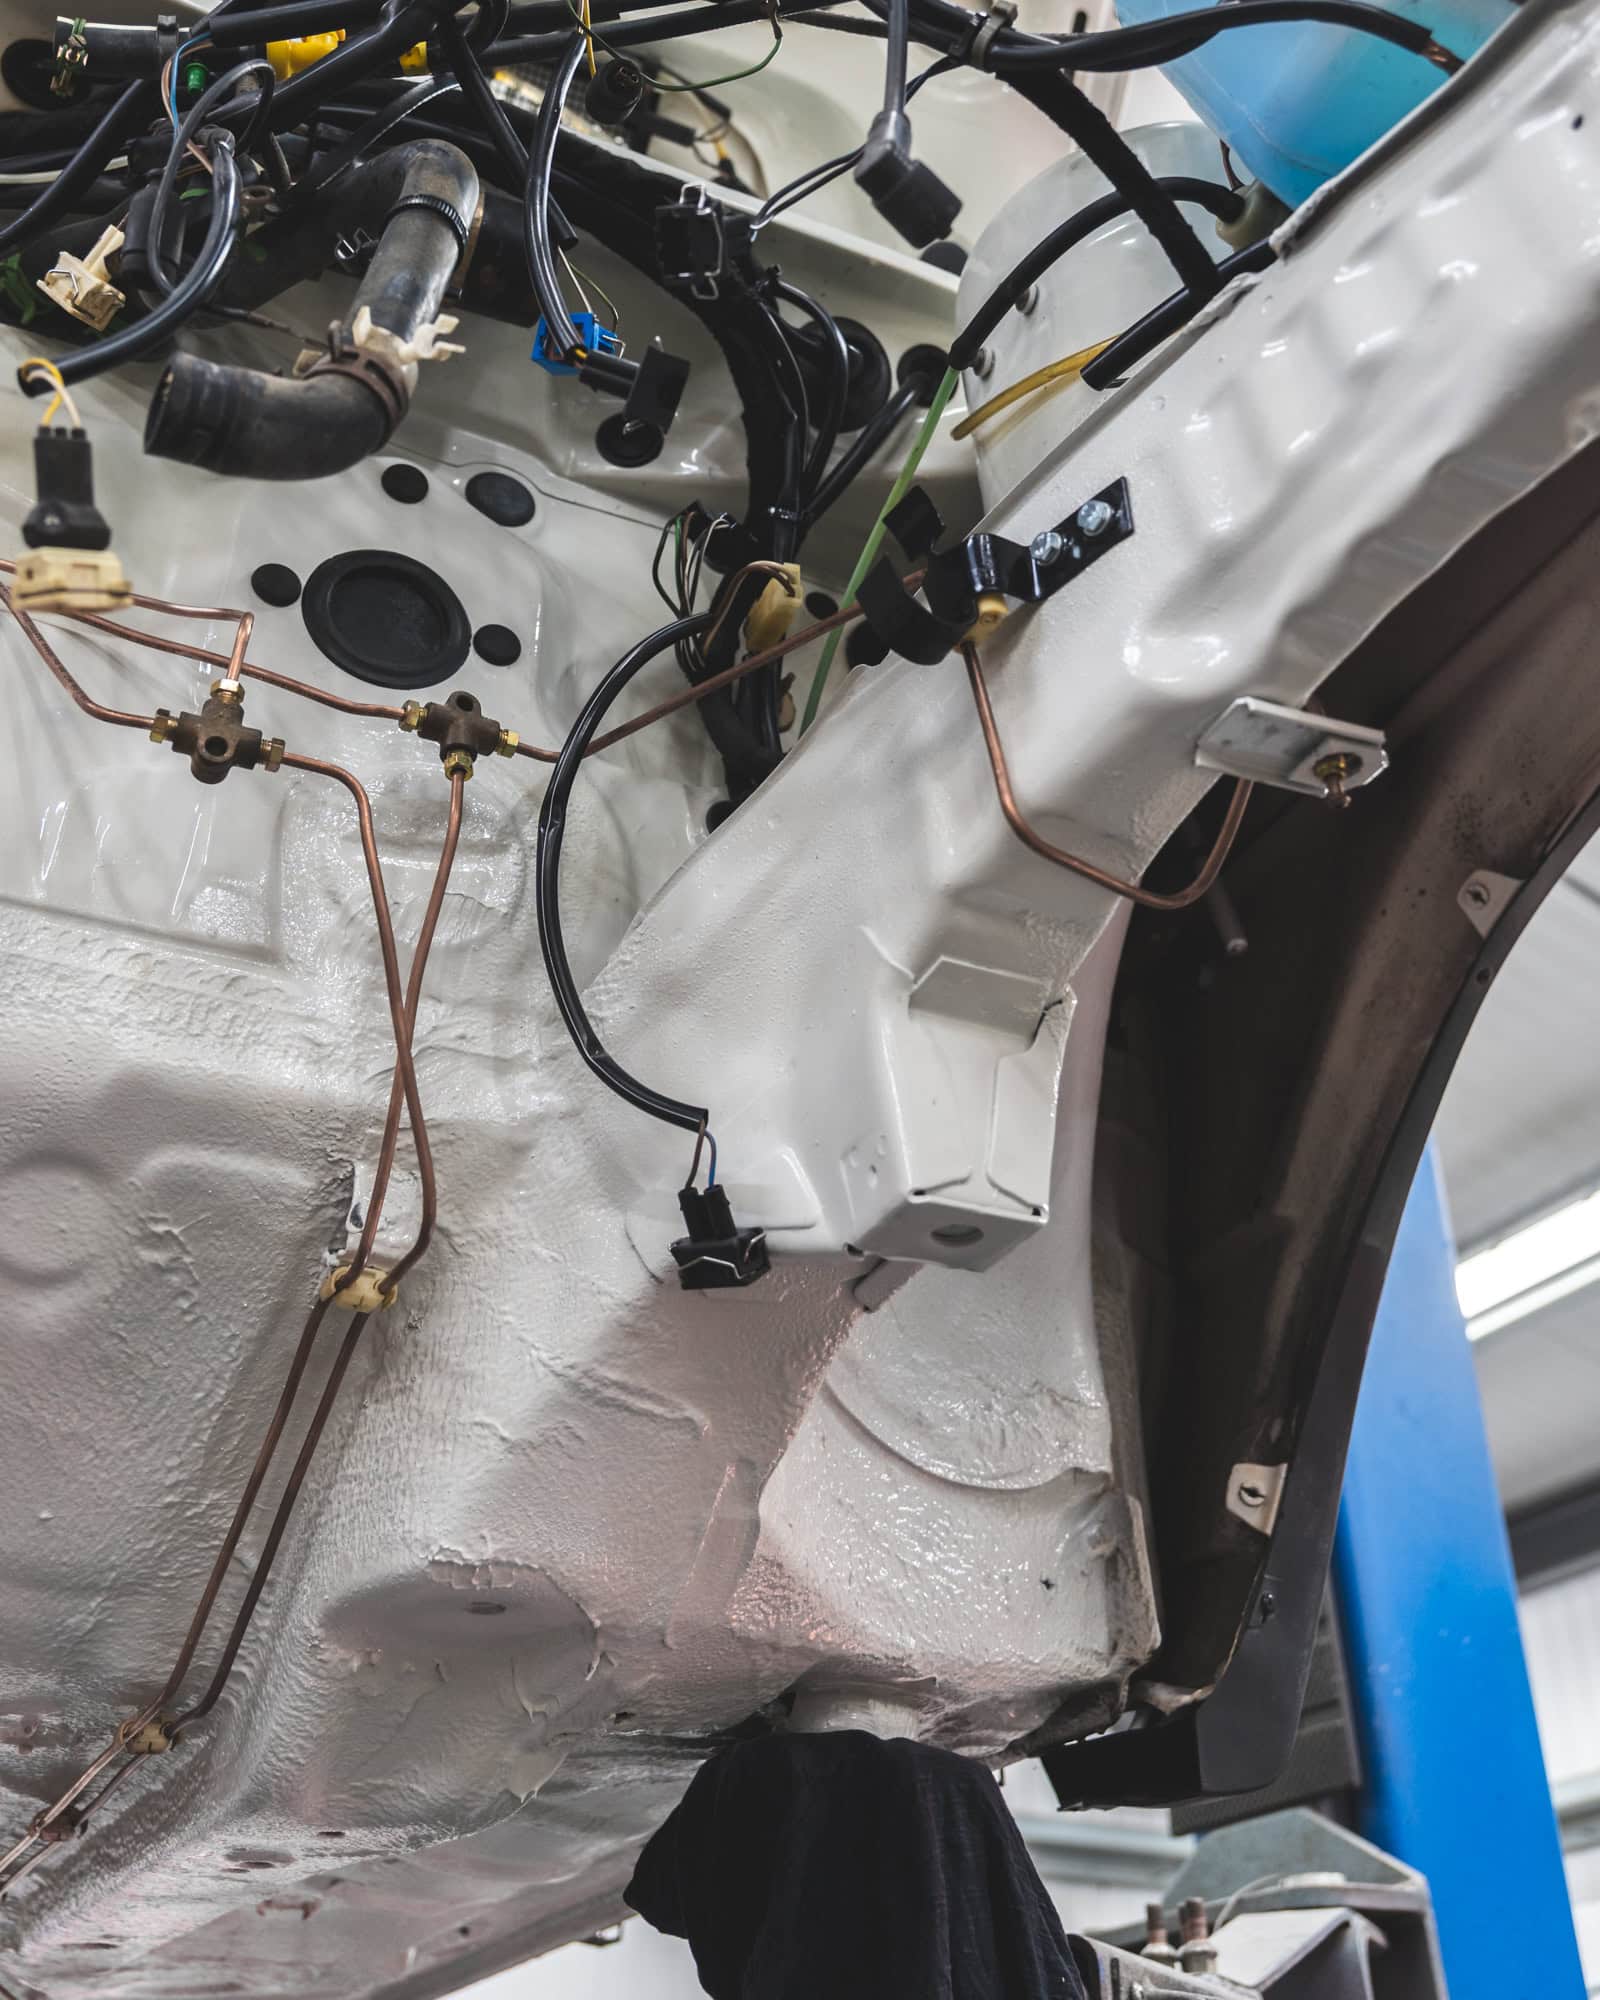
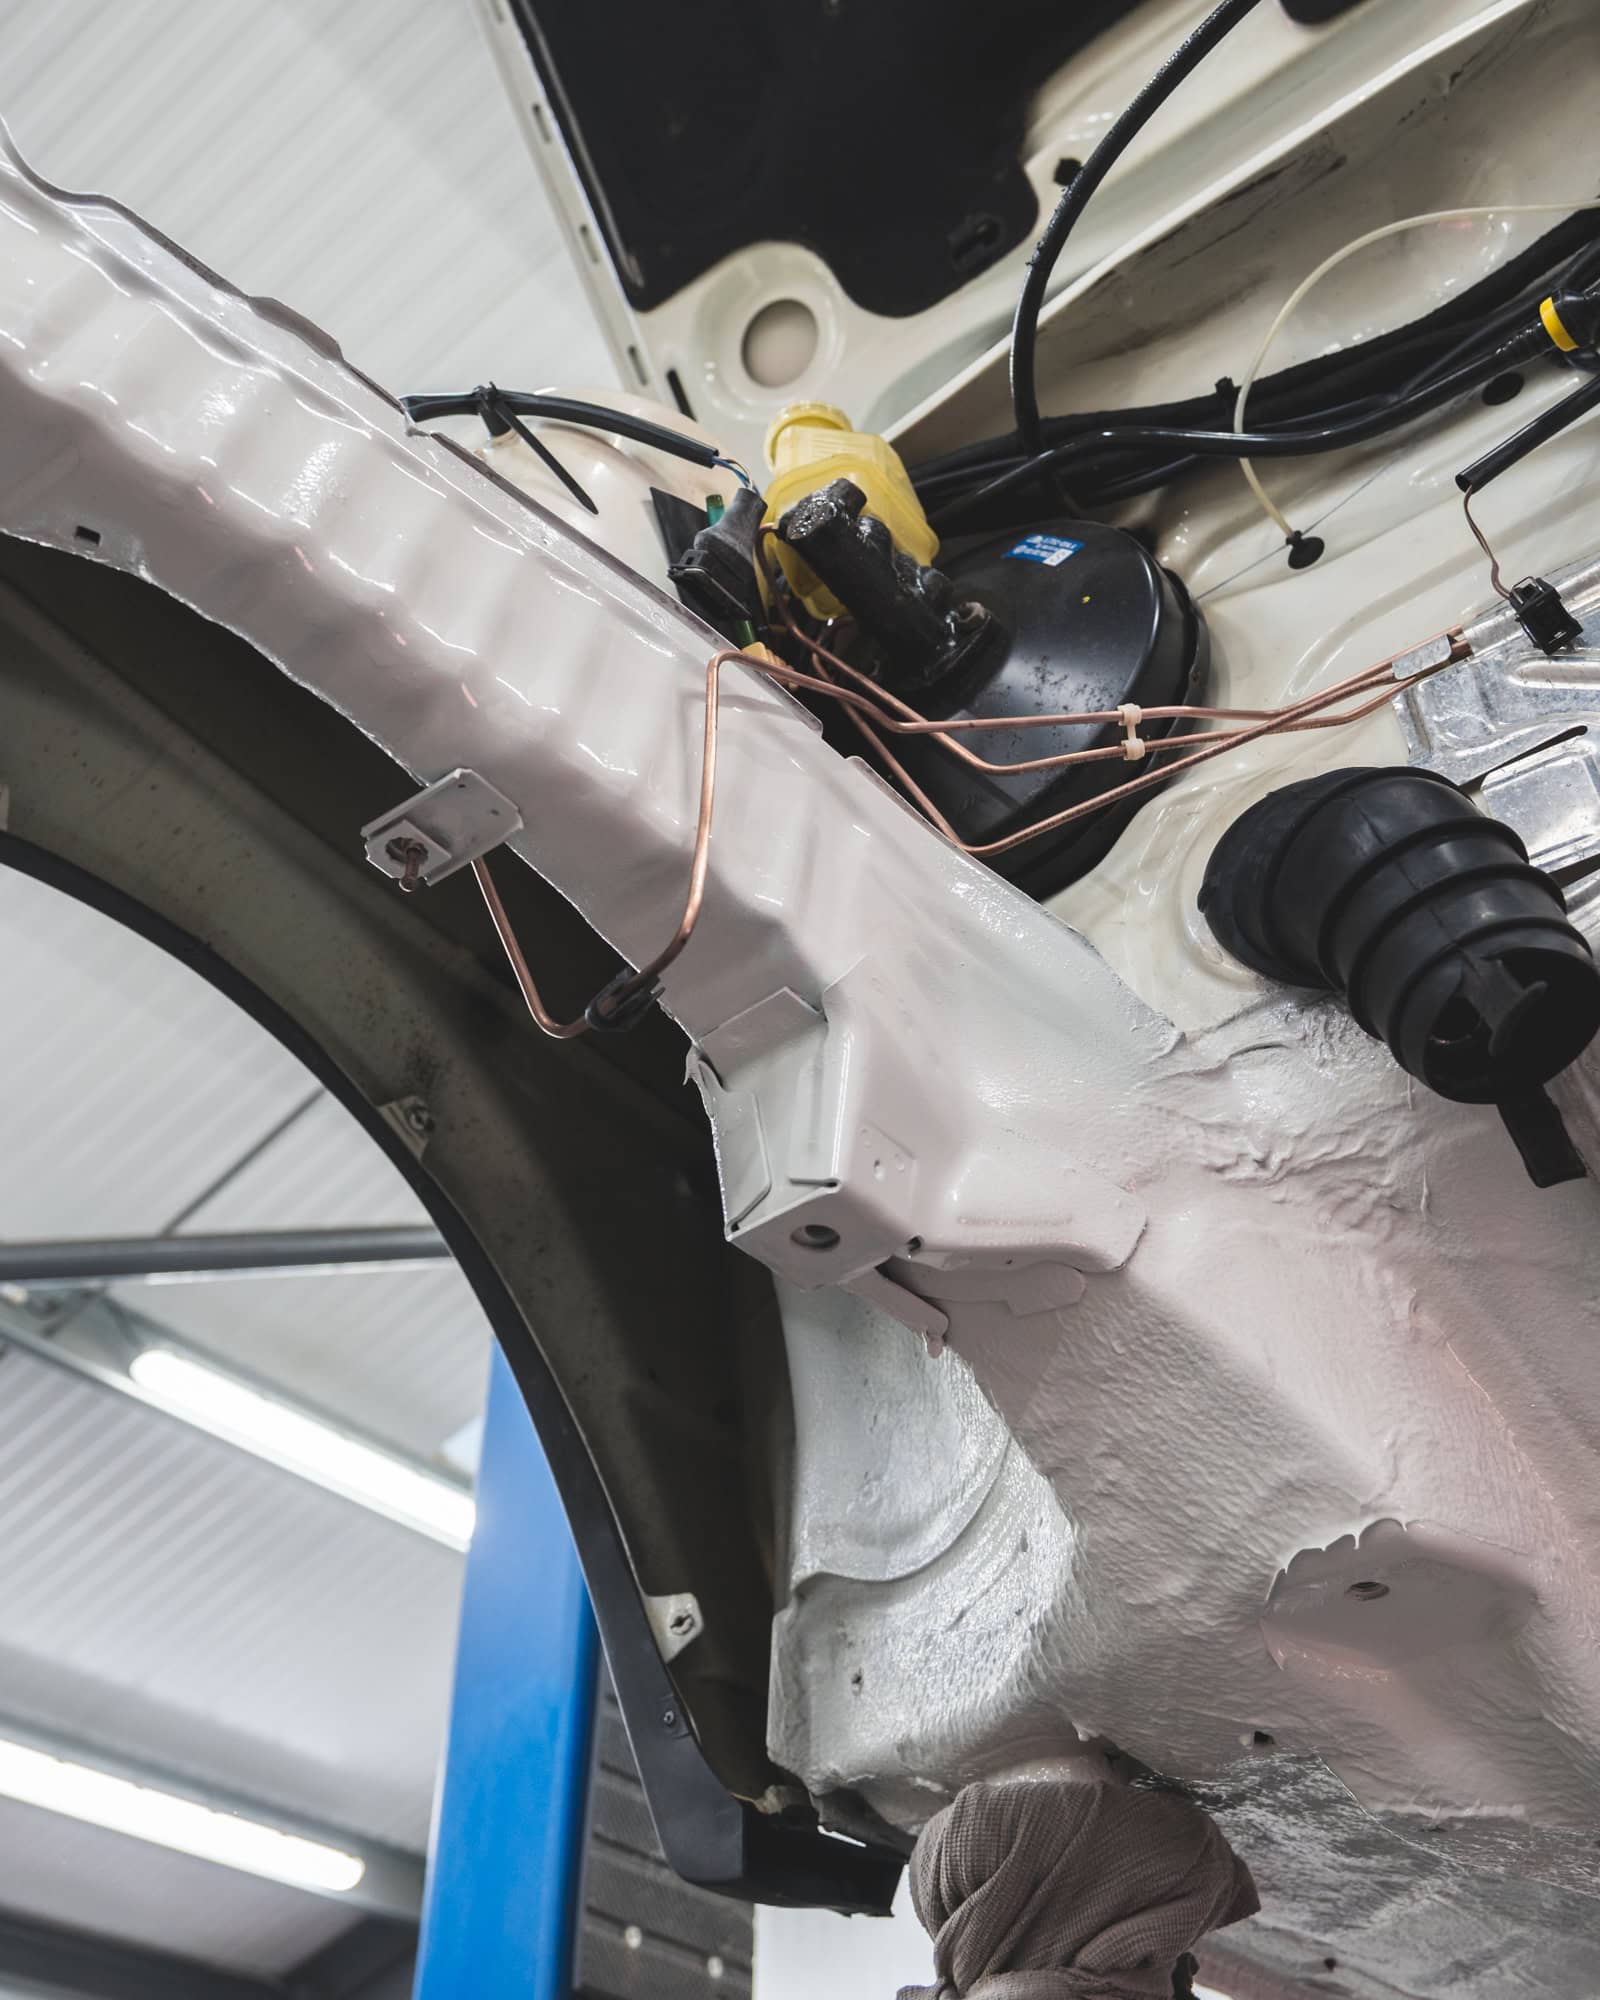
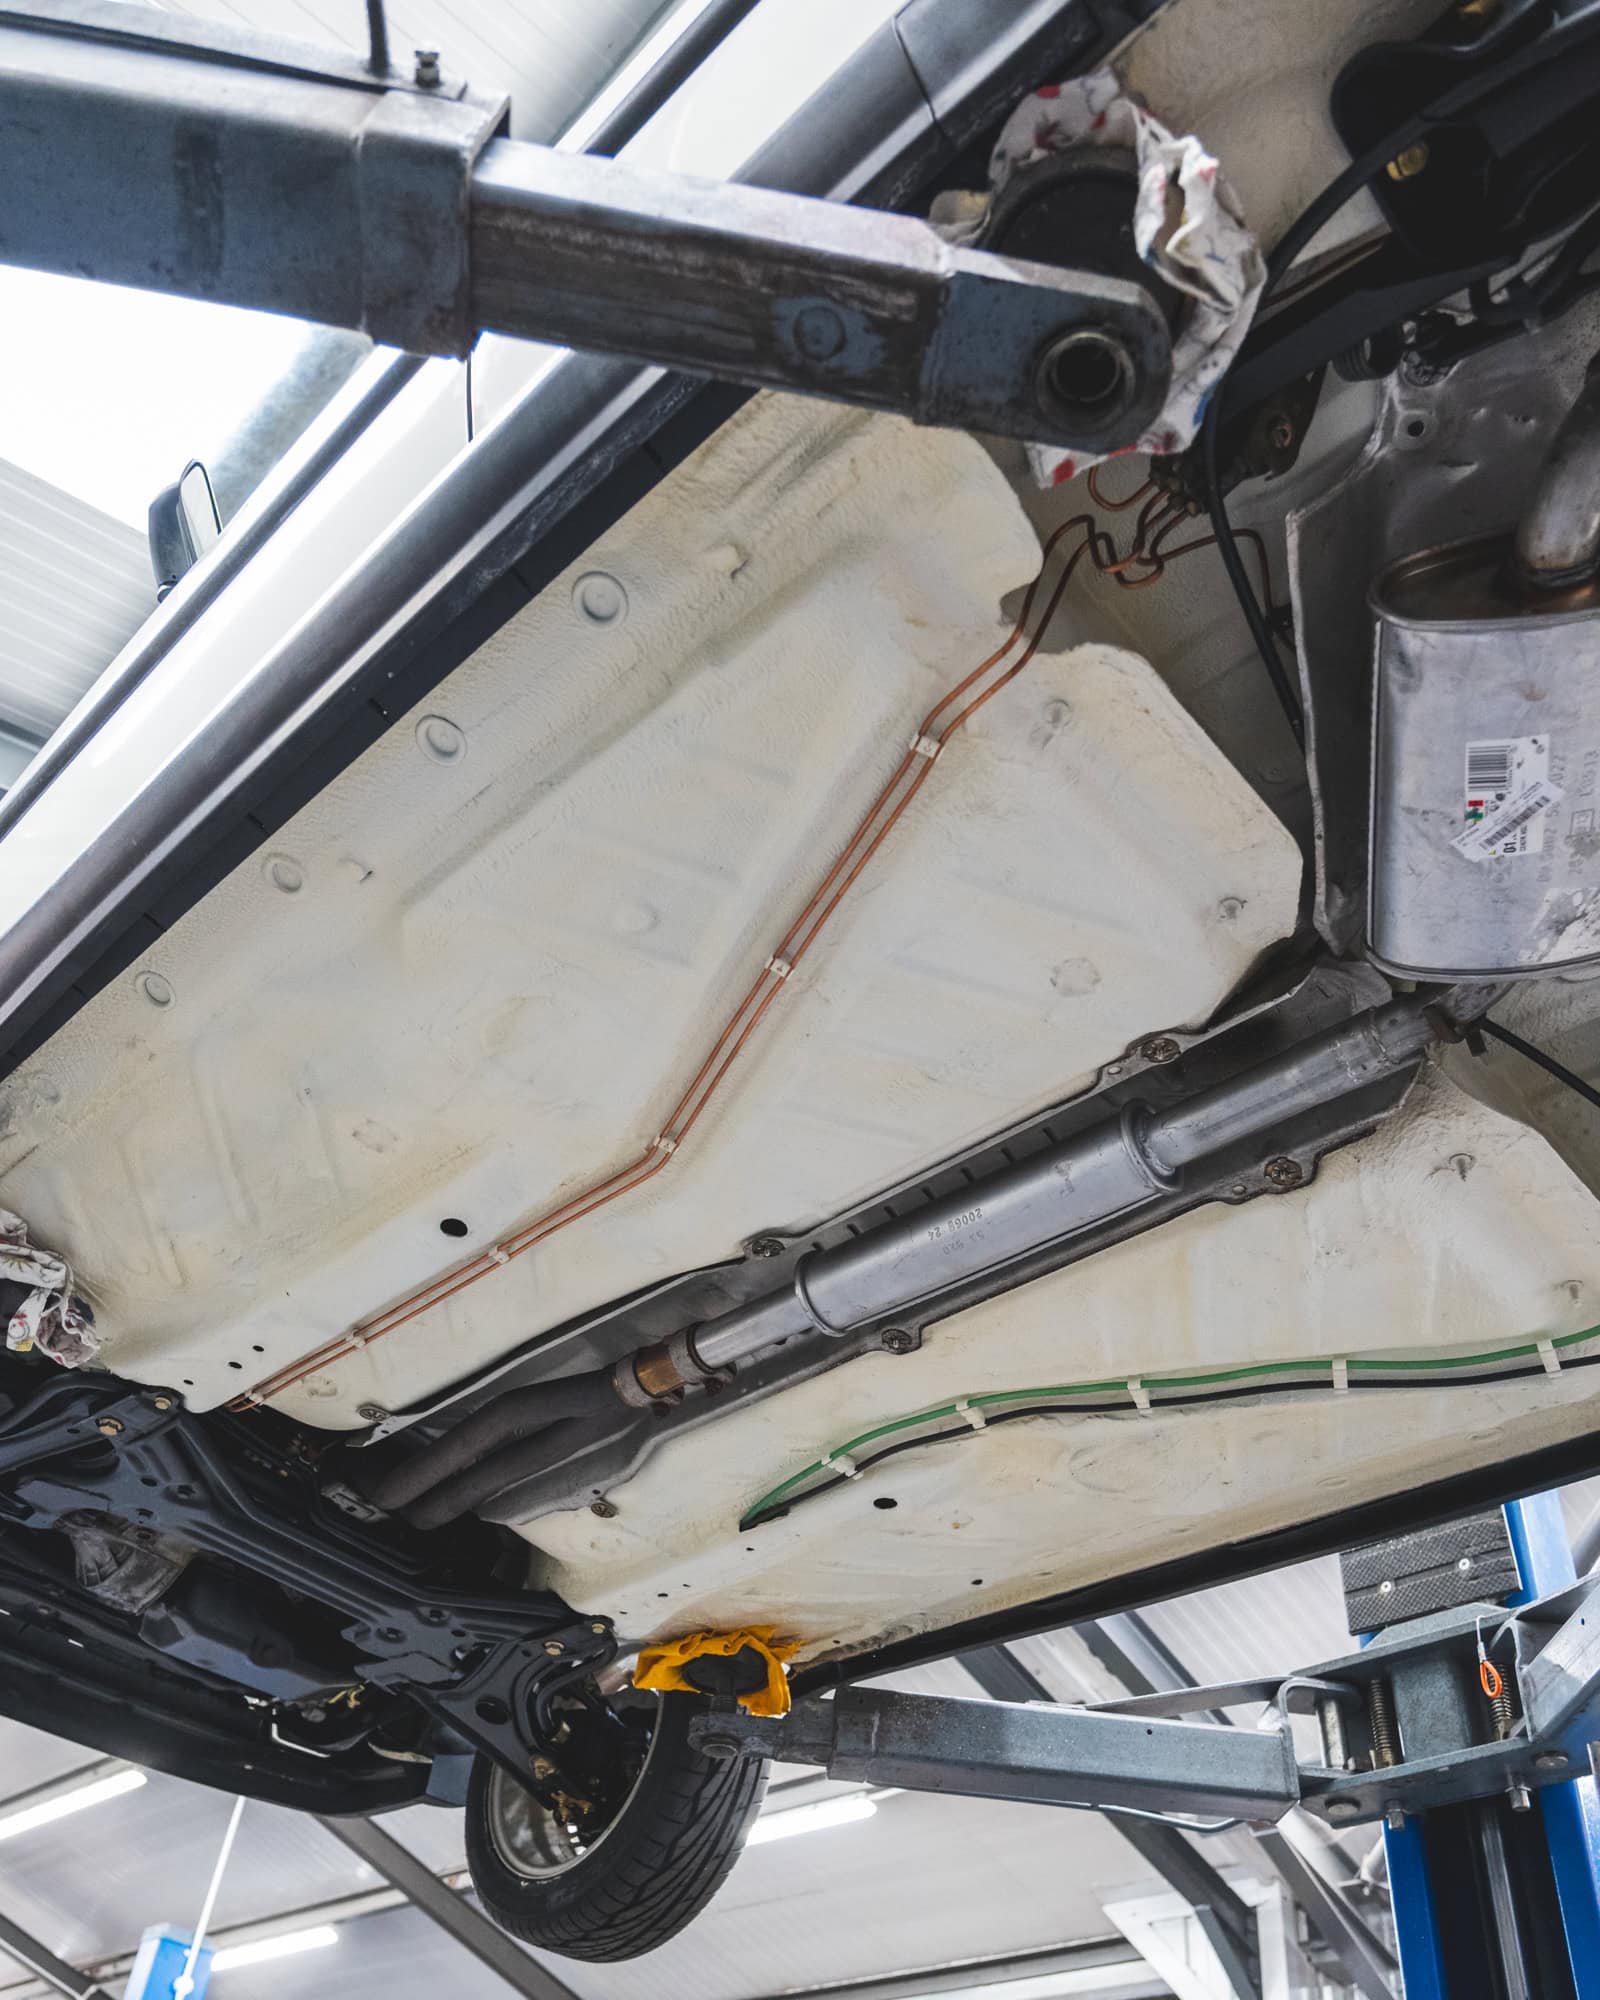
Once satisfied, Nick could start bending up new copper brake lines, matching the original routing as it would have left the factory with. We’re occasionally asked on our social media posts why we use copper for brake lines rather than stainless steel. While stainless steel has fantastic resistance to corrosion, it can also be brittle to work with. Copper brake lines are nice and soft and allow us to make tight bends and once coated with cavity wax, hold up brilliantly for years to come.
The Golf would have originally been painted body colour on the underside, and we always make a point to recreate the original factory look and finish.
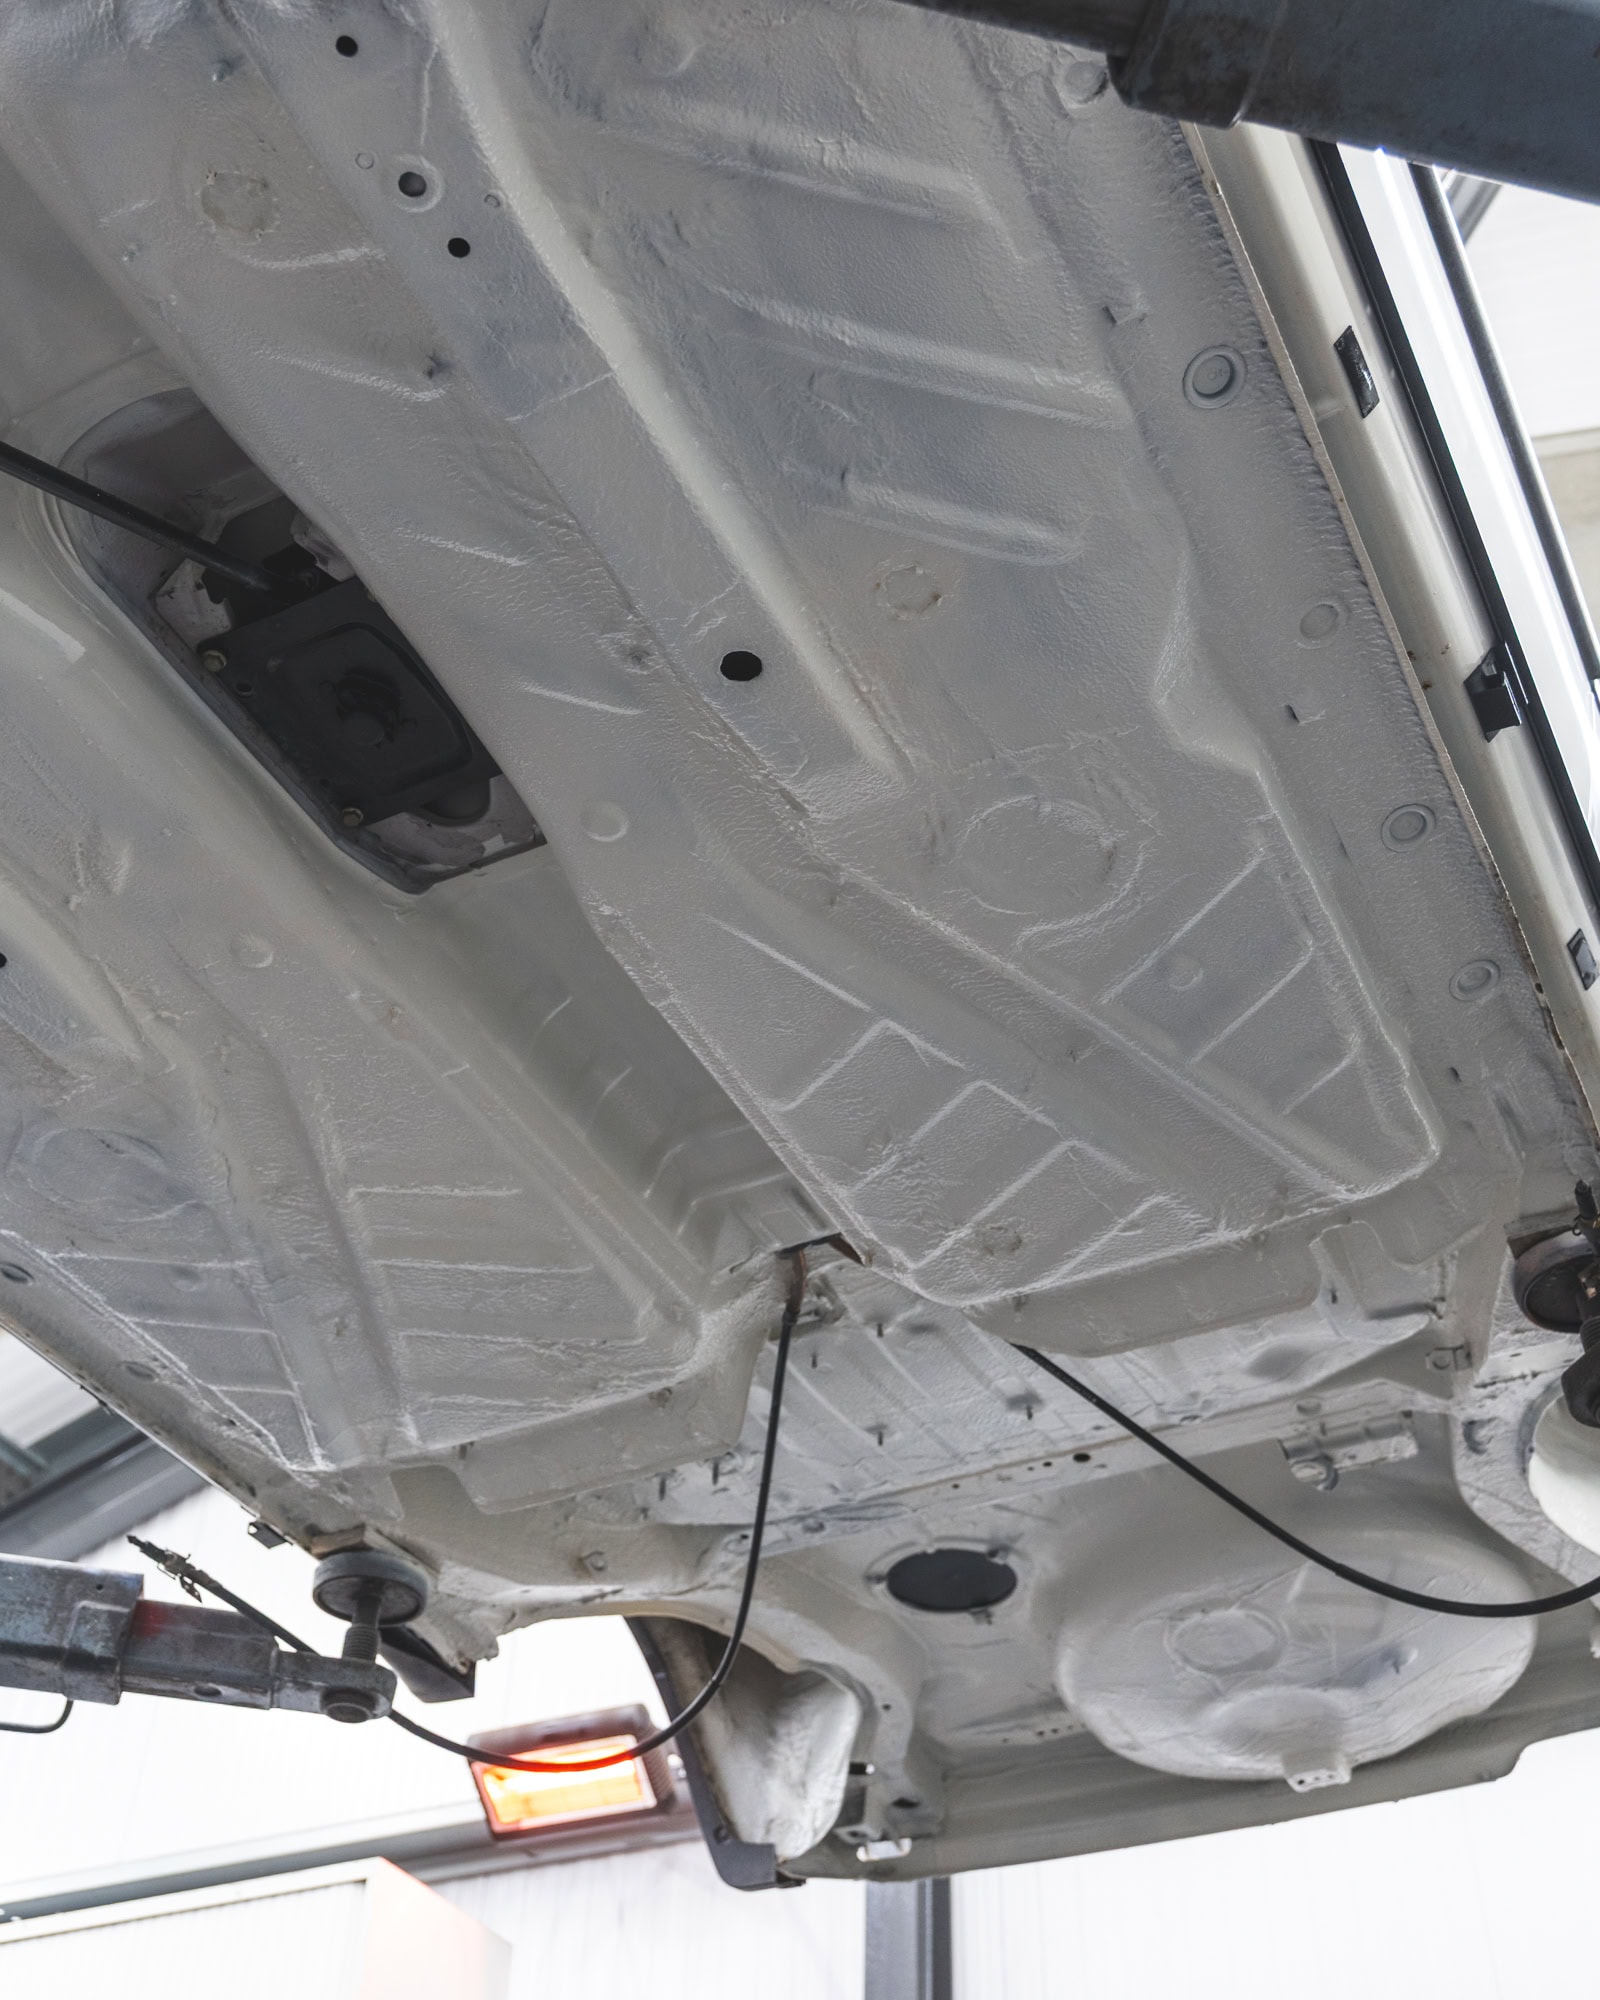
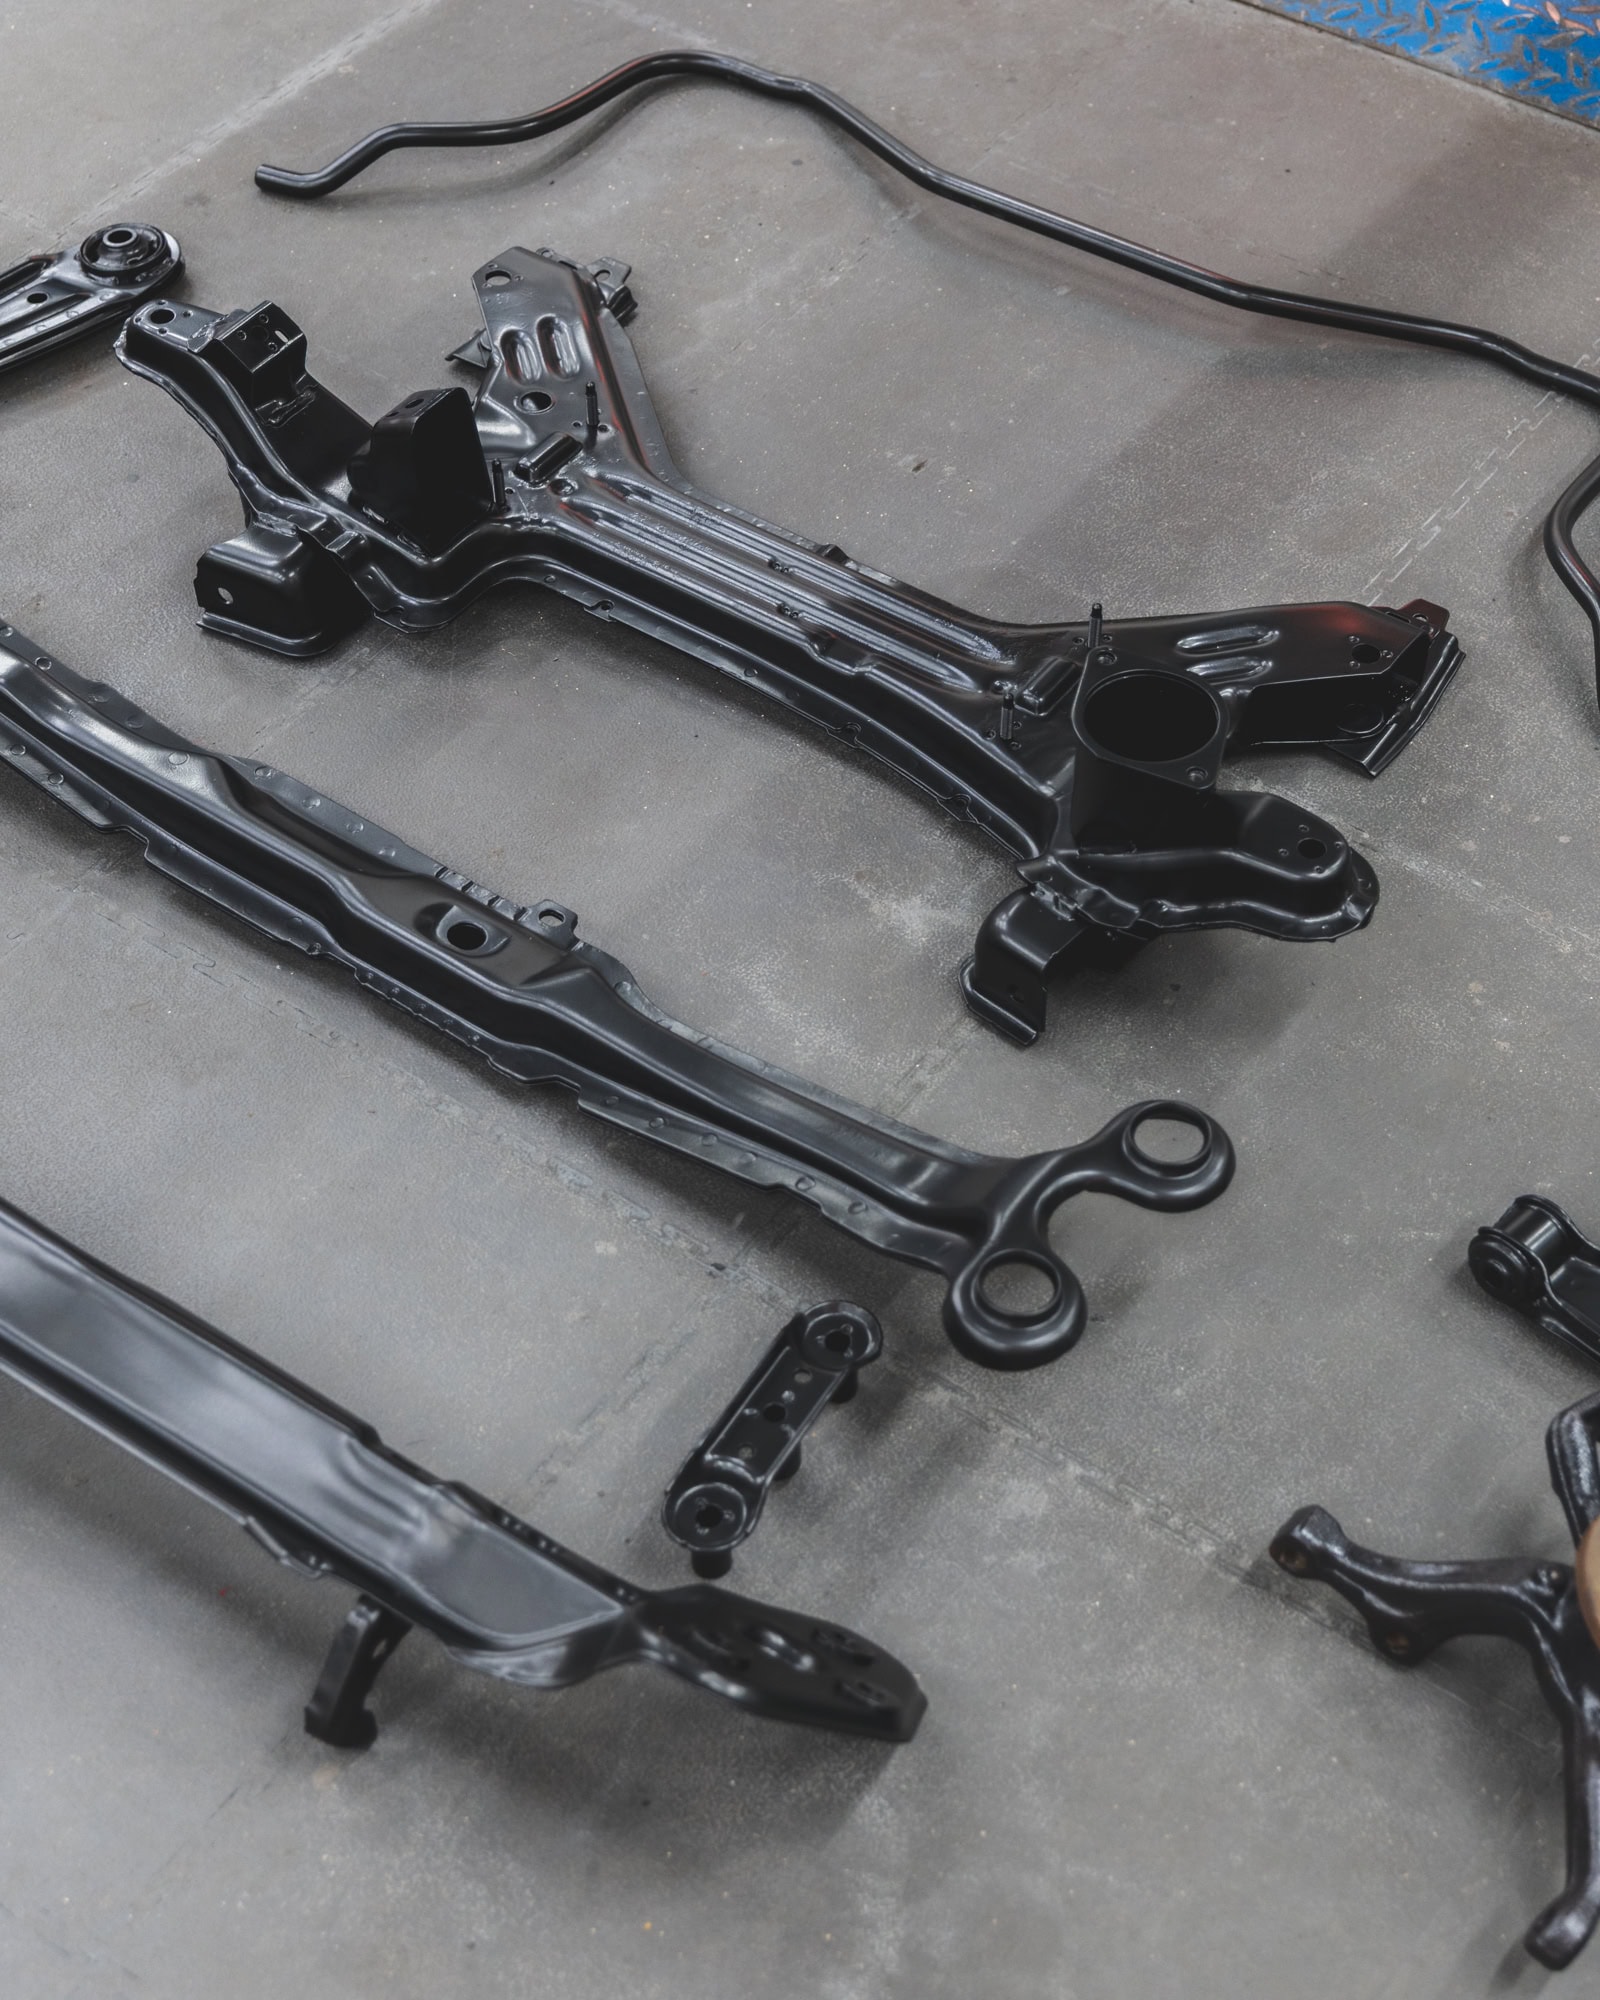
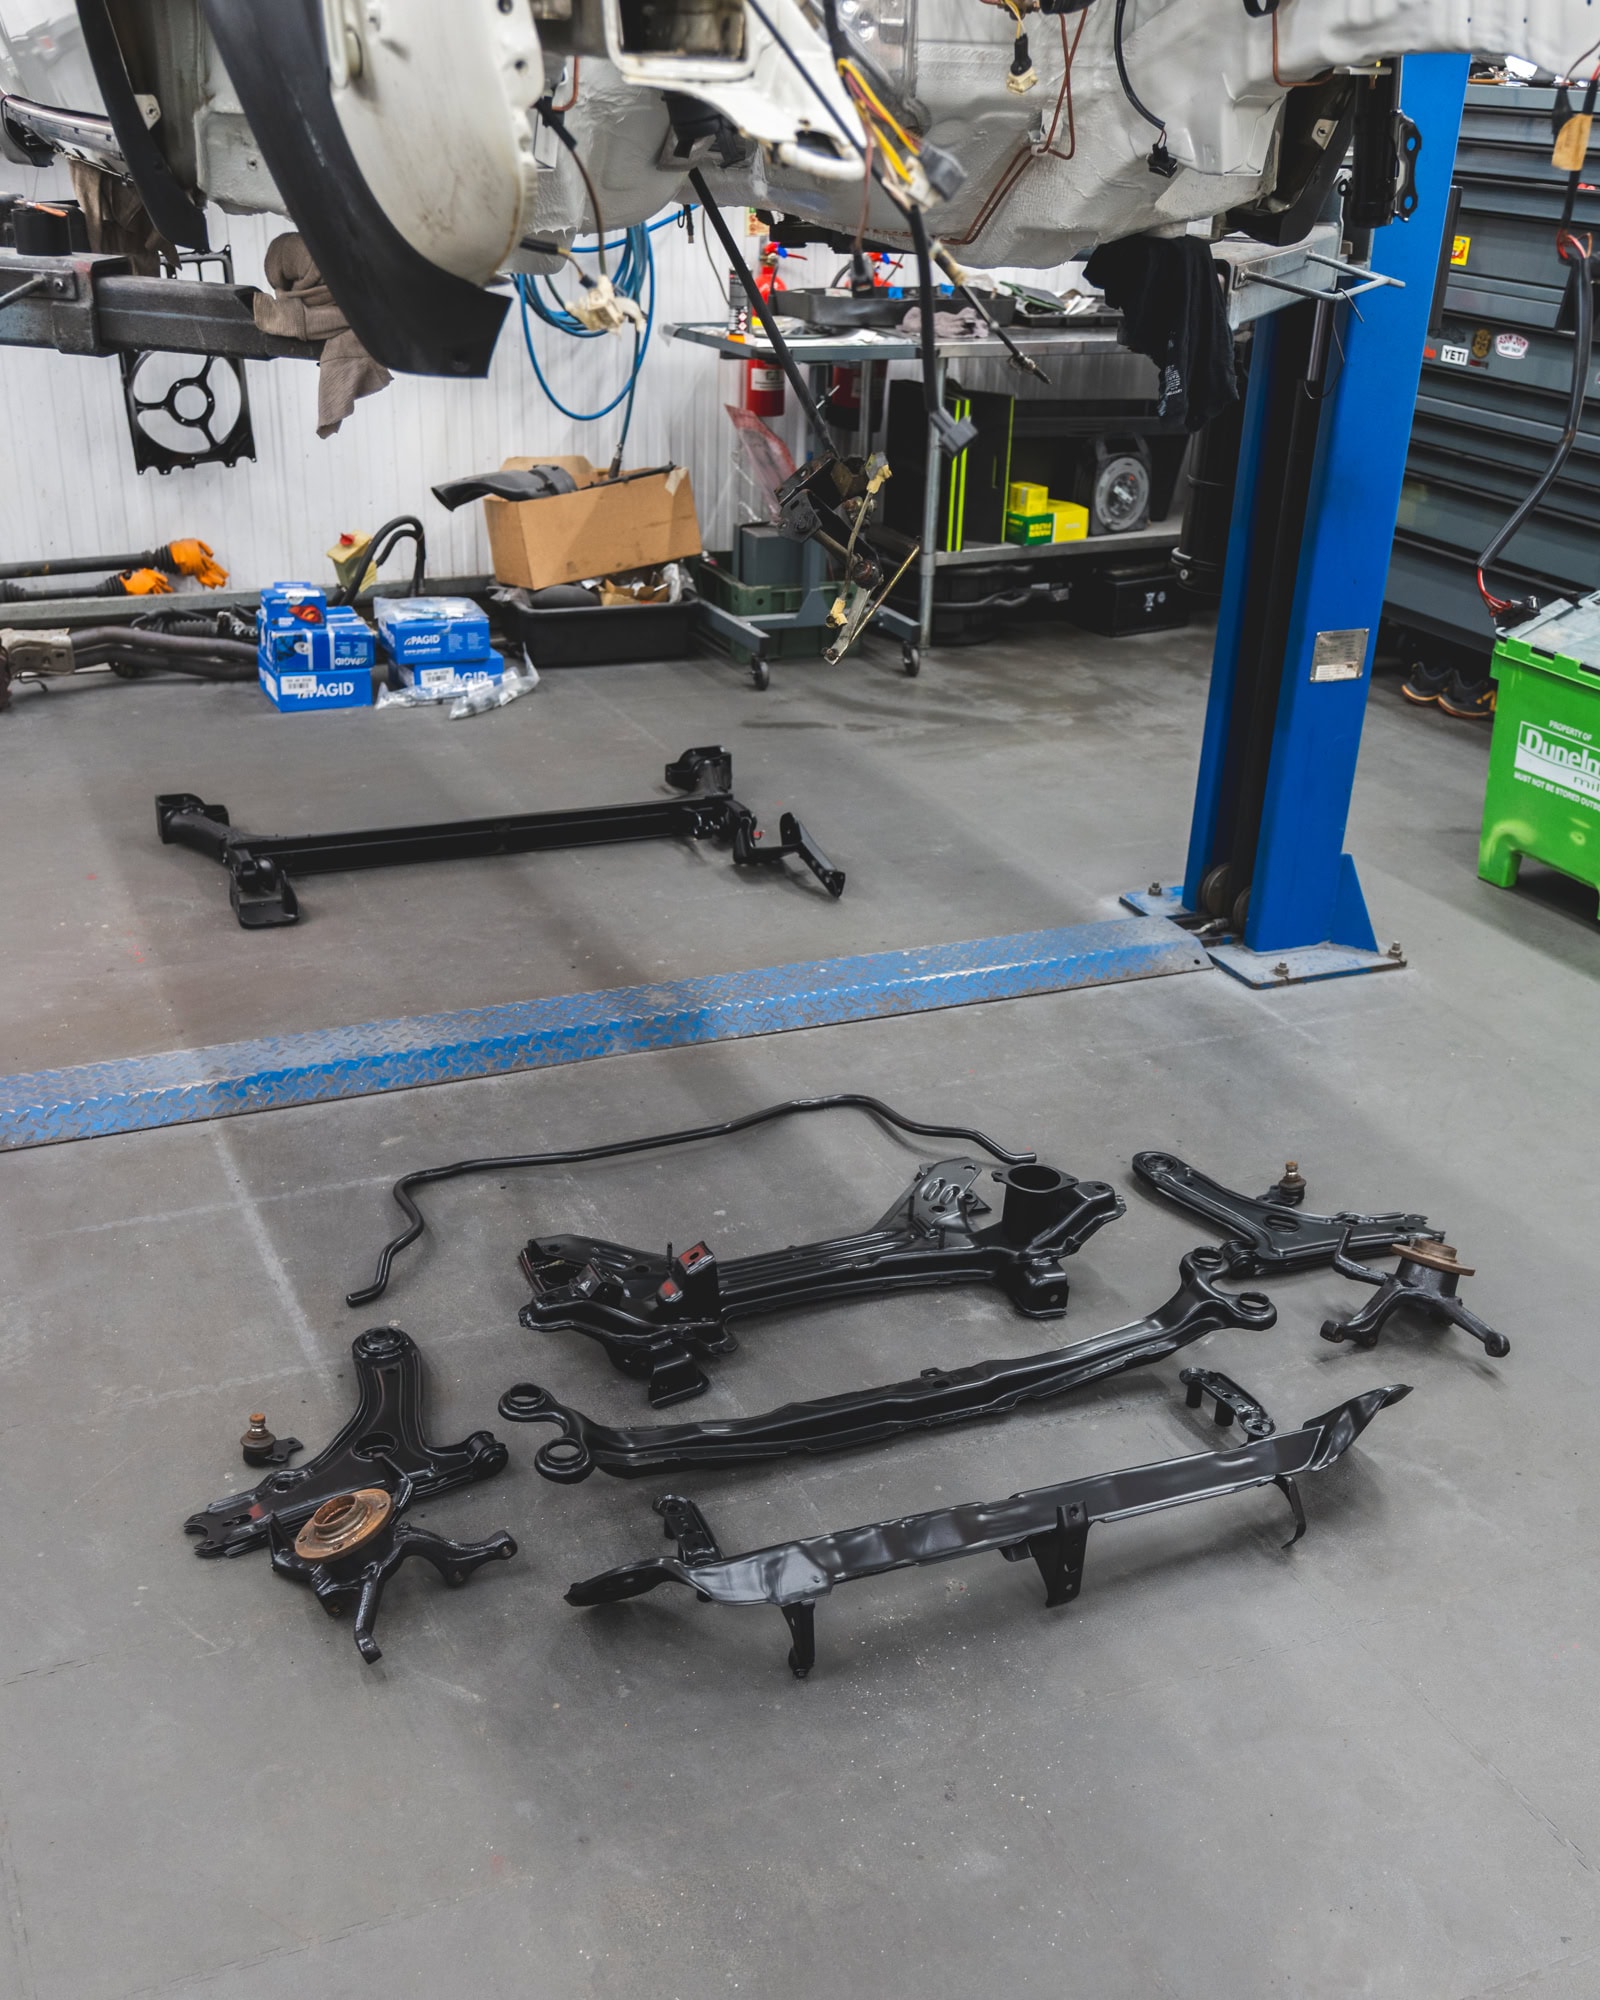
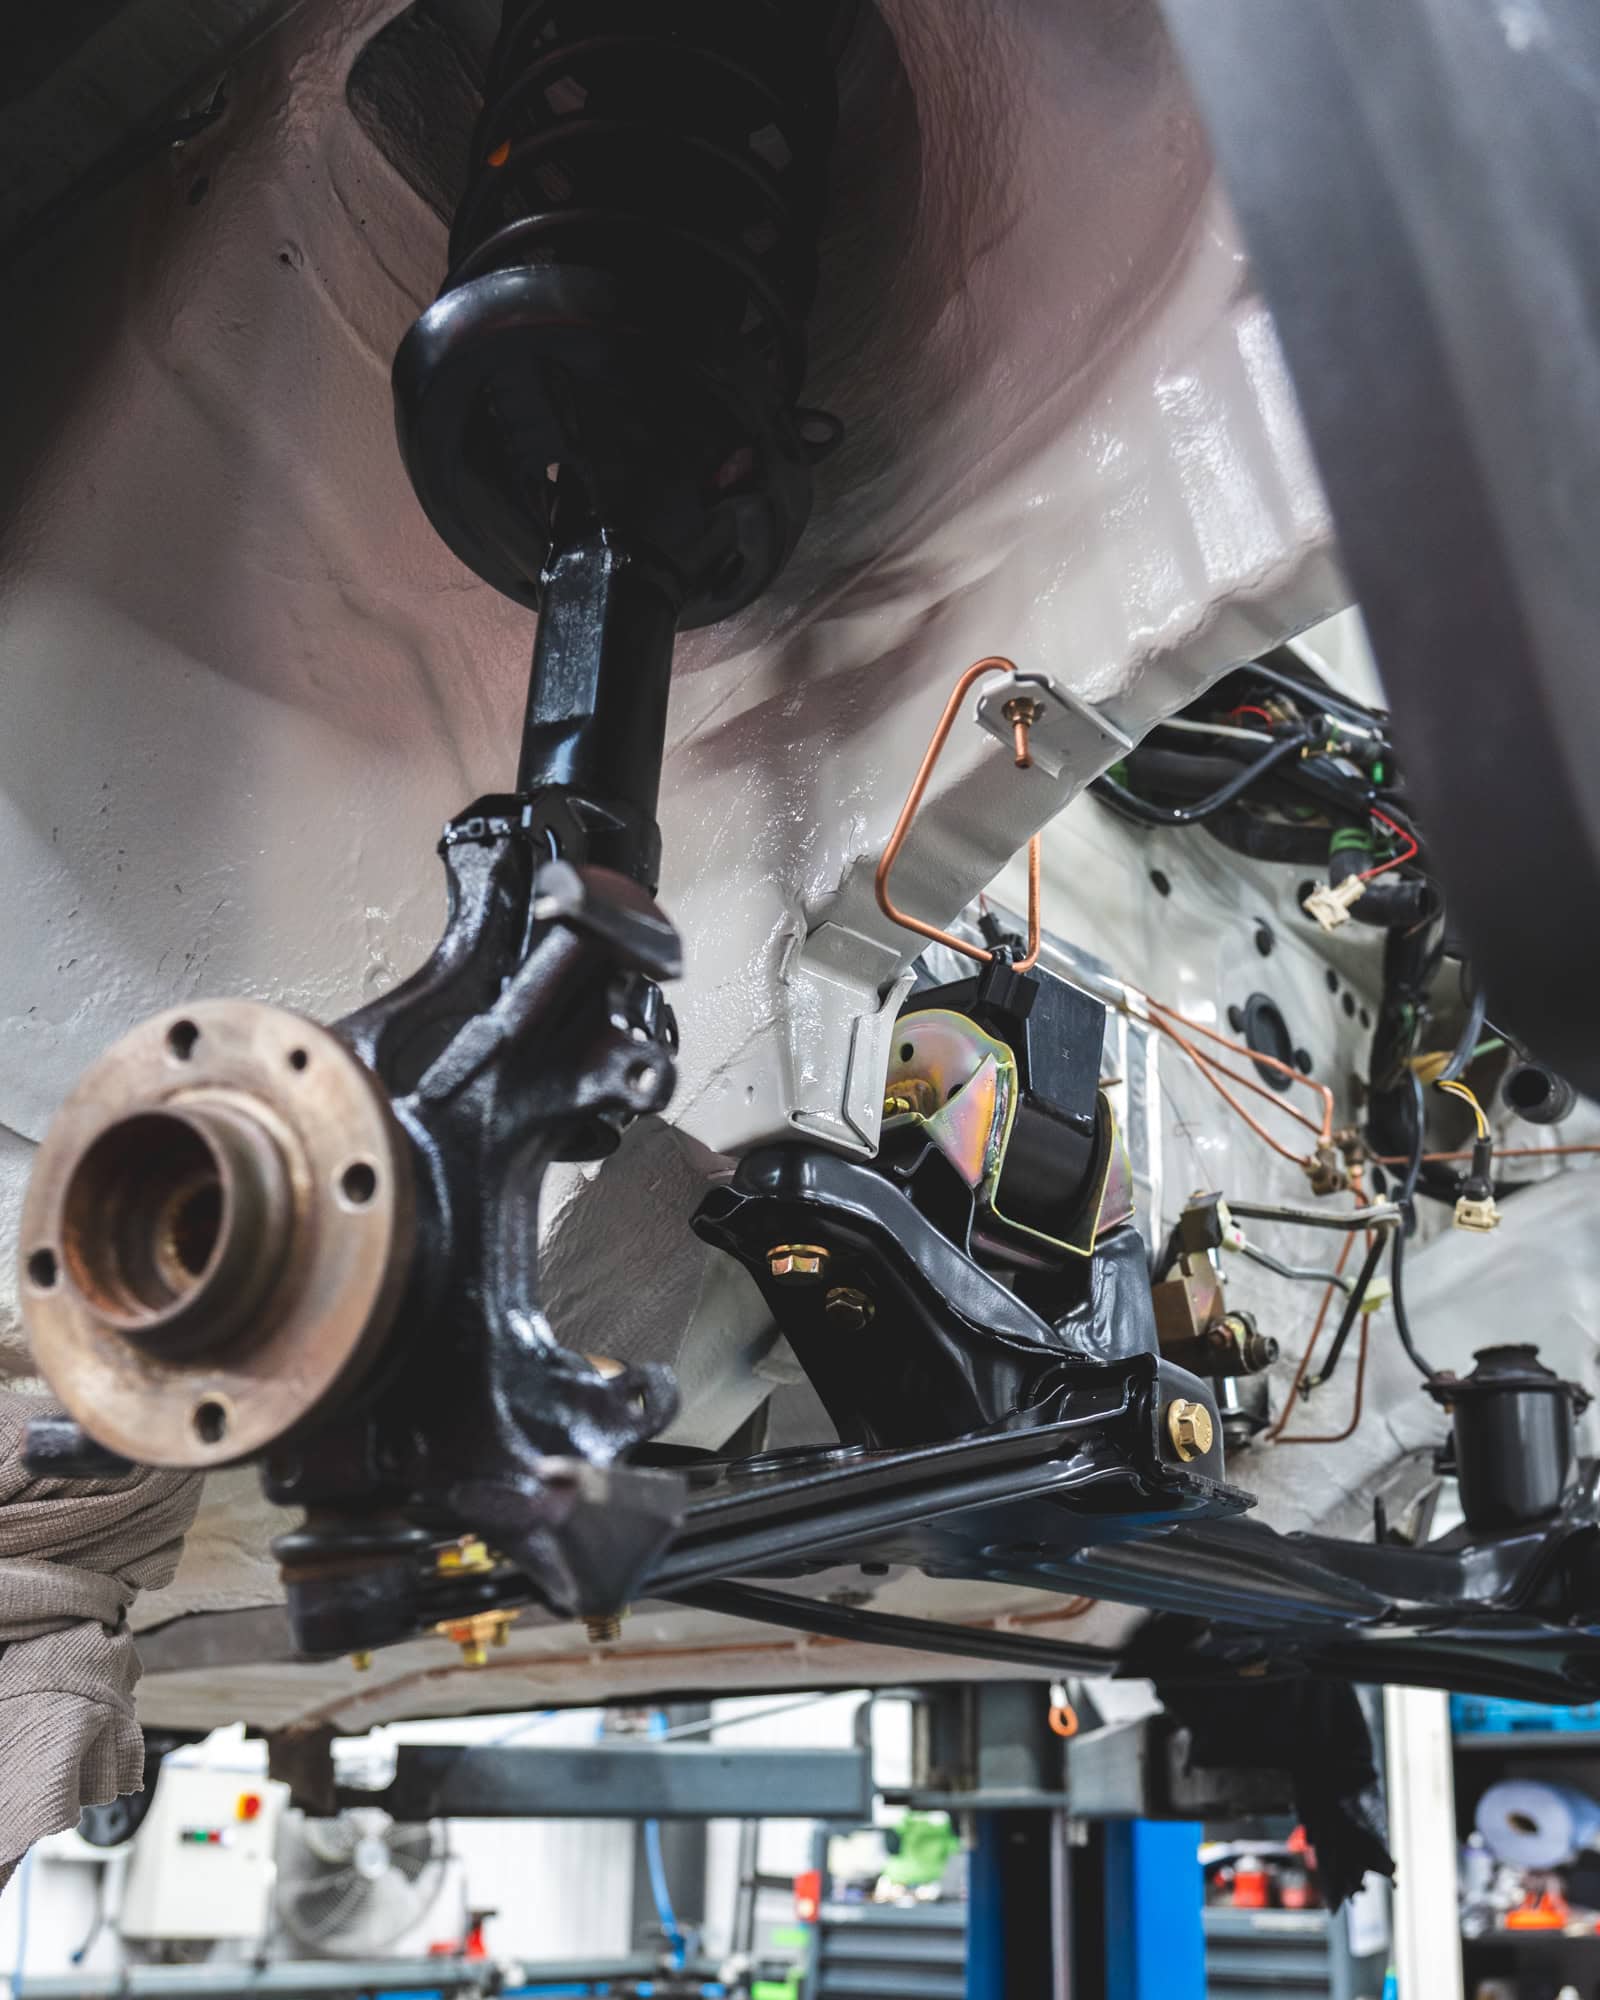
By now, the undercarriage had returned from the painters, ready to be built up.
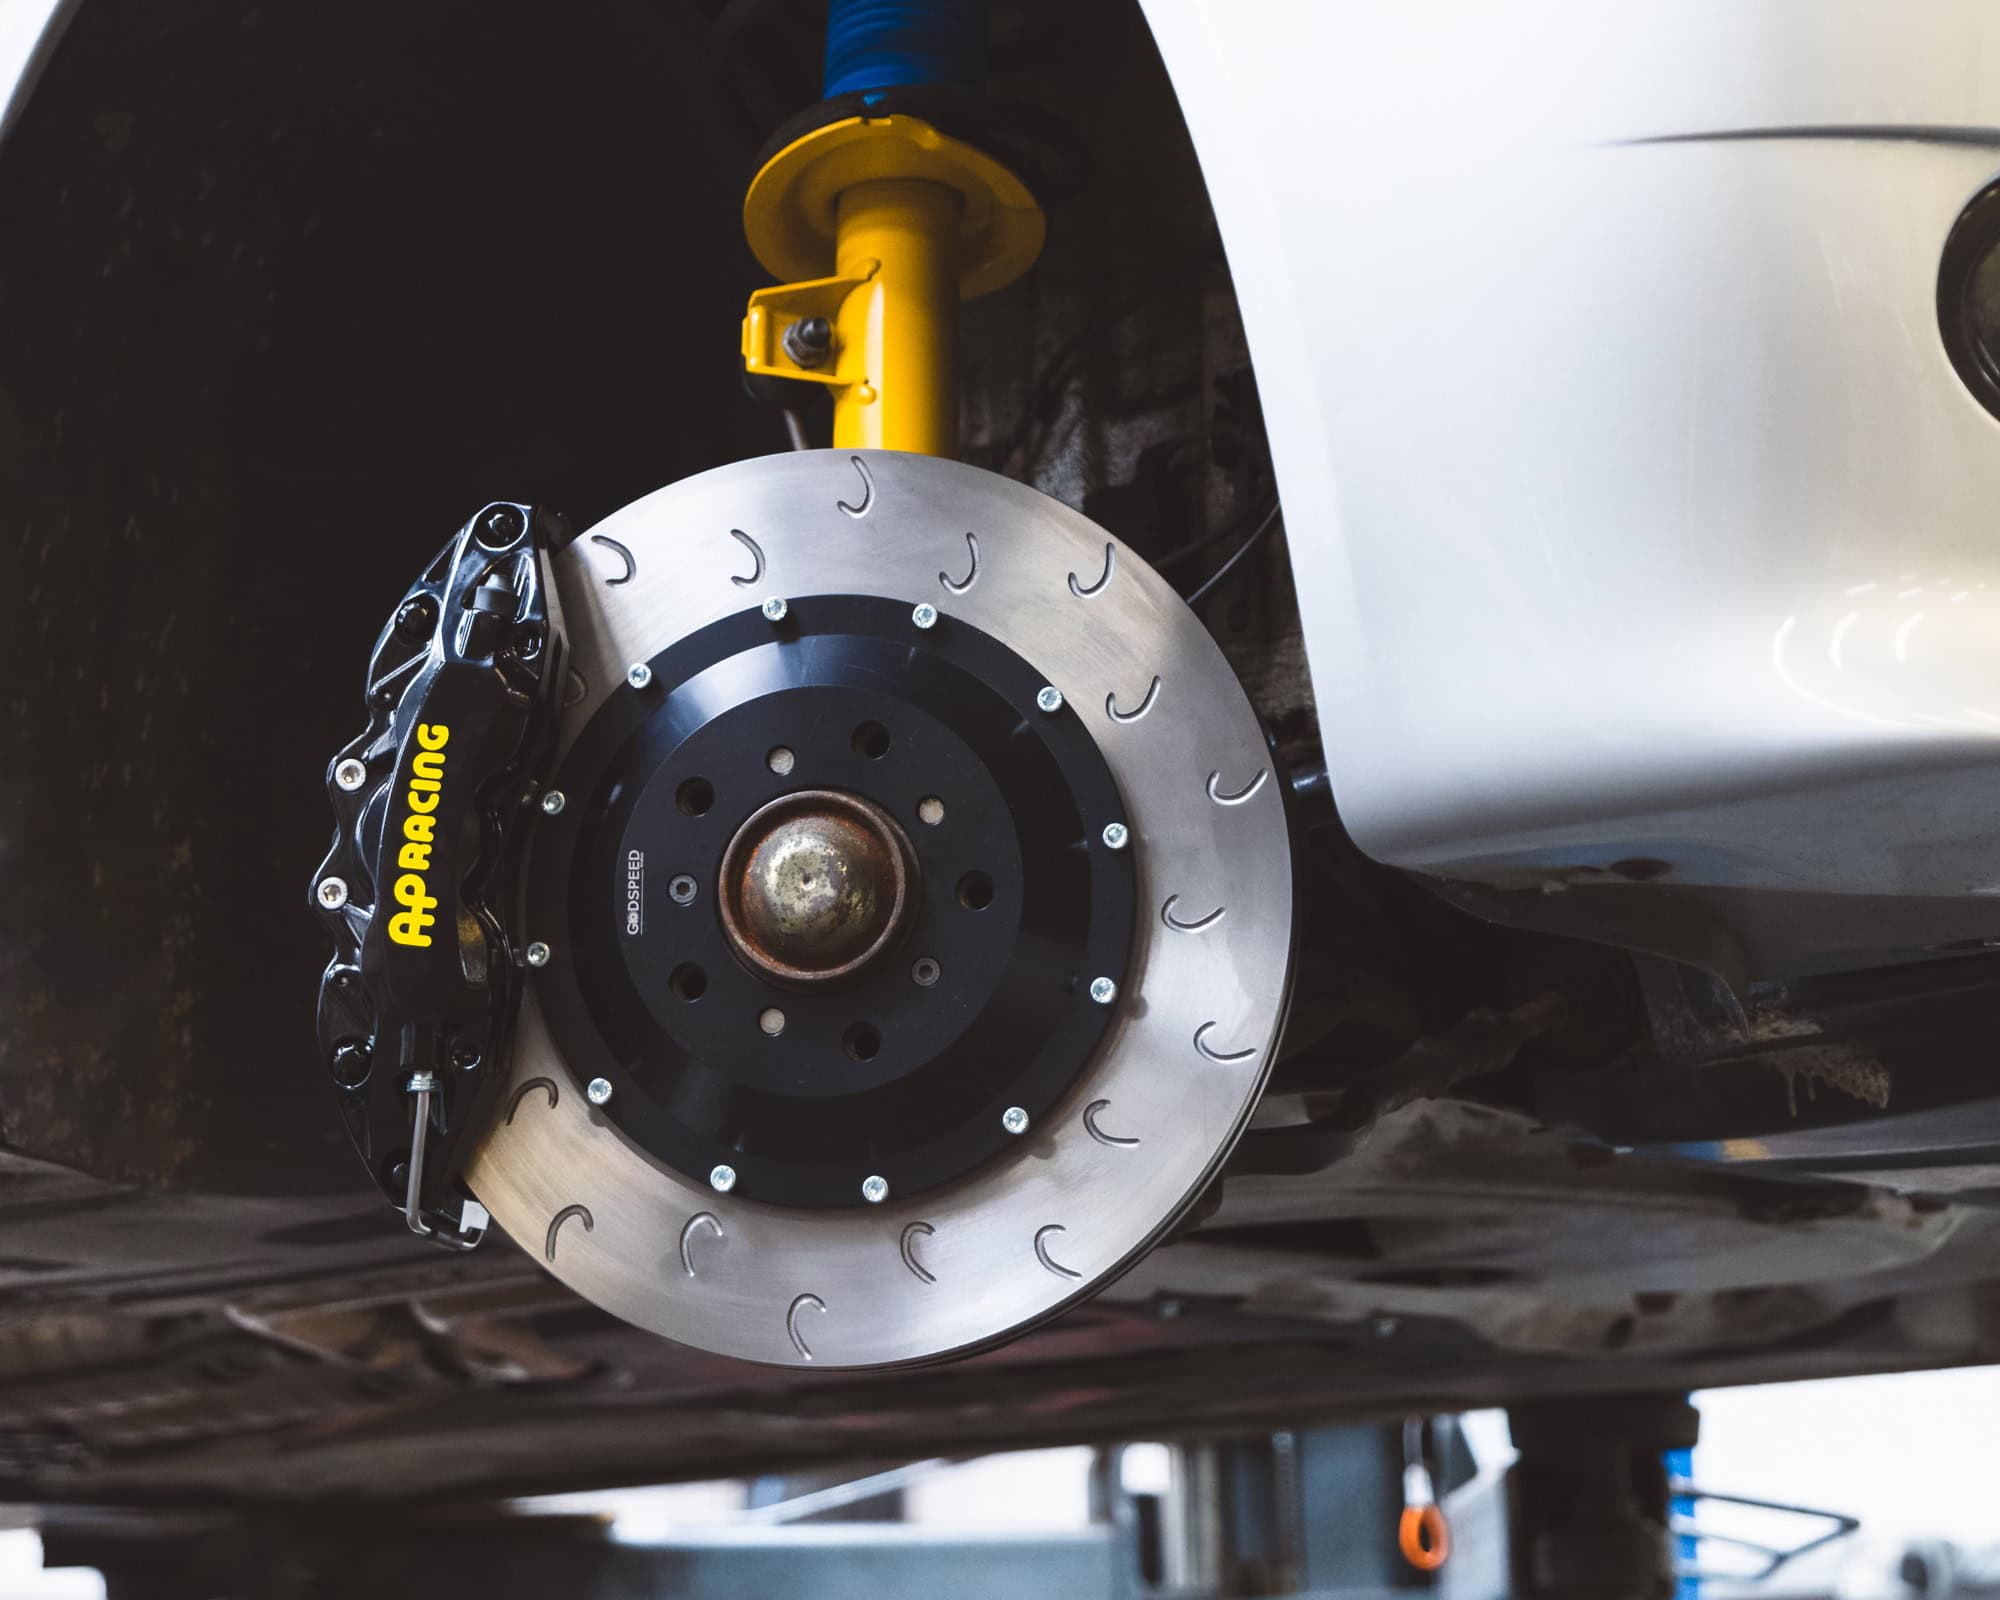
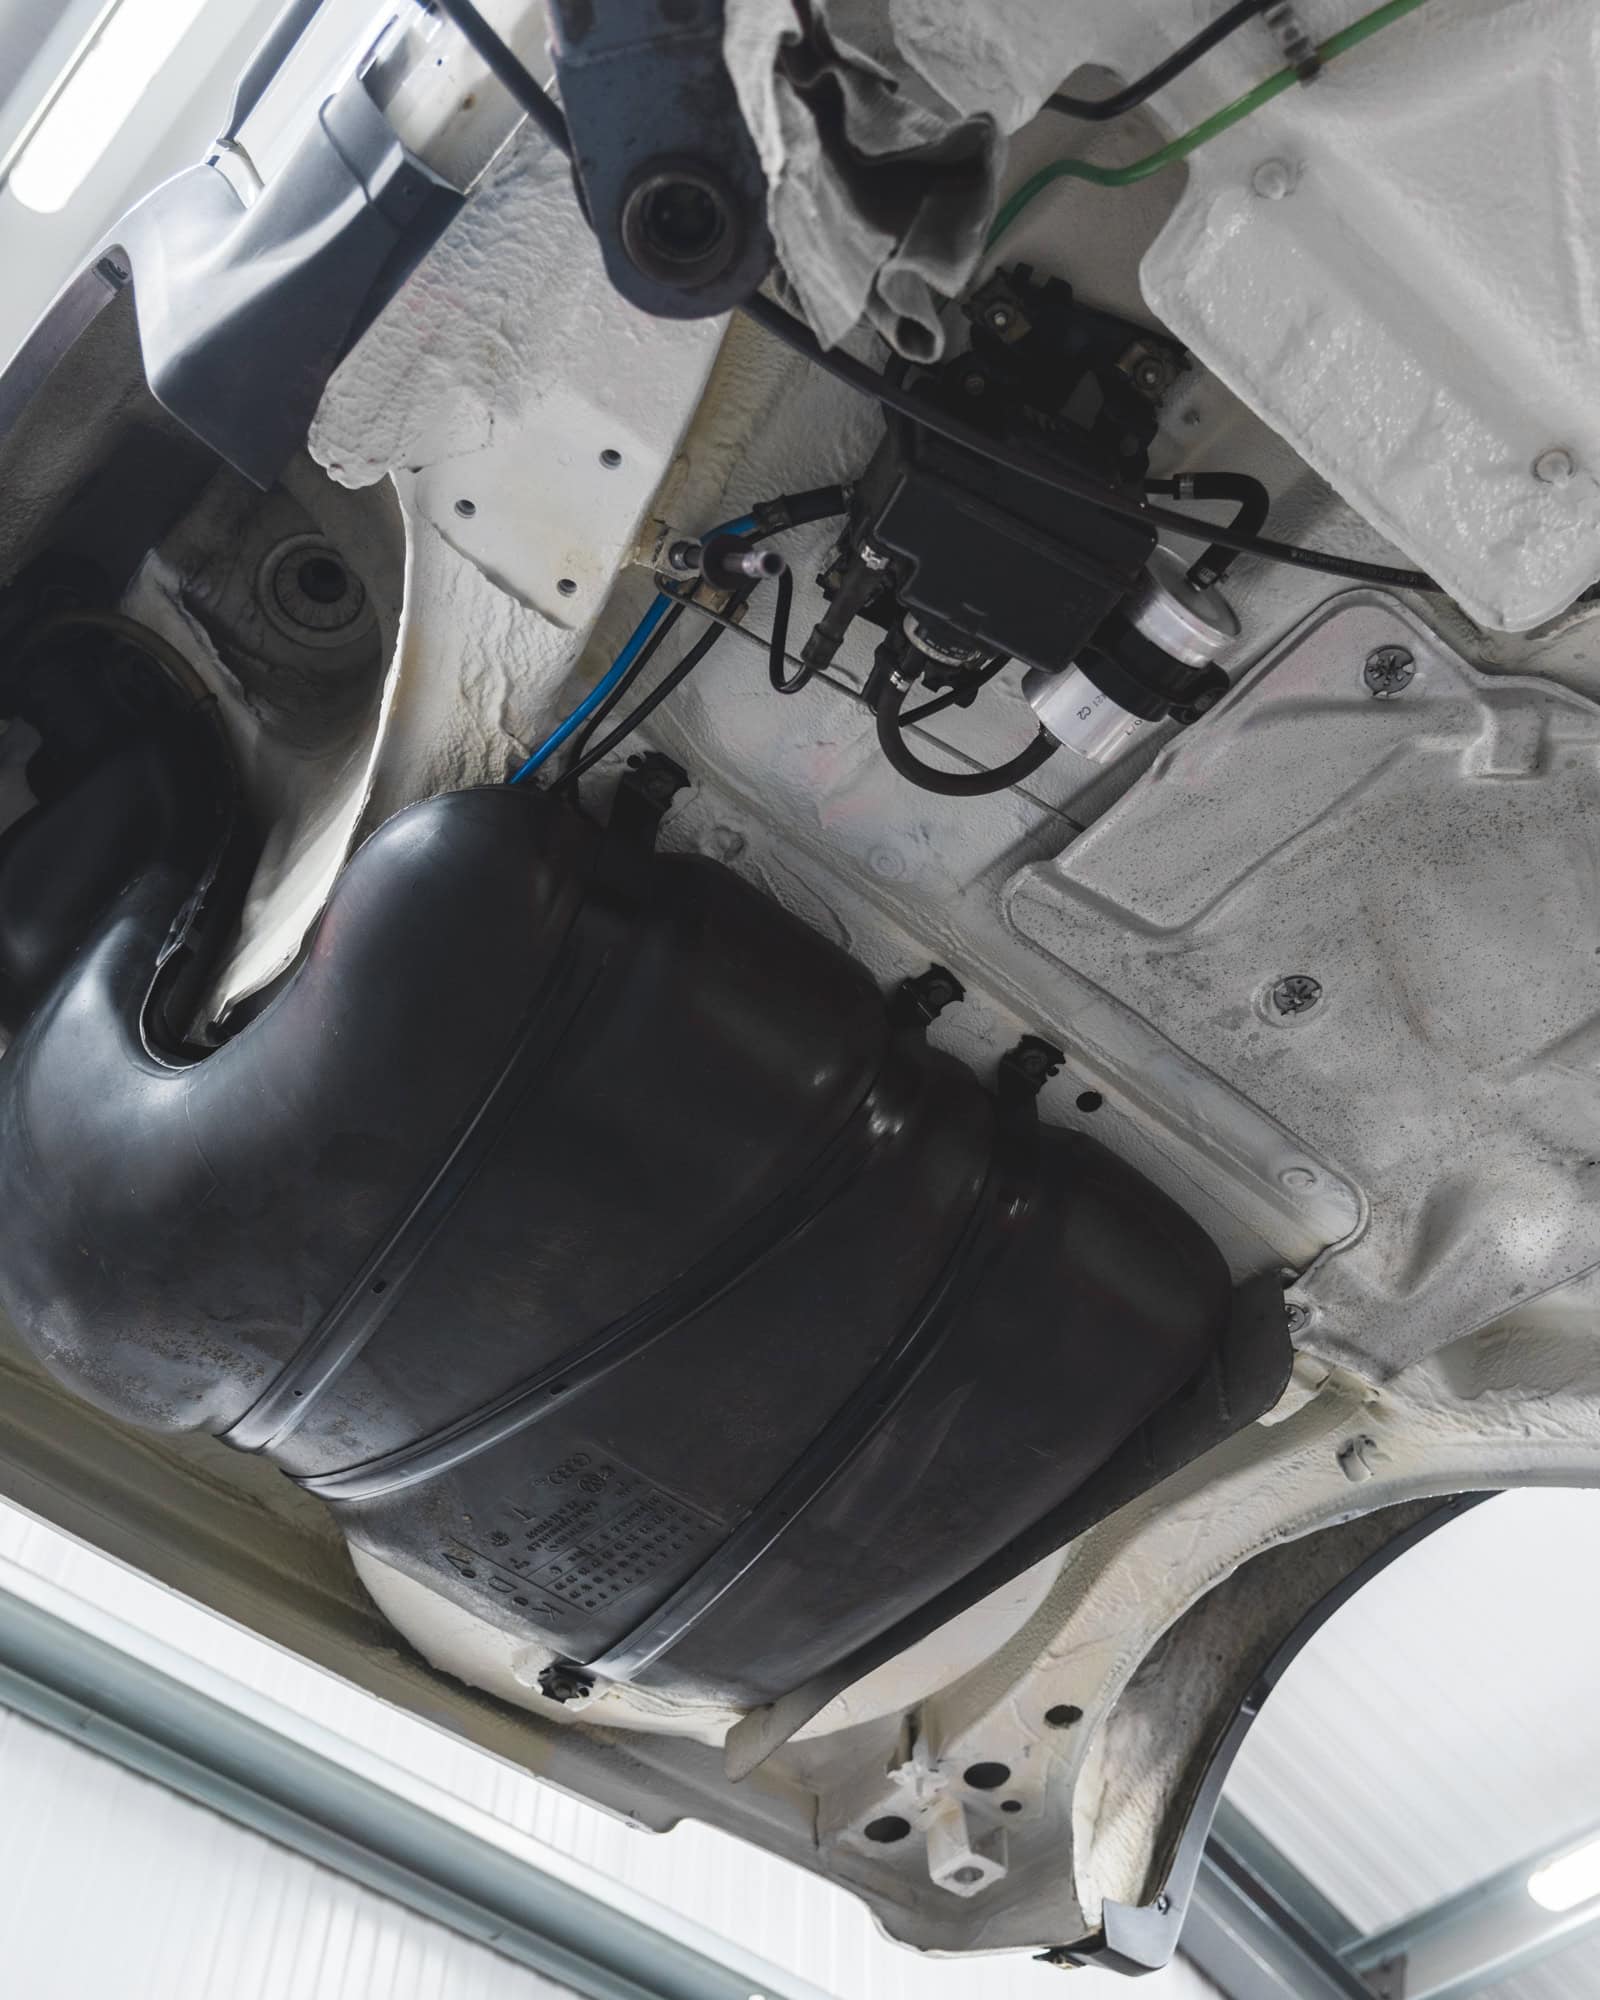
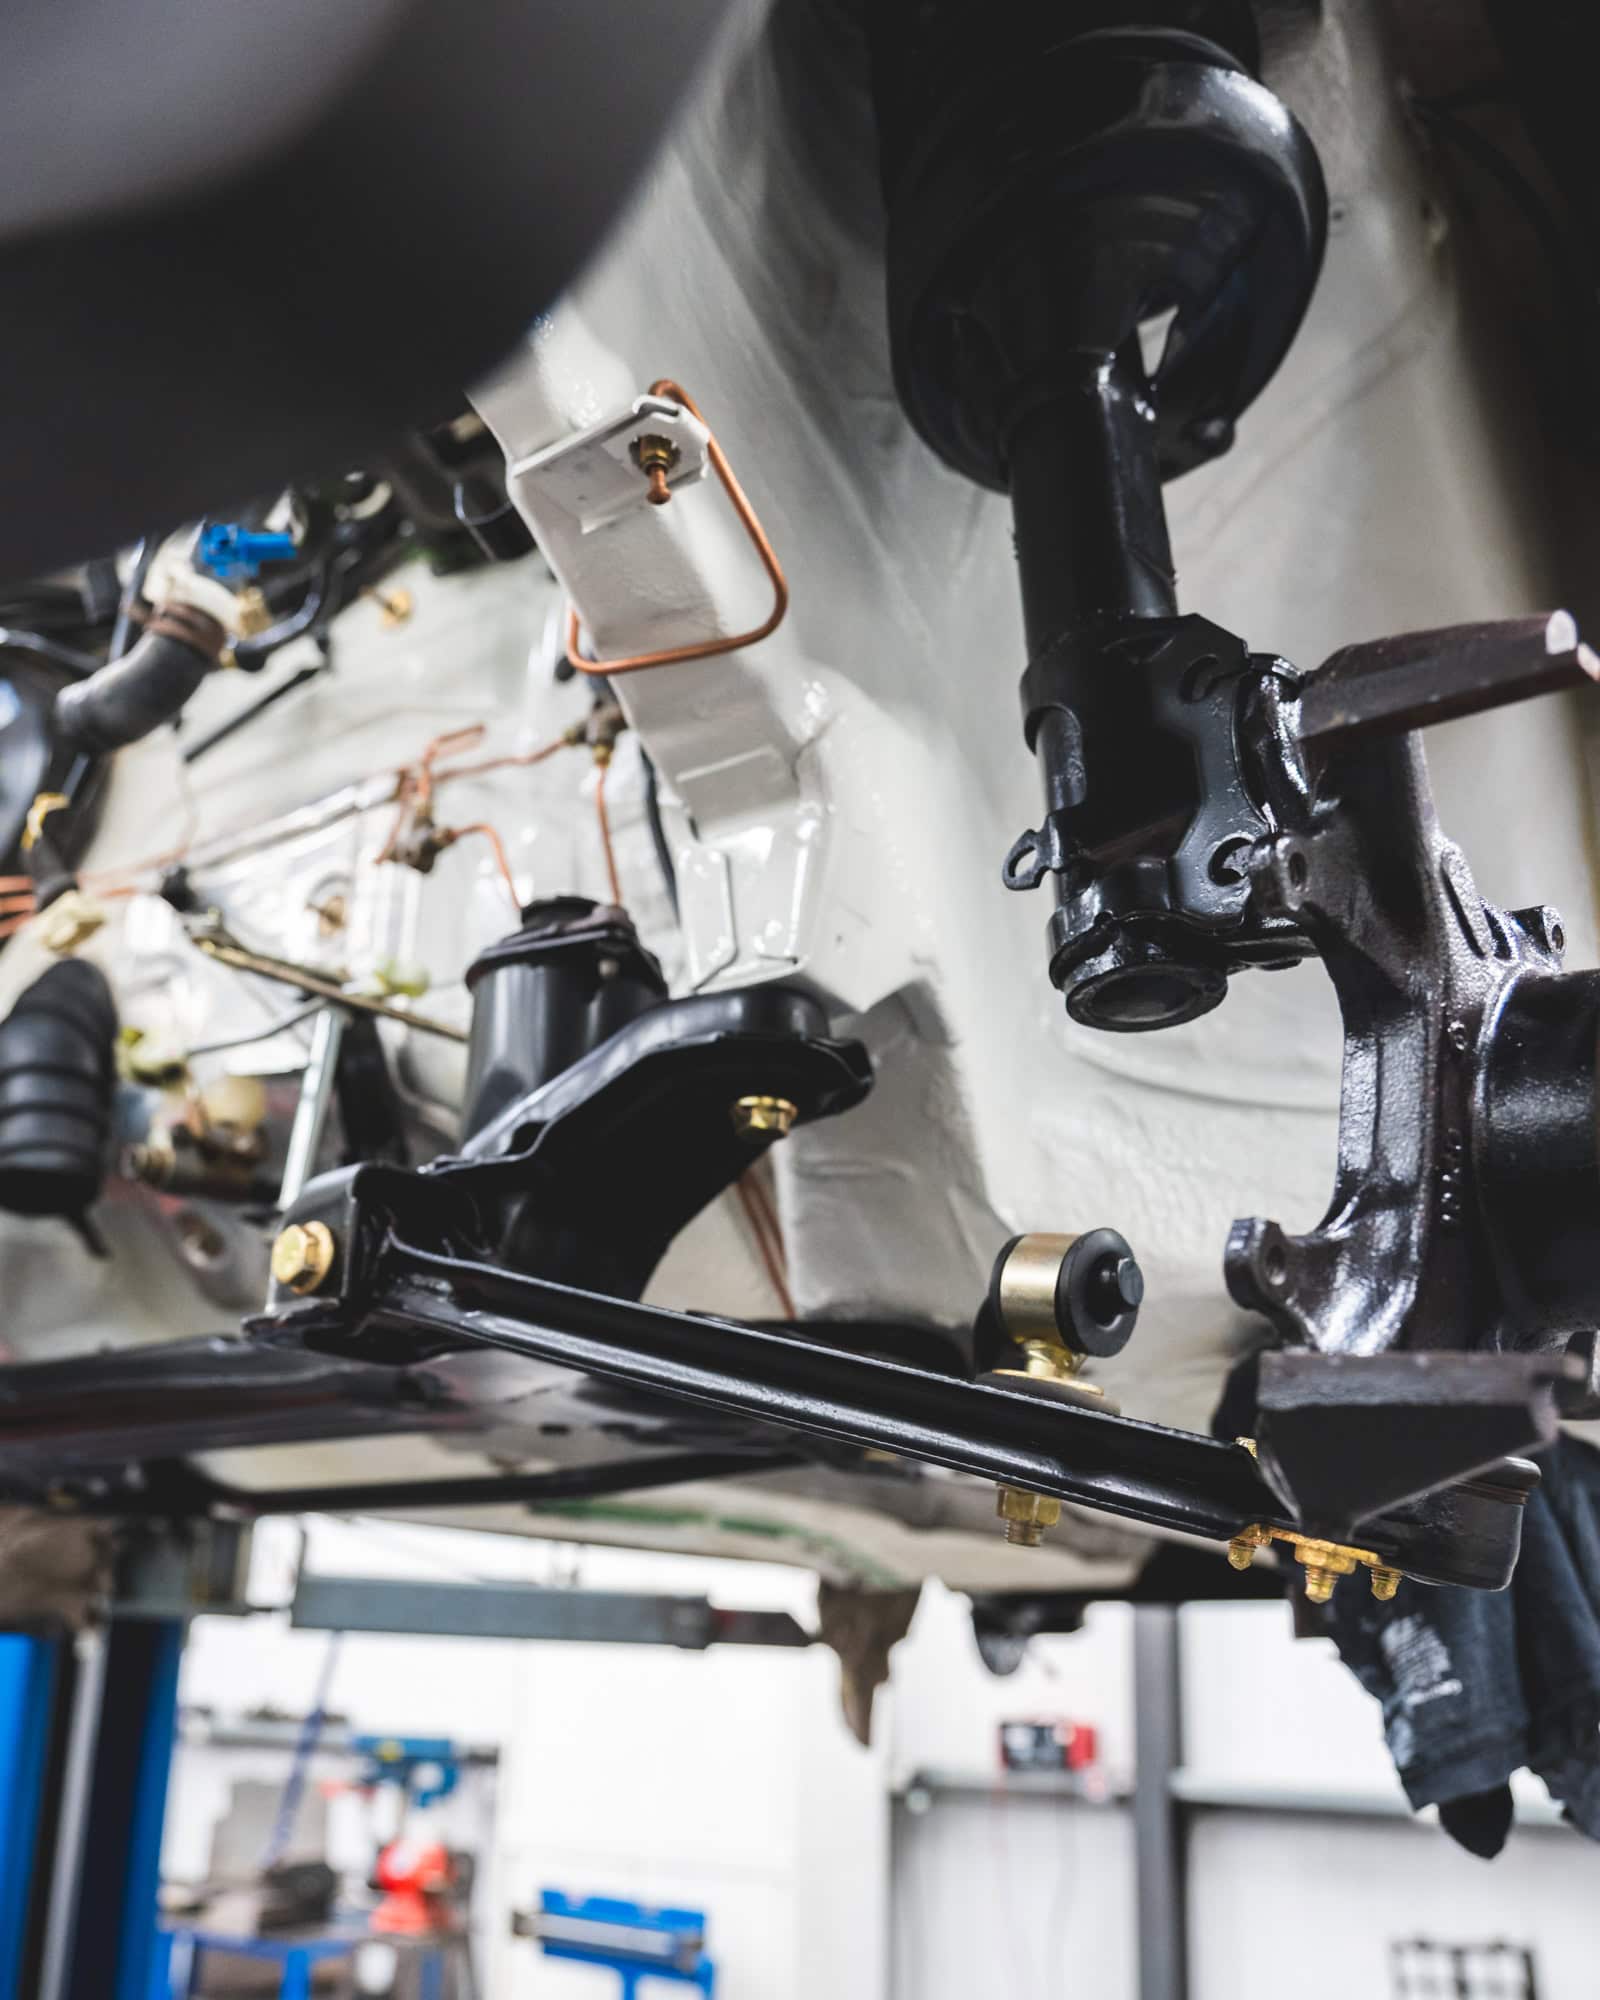
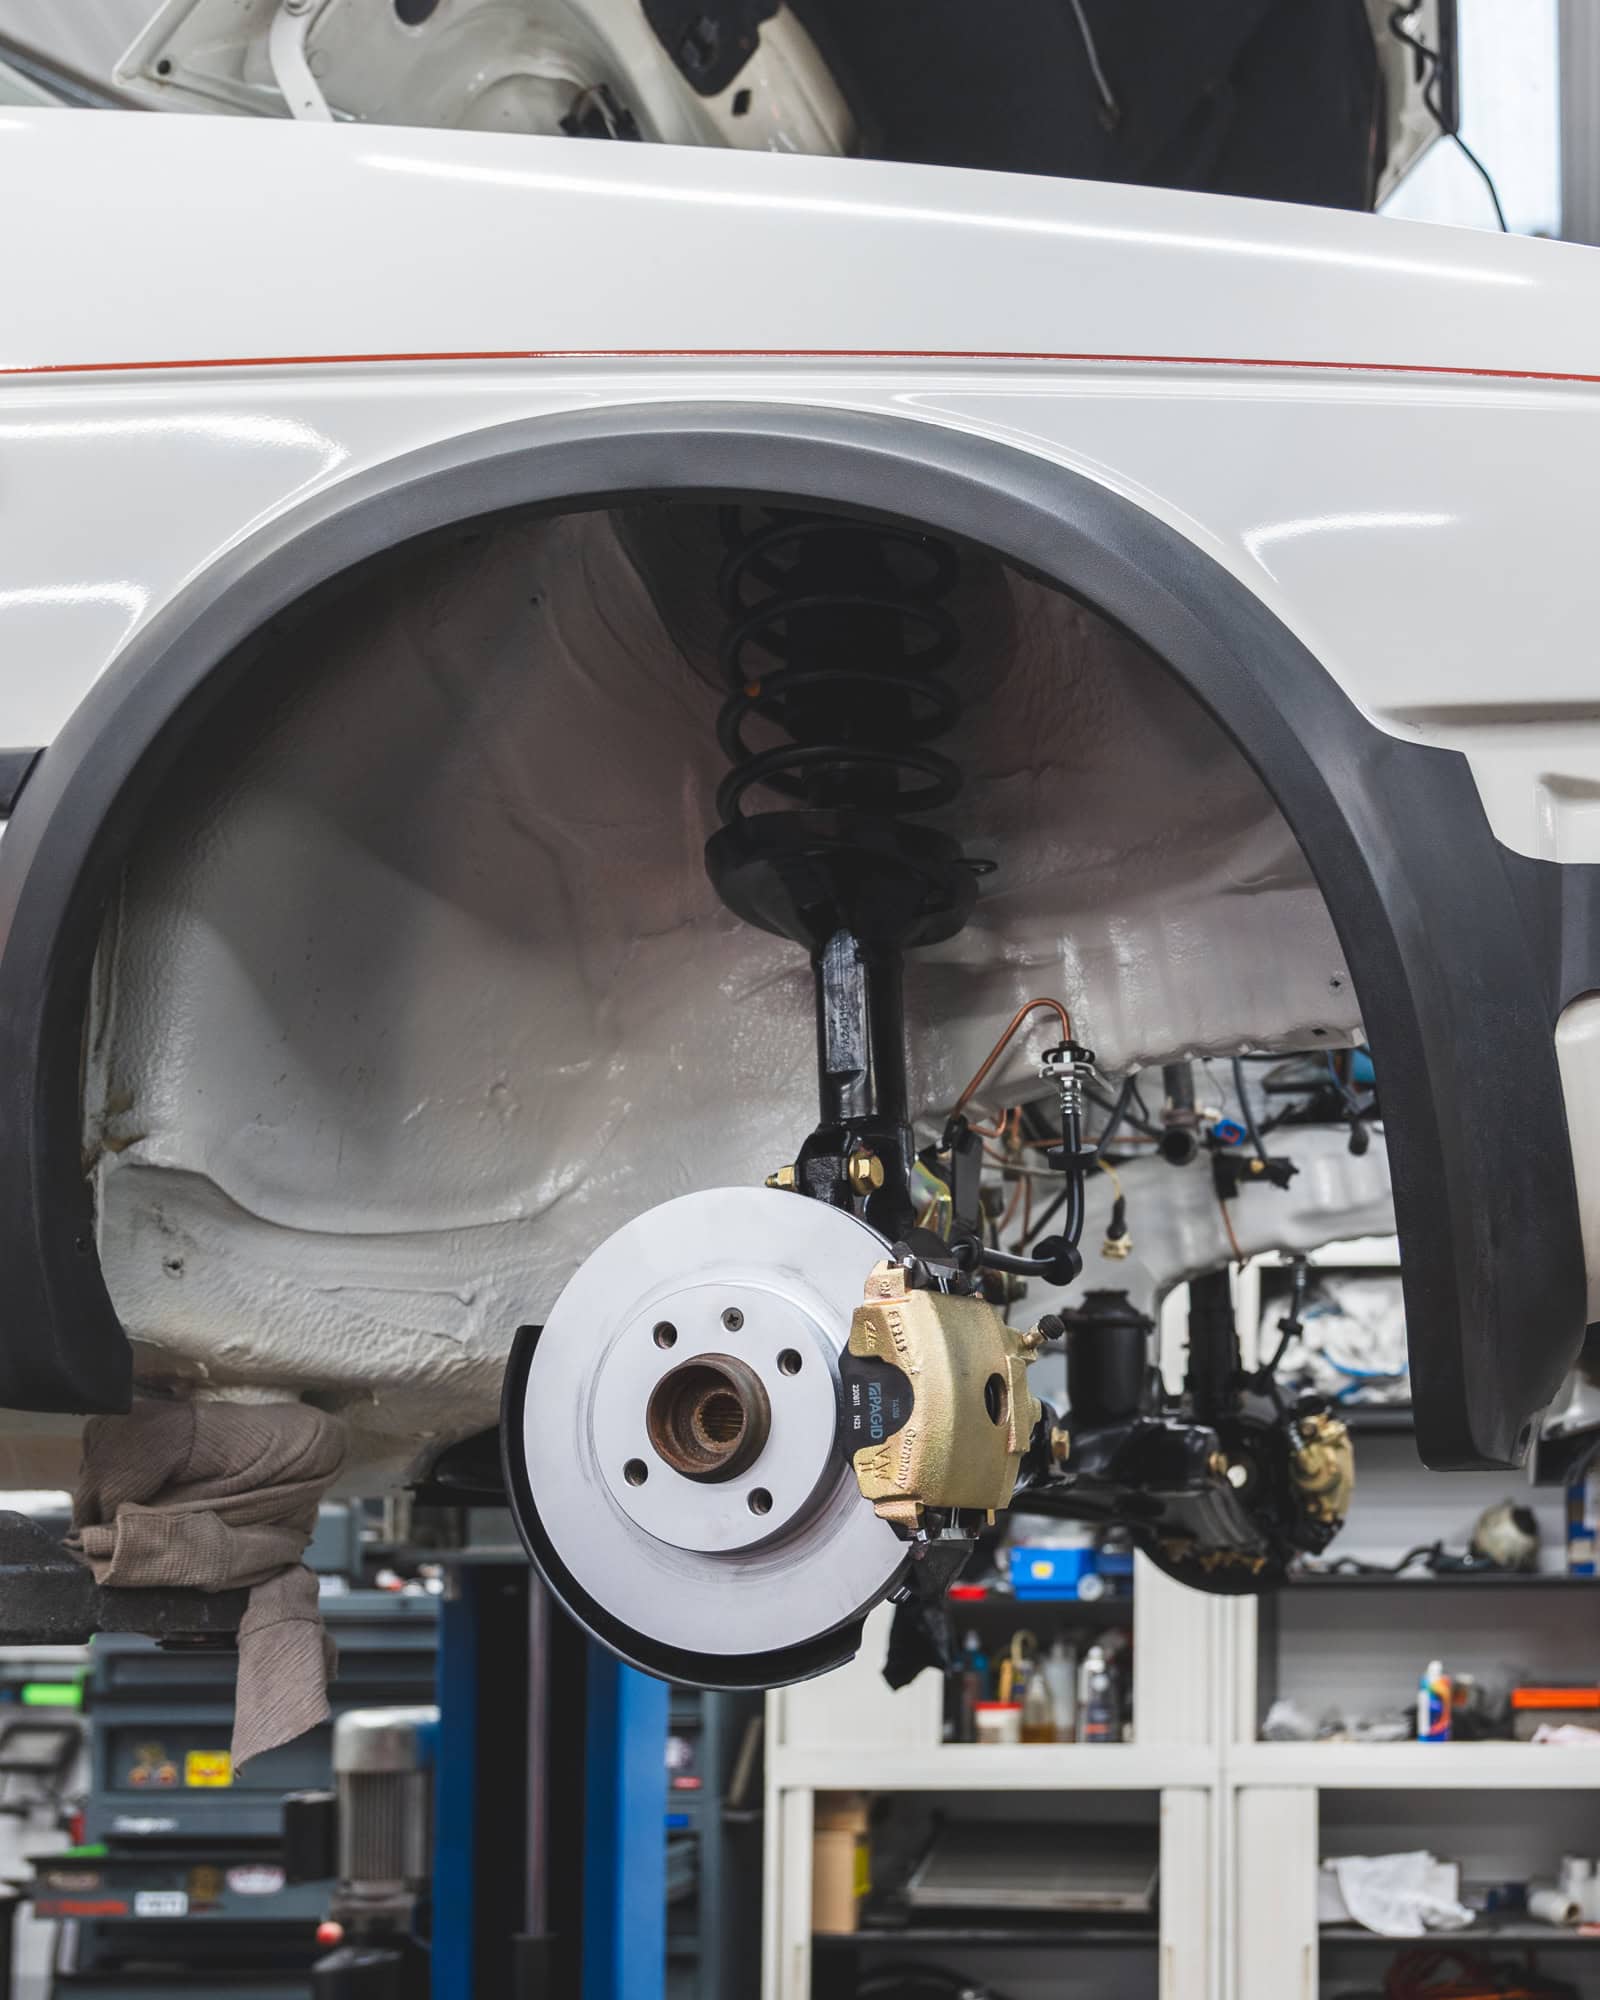
With the underside now protected with a coat of clear cavity wax, the fuel lines and tank could now be refitted, and the refurbished suspension struts refitted. We opted to keep the standard suspension and ride height, rather than modify with uprated springs and Bilstein dampers.
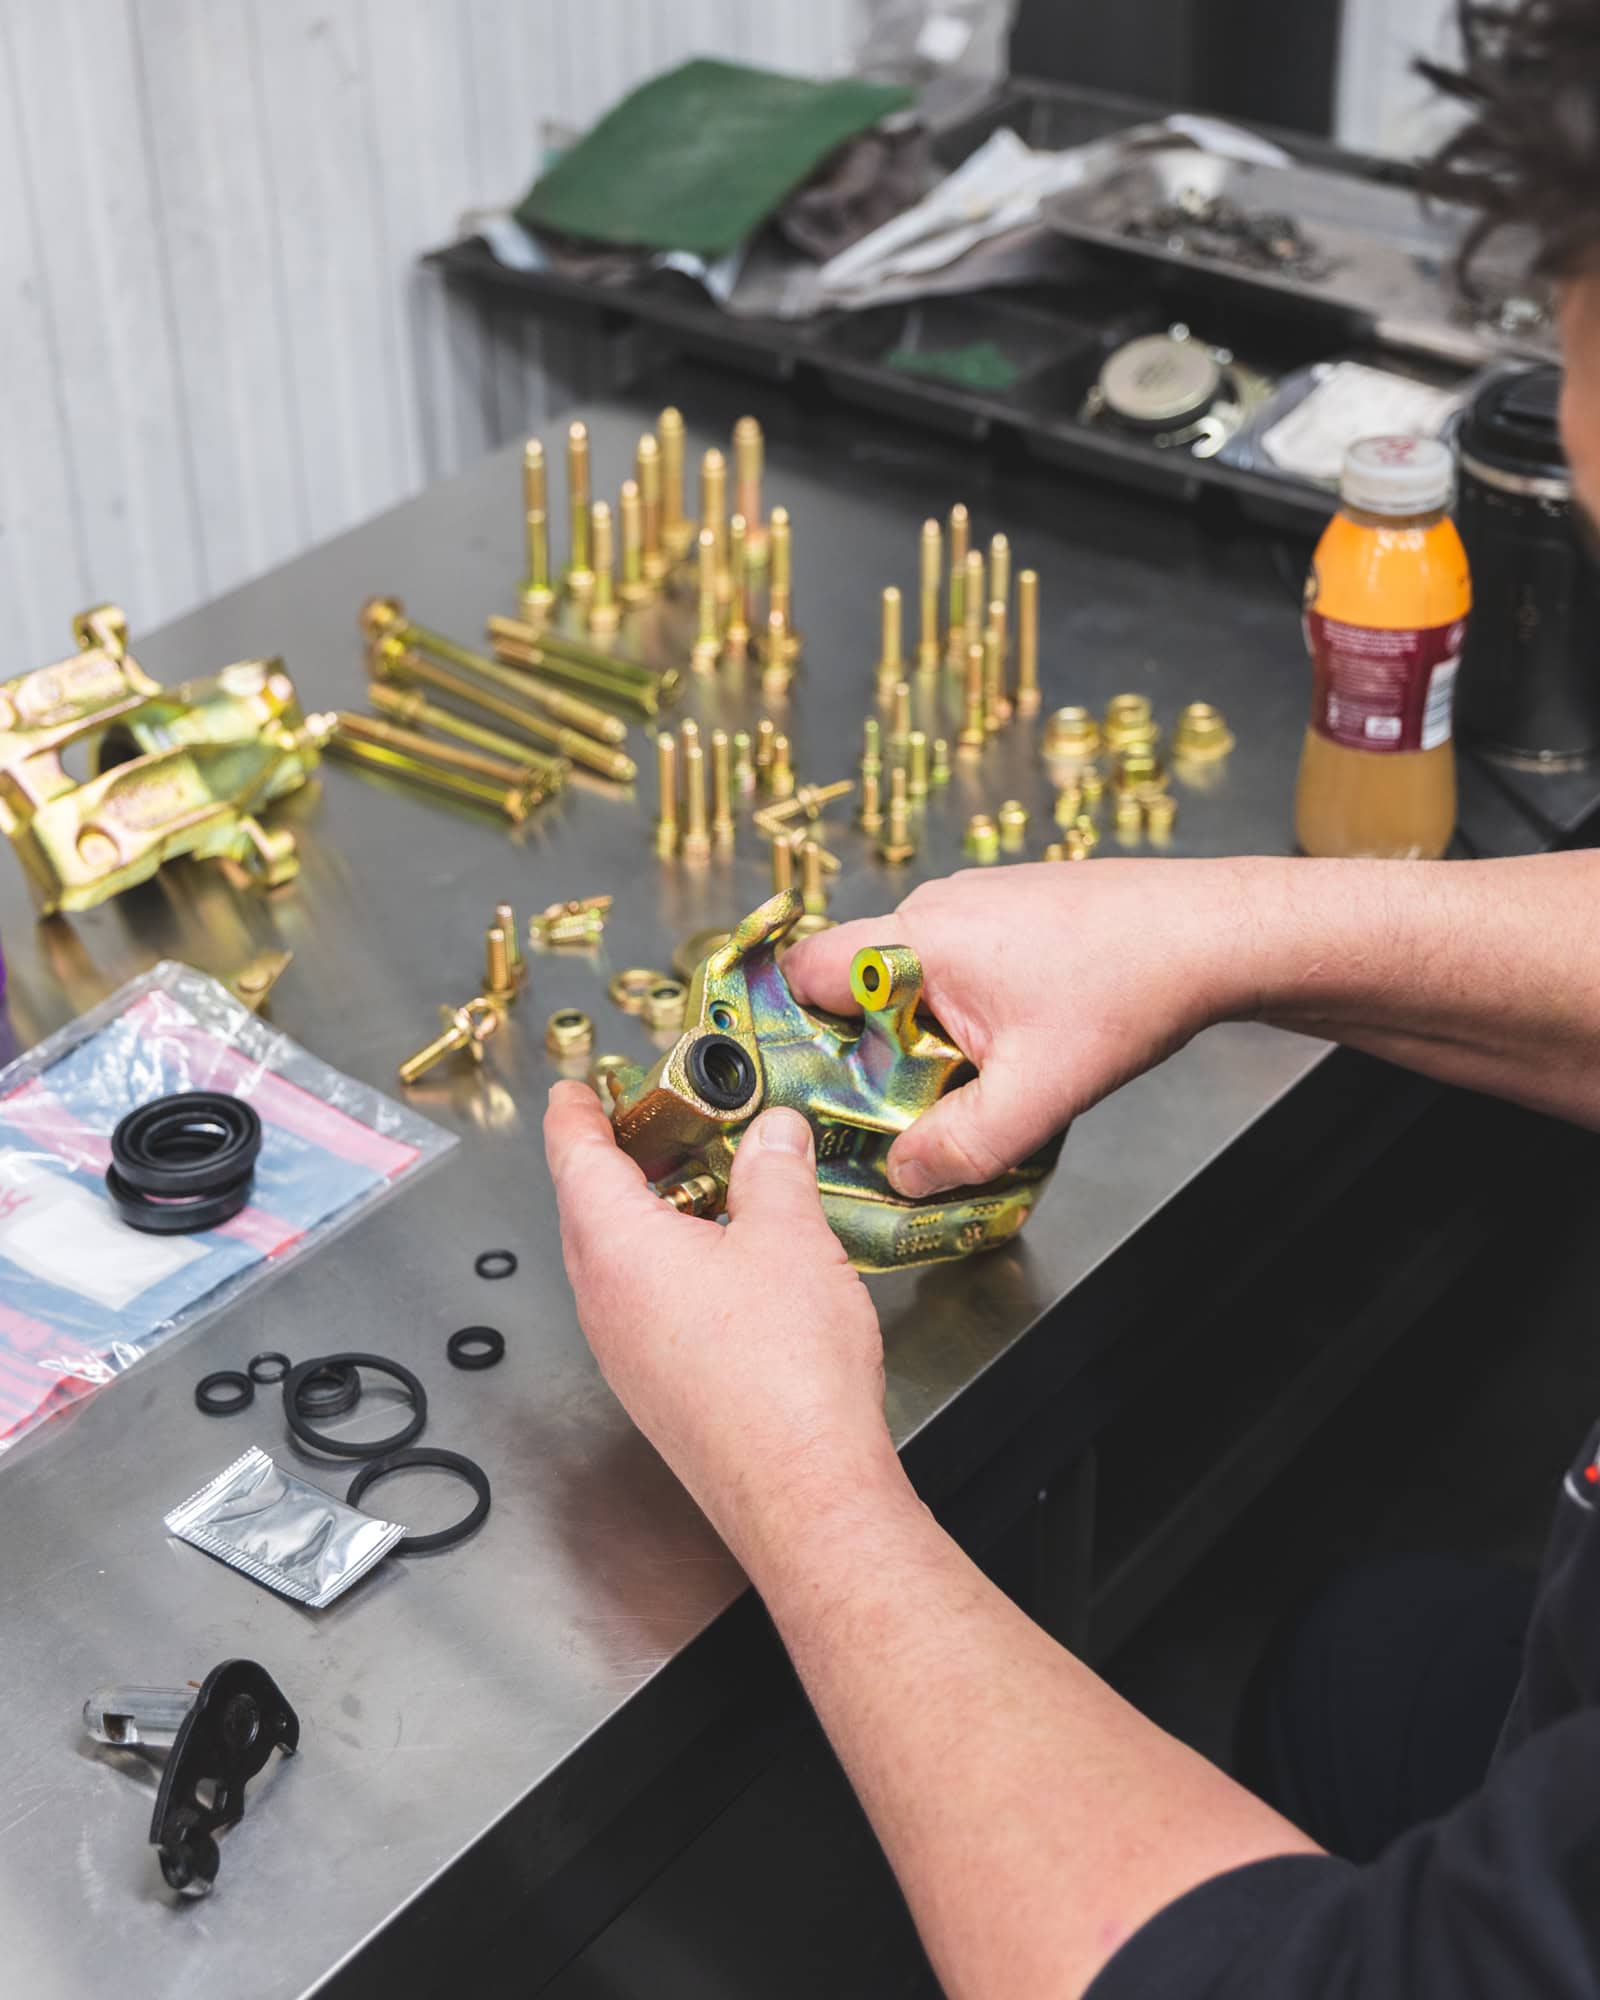
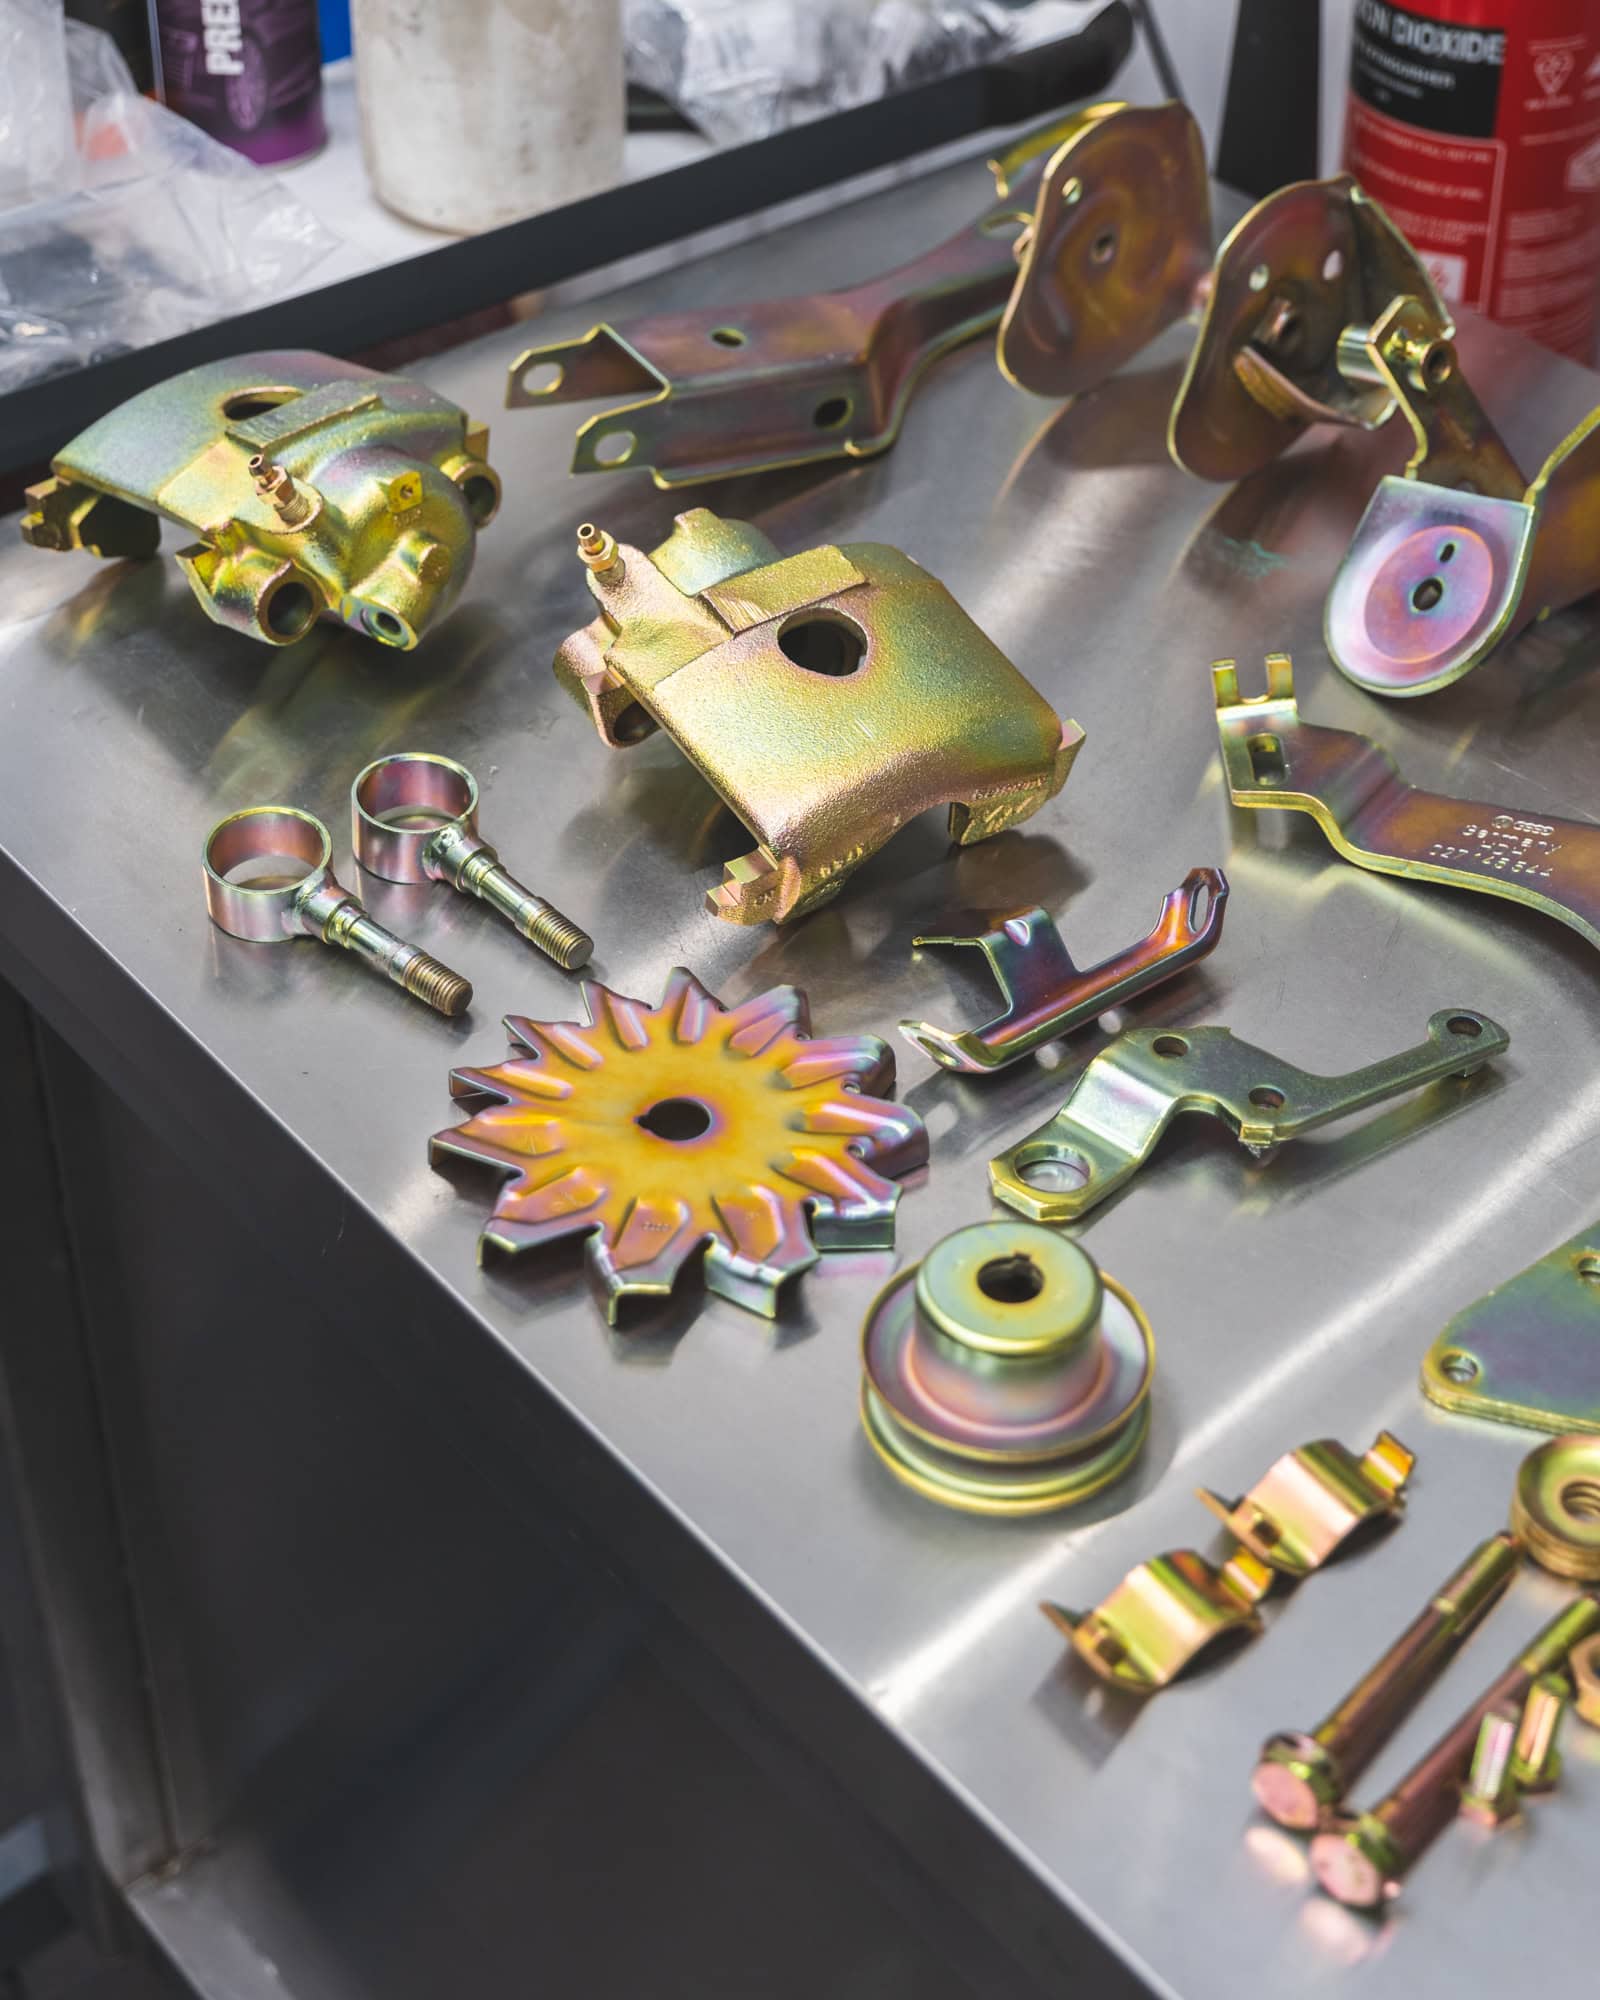
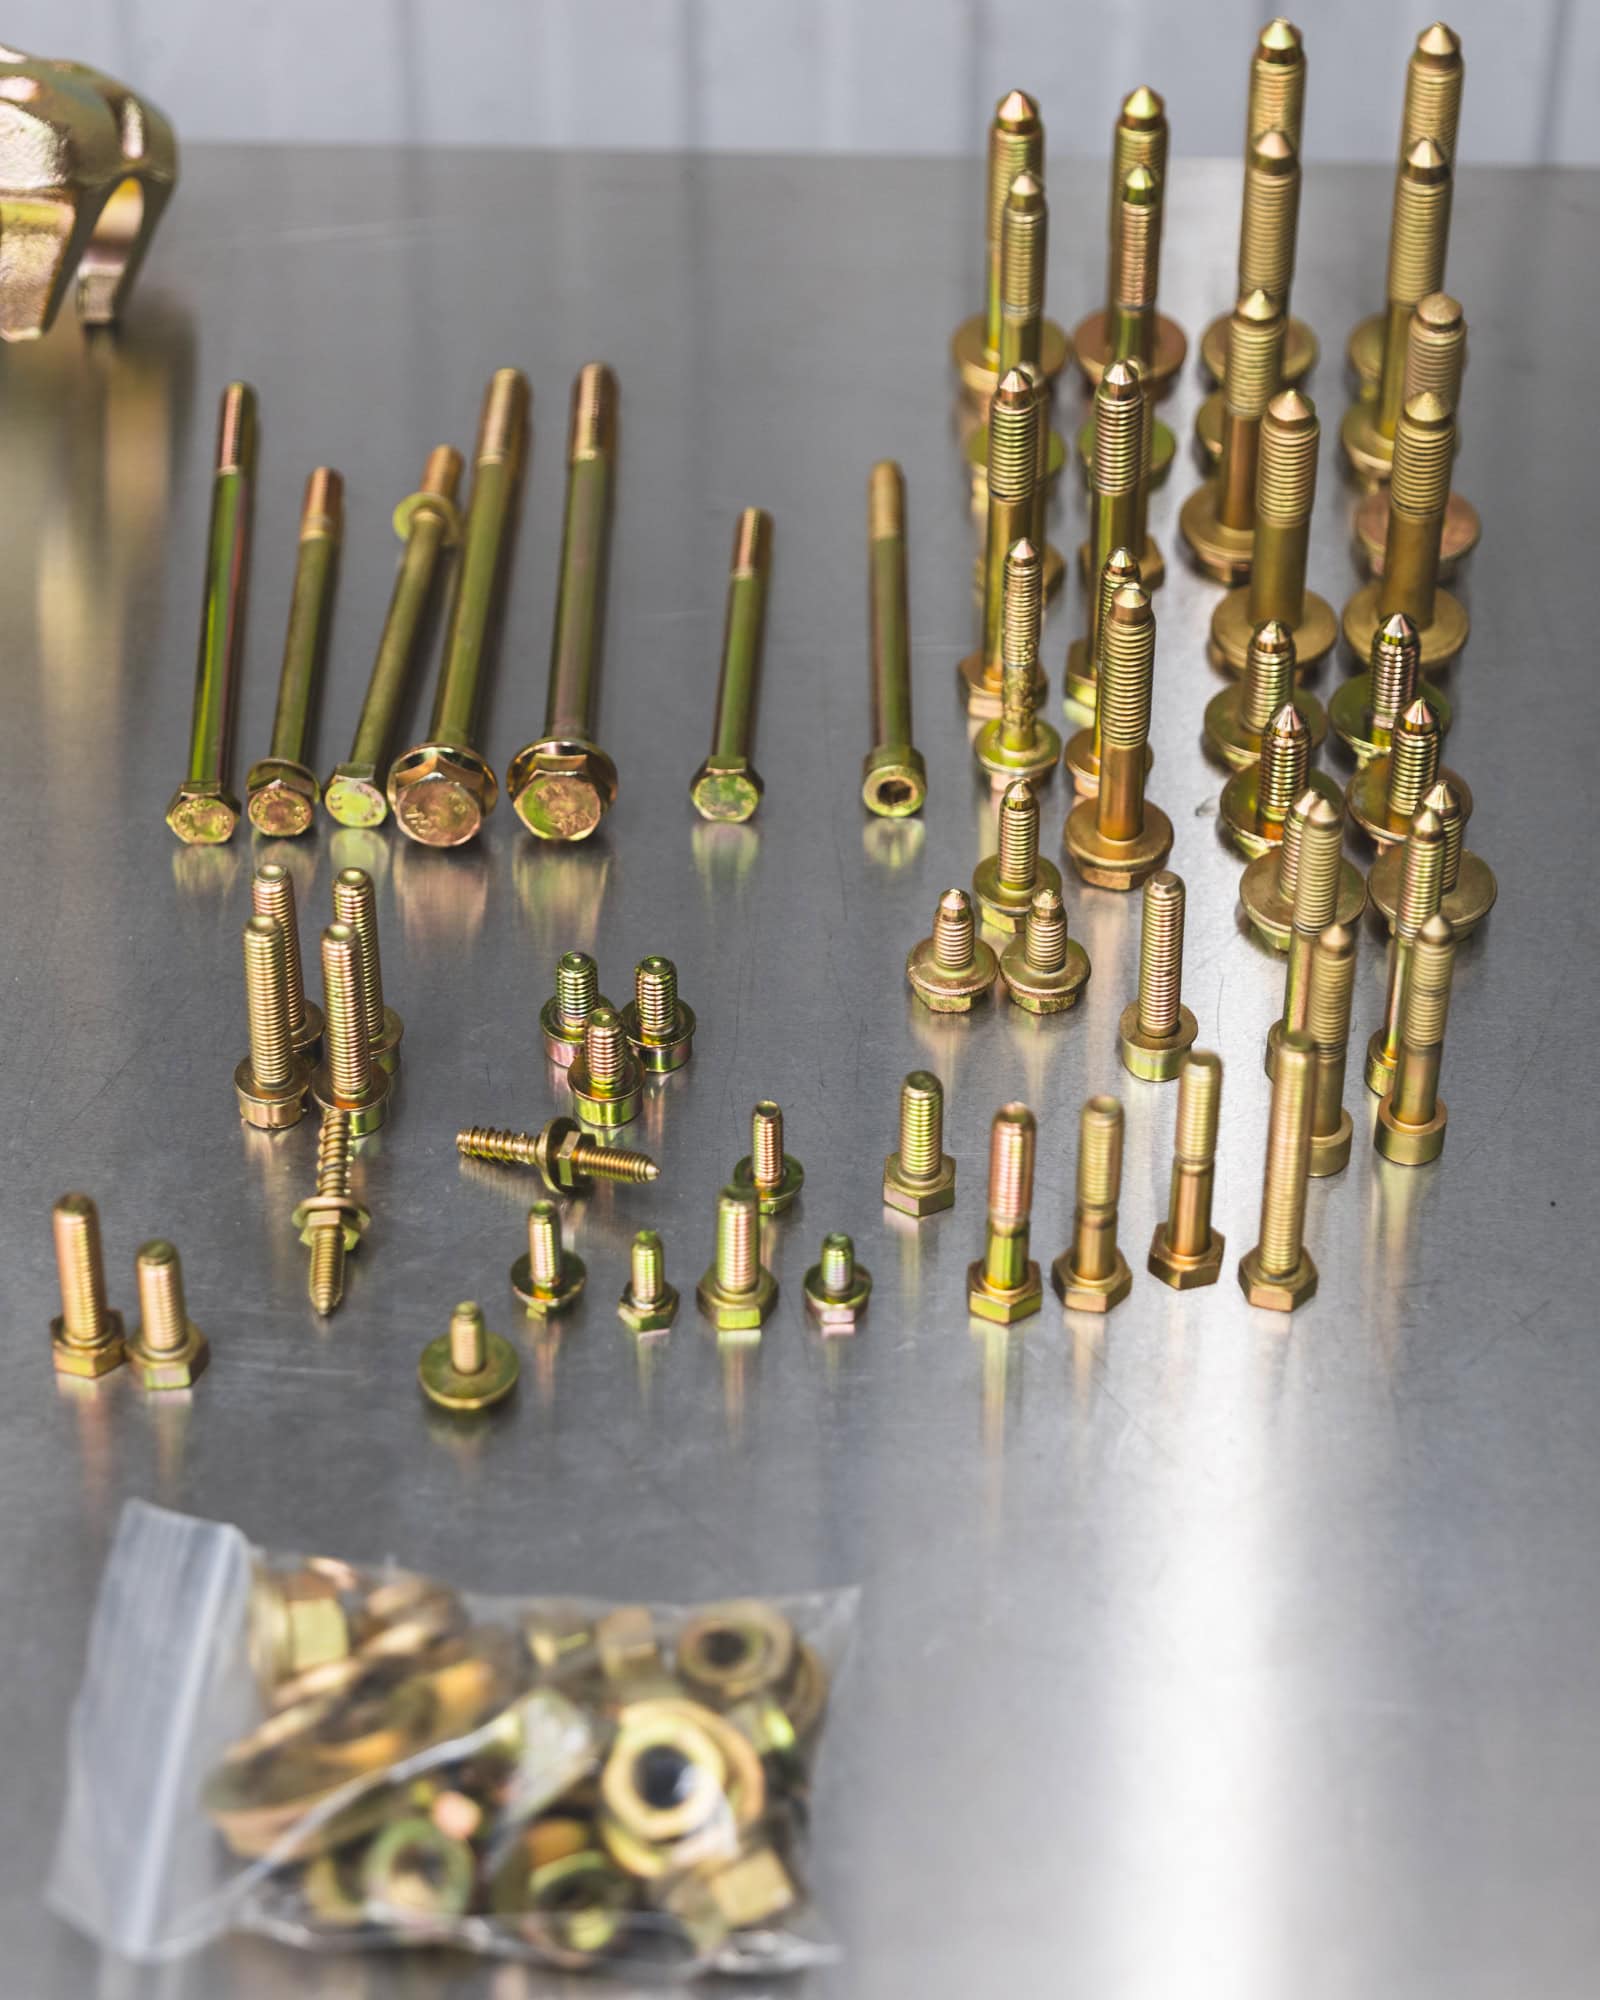
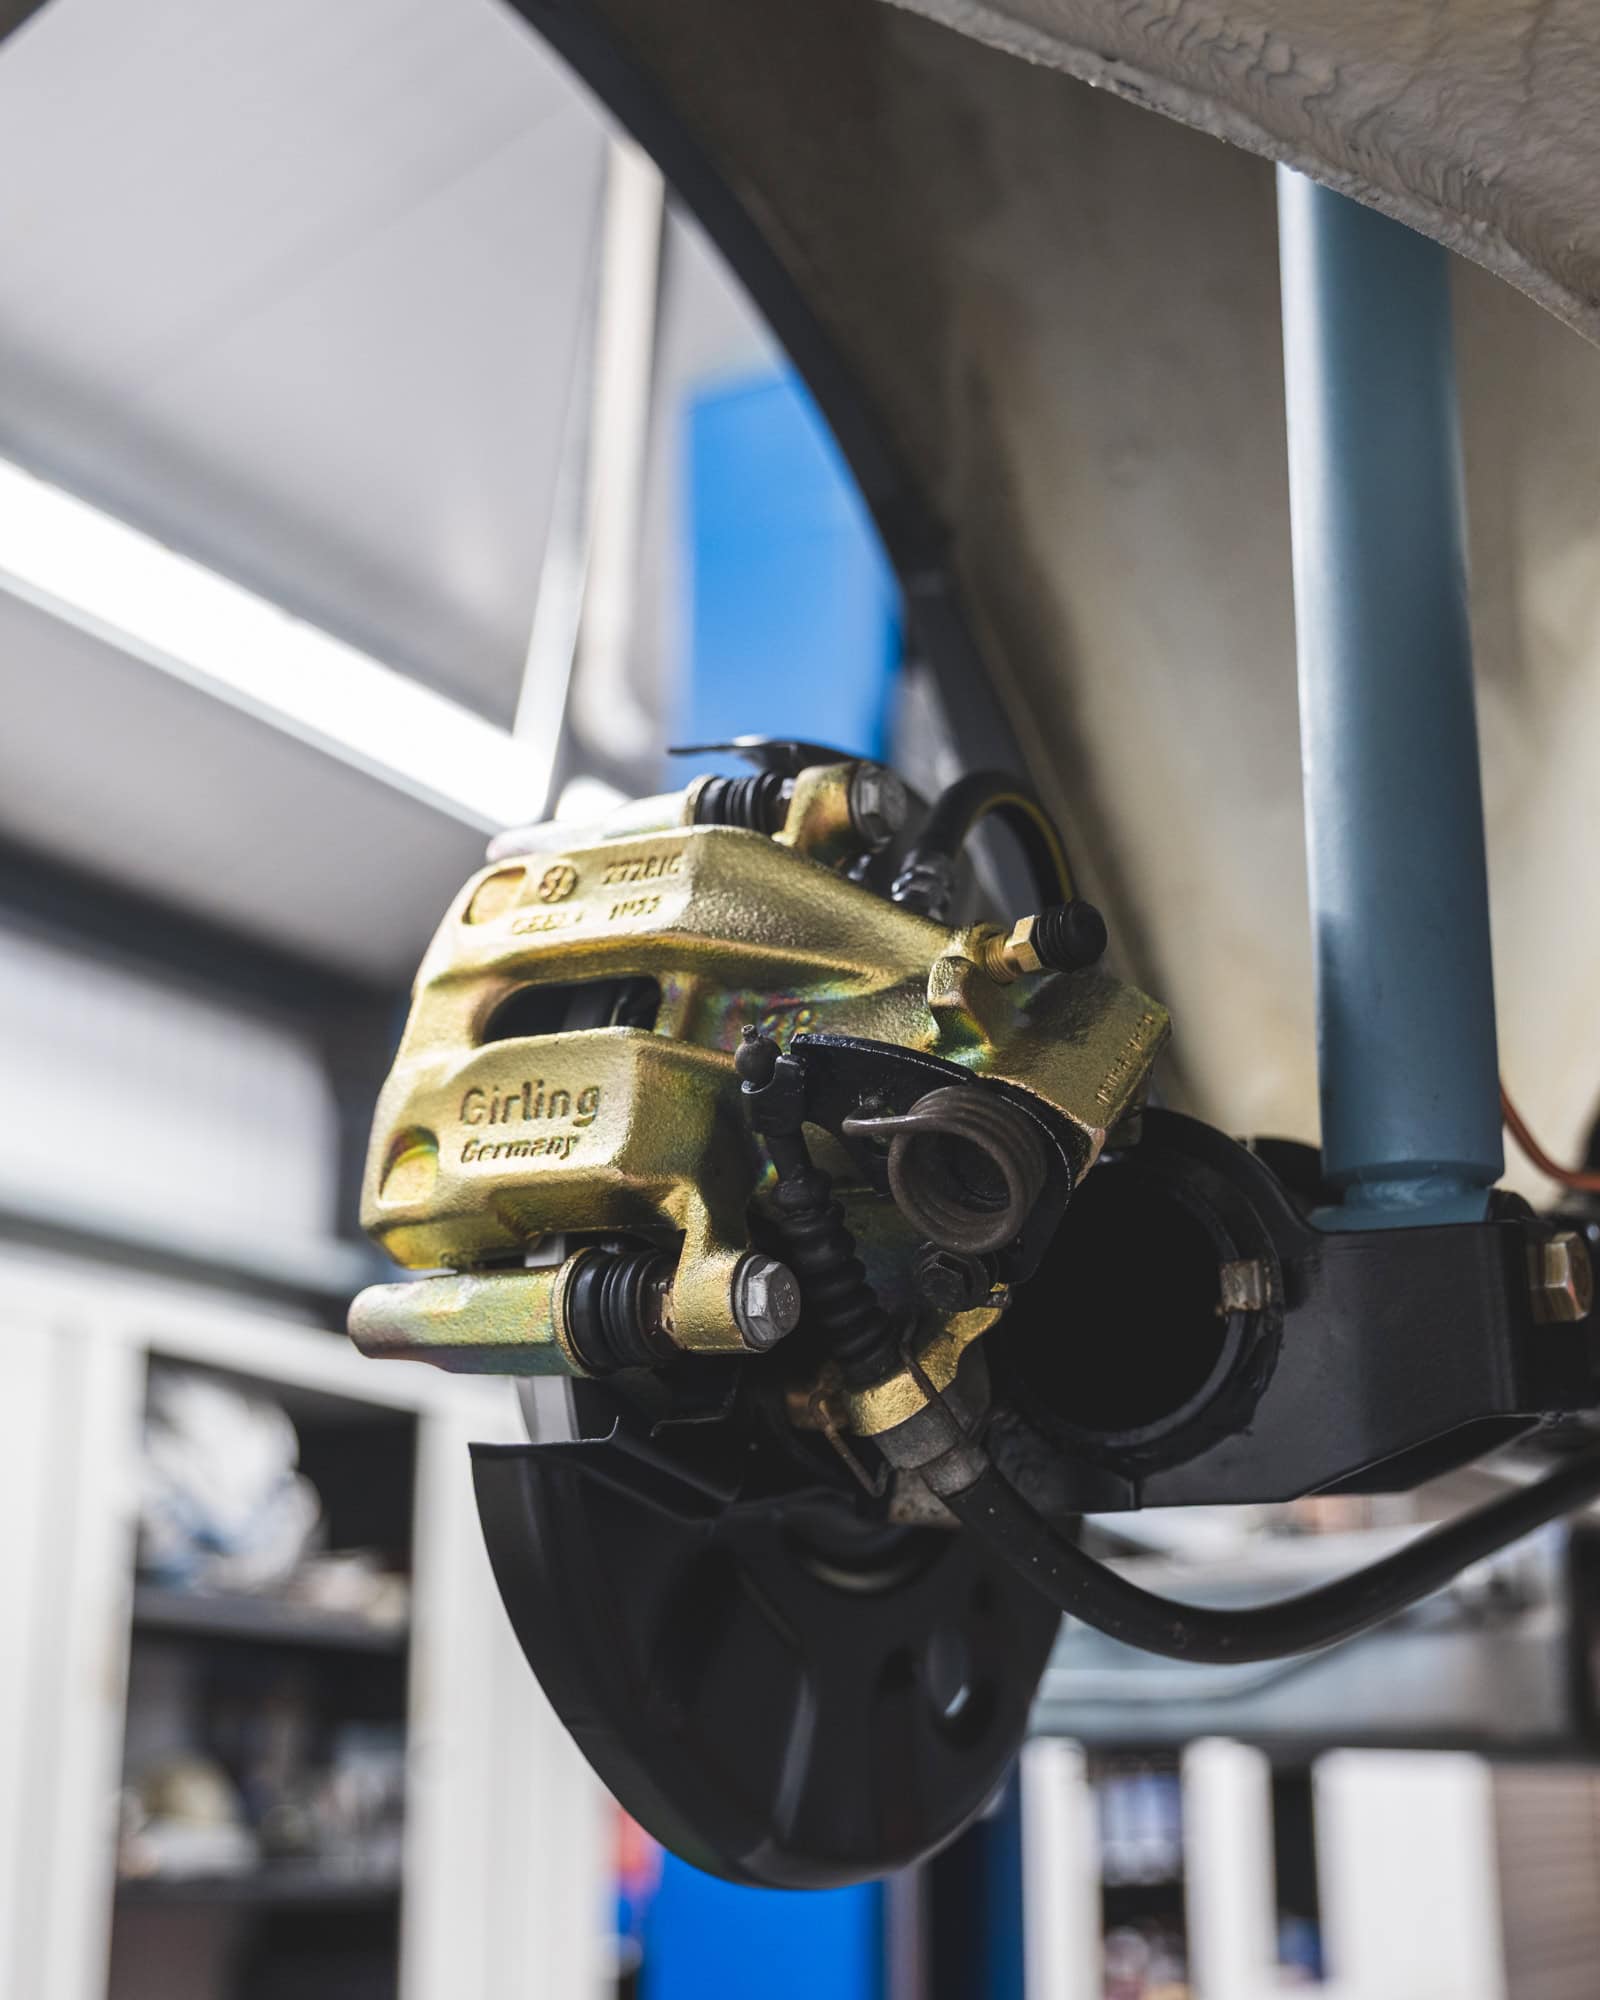
From factory, these components would have been plated with cadmium, but the winds of change mean that environmentalists no longer care for vehicle originality (perhaps for the best, cadmium sulphide is nasty stuff). Since cadmium plating was outlawed, we’ve been on the hunt for a suitable finish, arriving at this nickel plating with a gold dye introduced. No further questions please, it’s witchcraft to me.
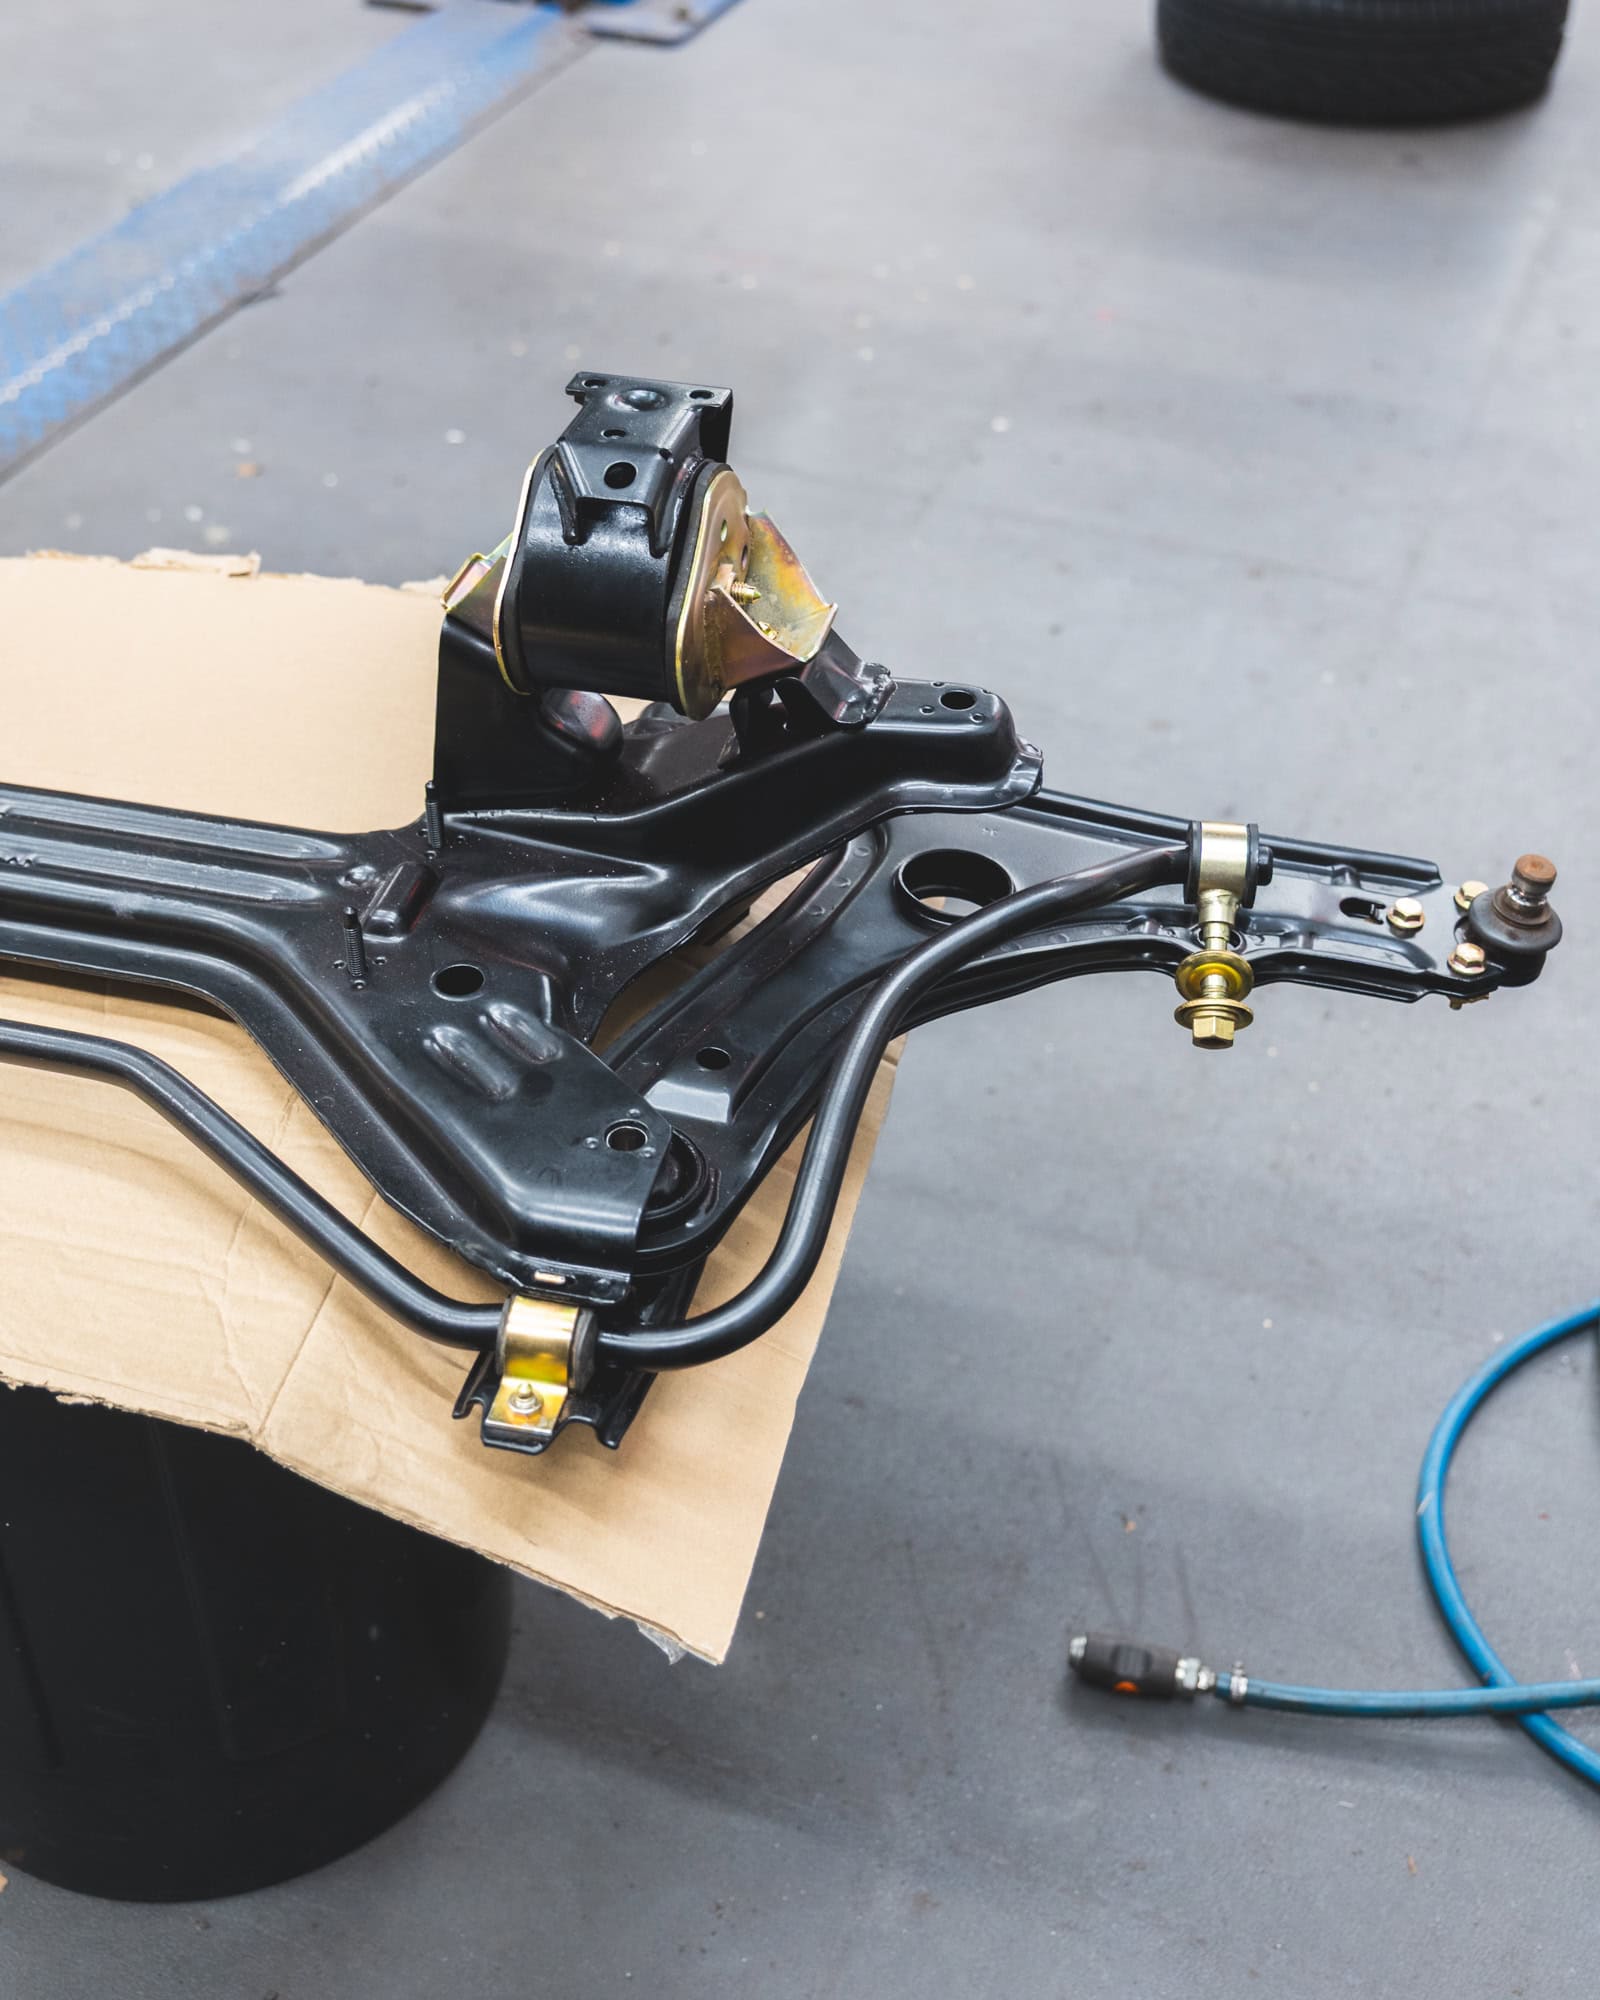
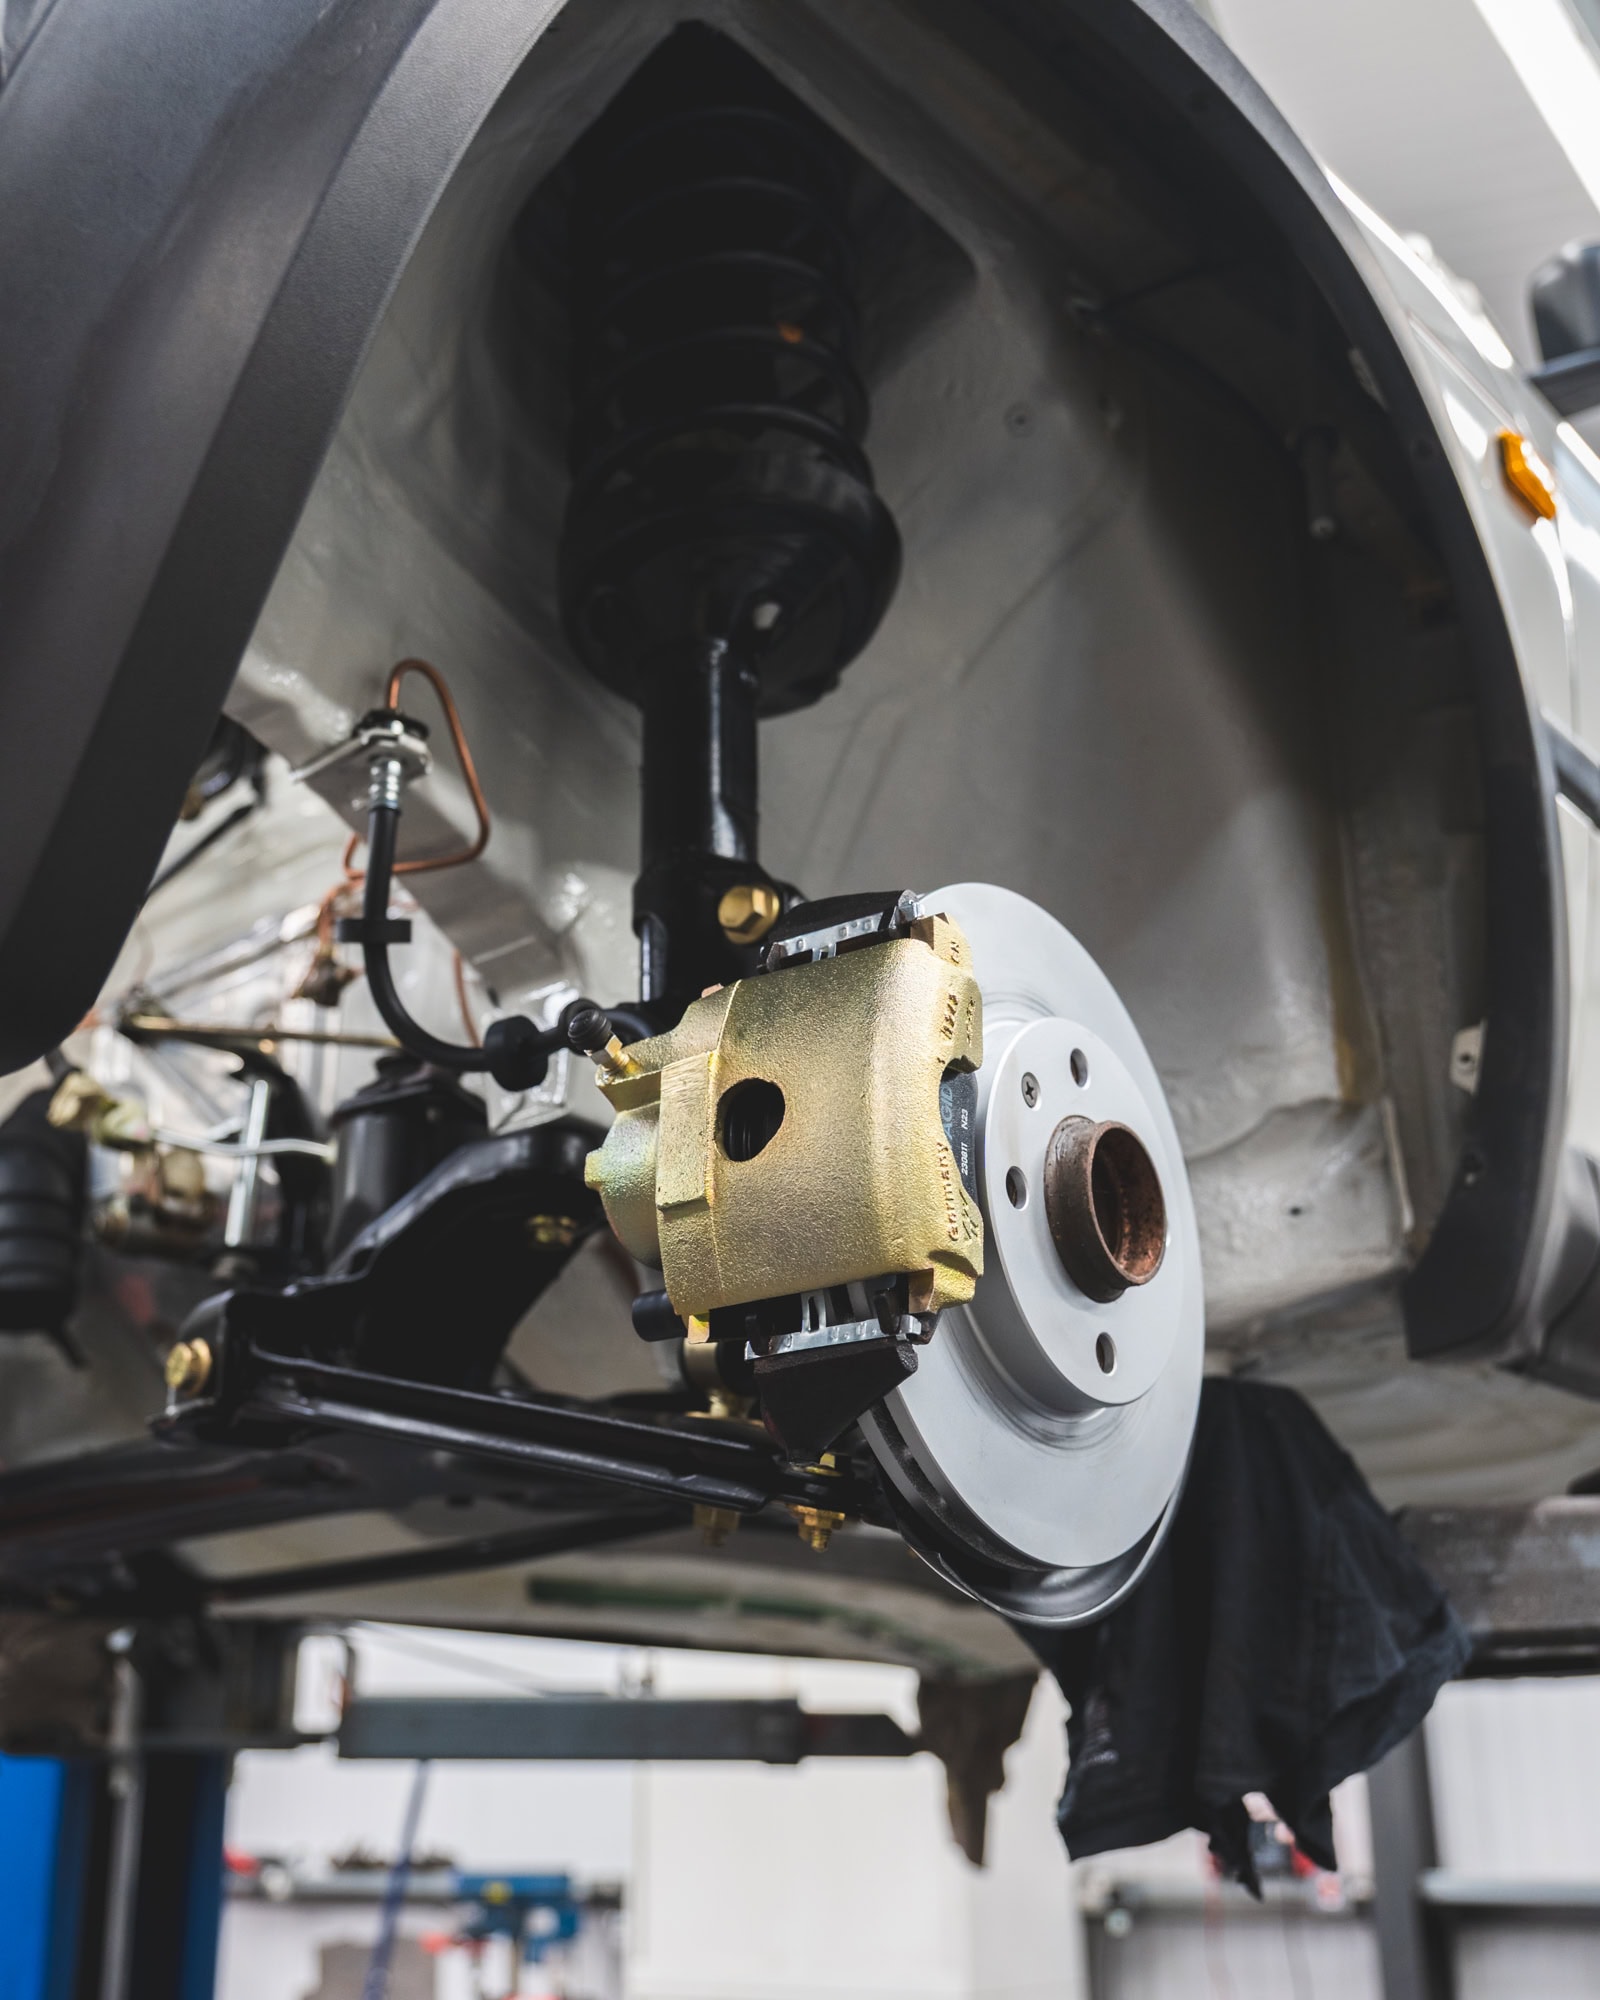
The subframe and rear beam could now be built up with all new bushes and refitted.
The brake calipers were rebuilt with new seals, gaskets and grease.
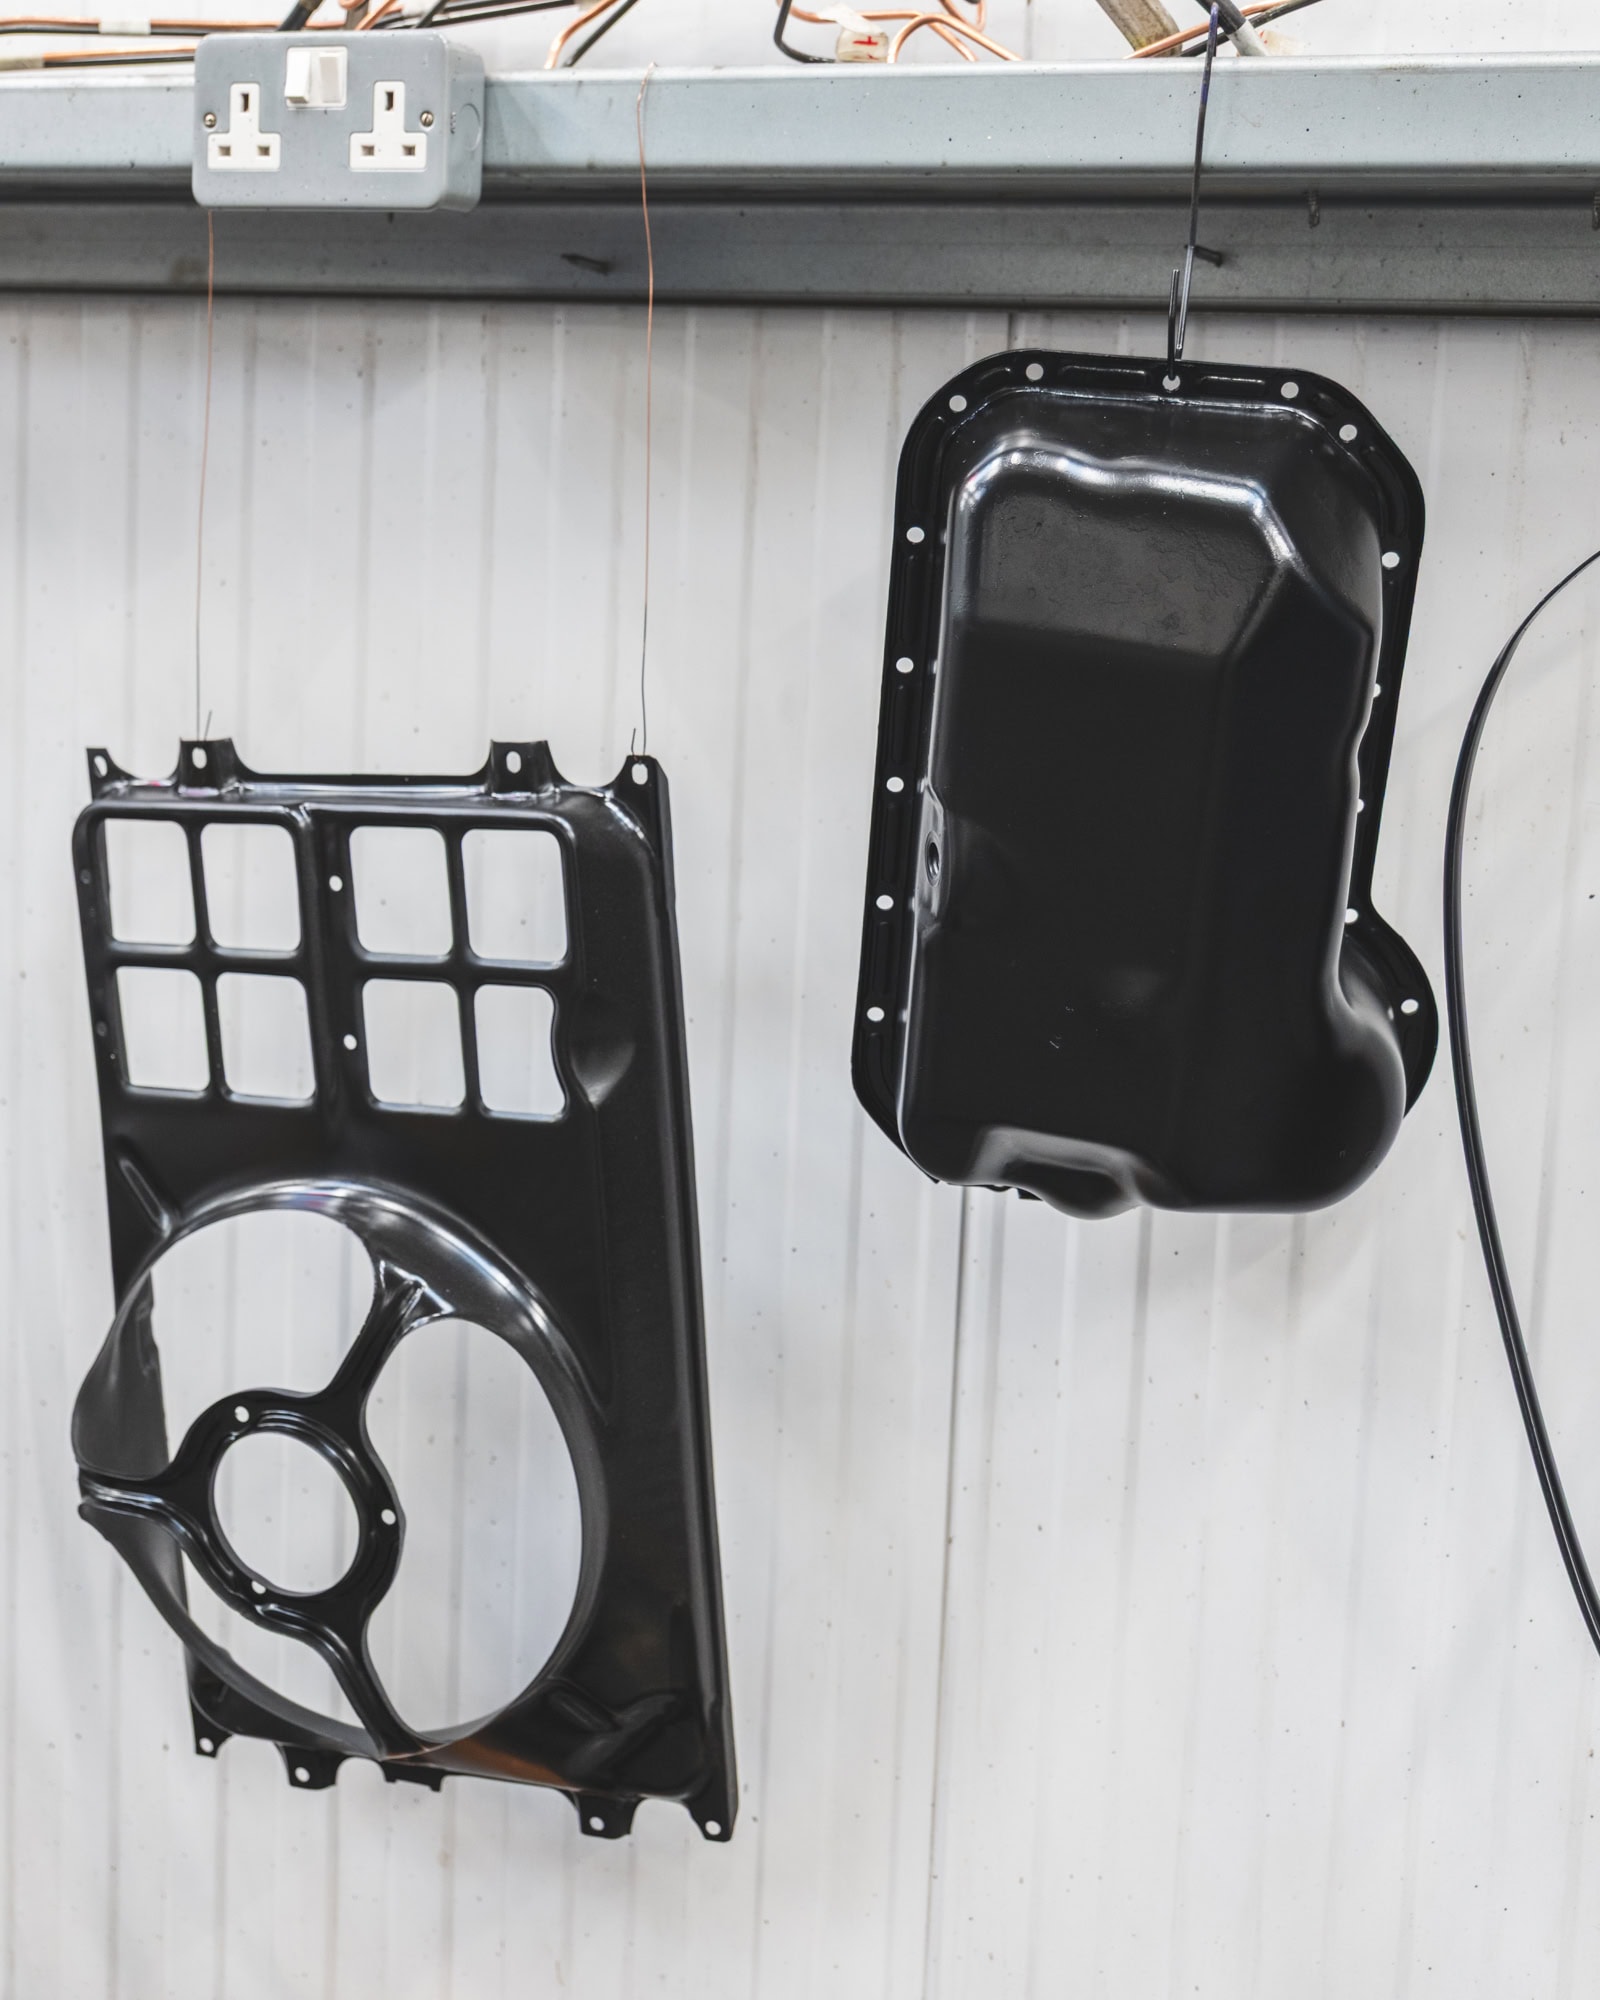
The engine received a complete overhaul whilst on the engine stand. Engine drive belts, cambelt, pulley and water pump were all replaced. New oil and fluids, filters, gear linkages, sump and rocker cover gaskets, spark plugs and coolant hoses were all changed for new items to ensure Chris would be able to enjoy the MK2 GTI without worry.
A final dusting of clear cavity wax and new exhaust back box and silencer complete the underside restoration of this fantastic VW Golf GTI.
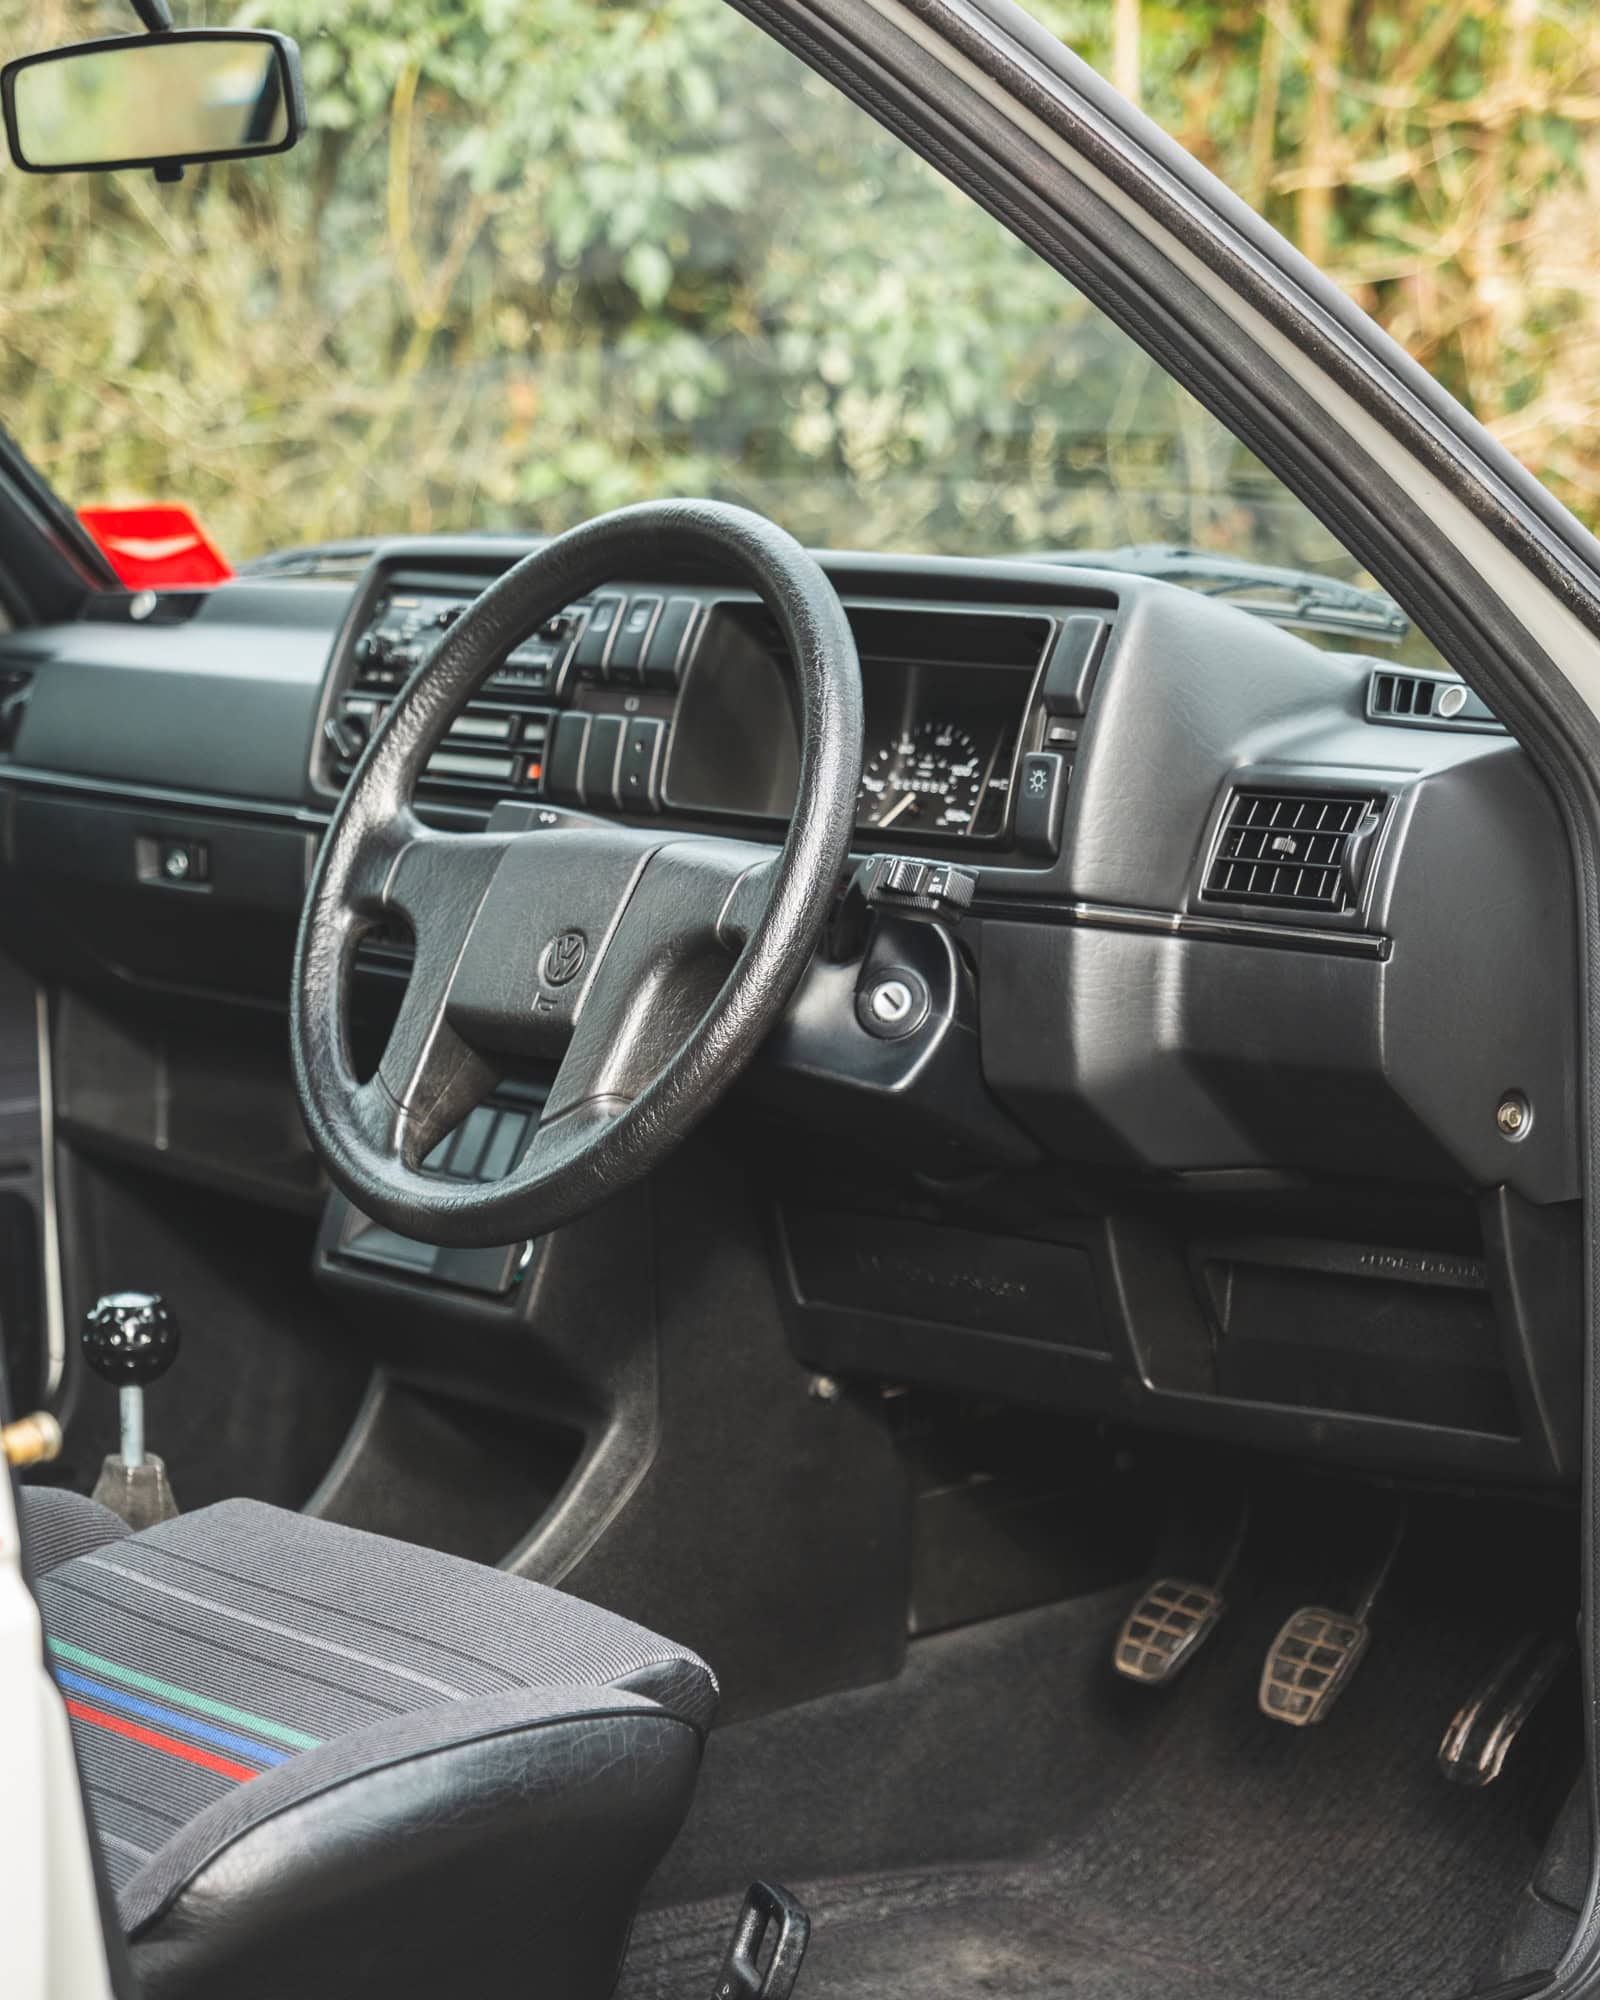
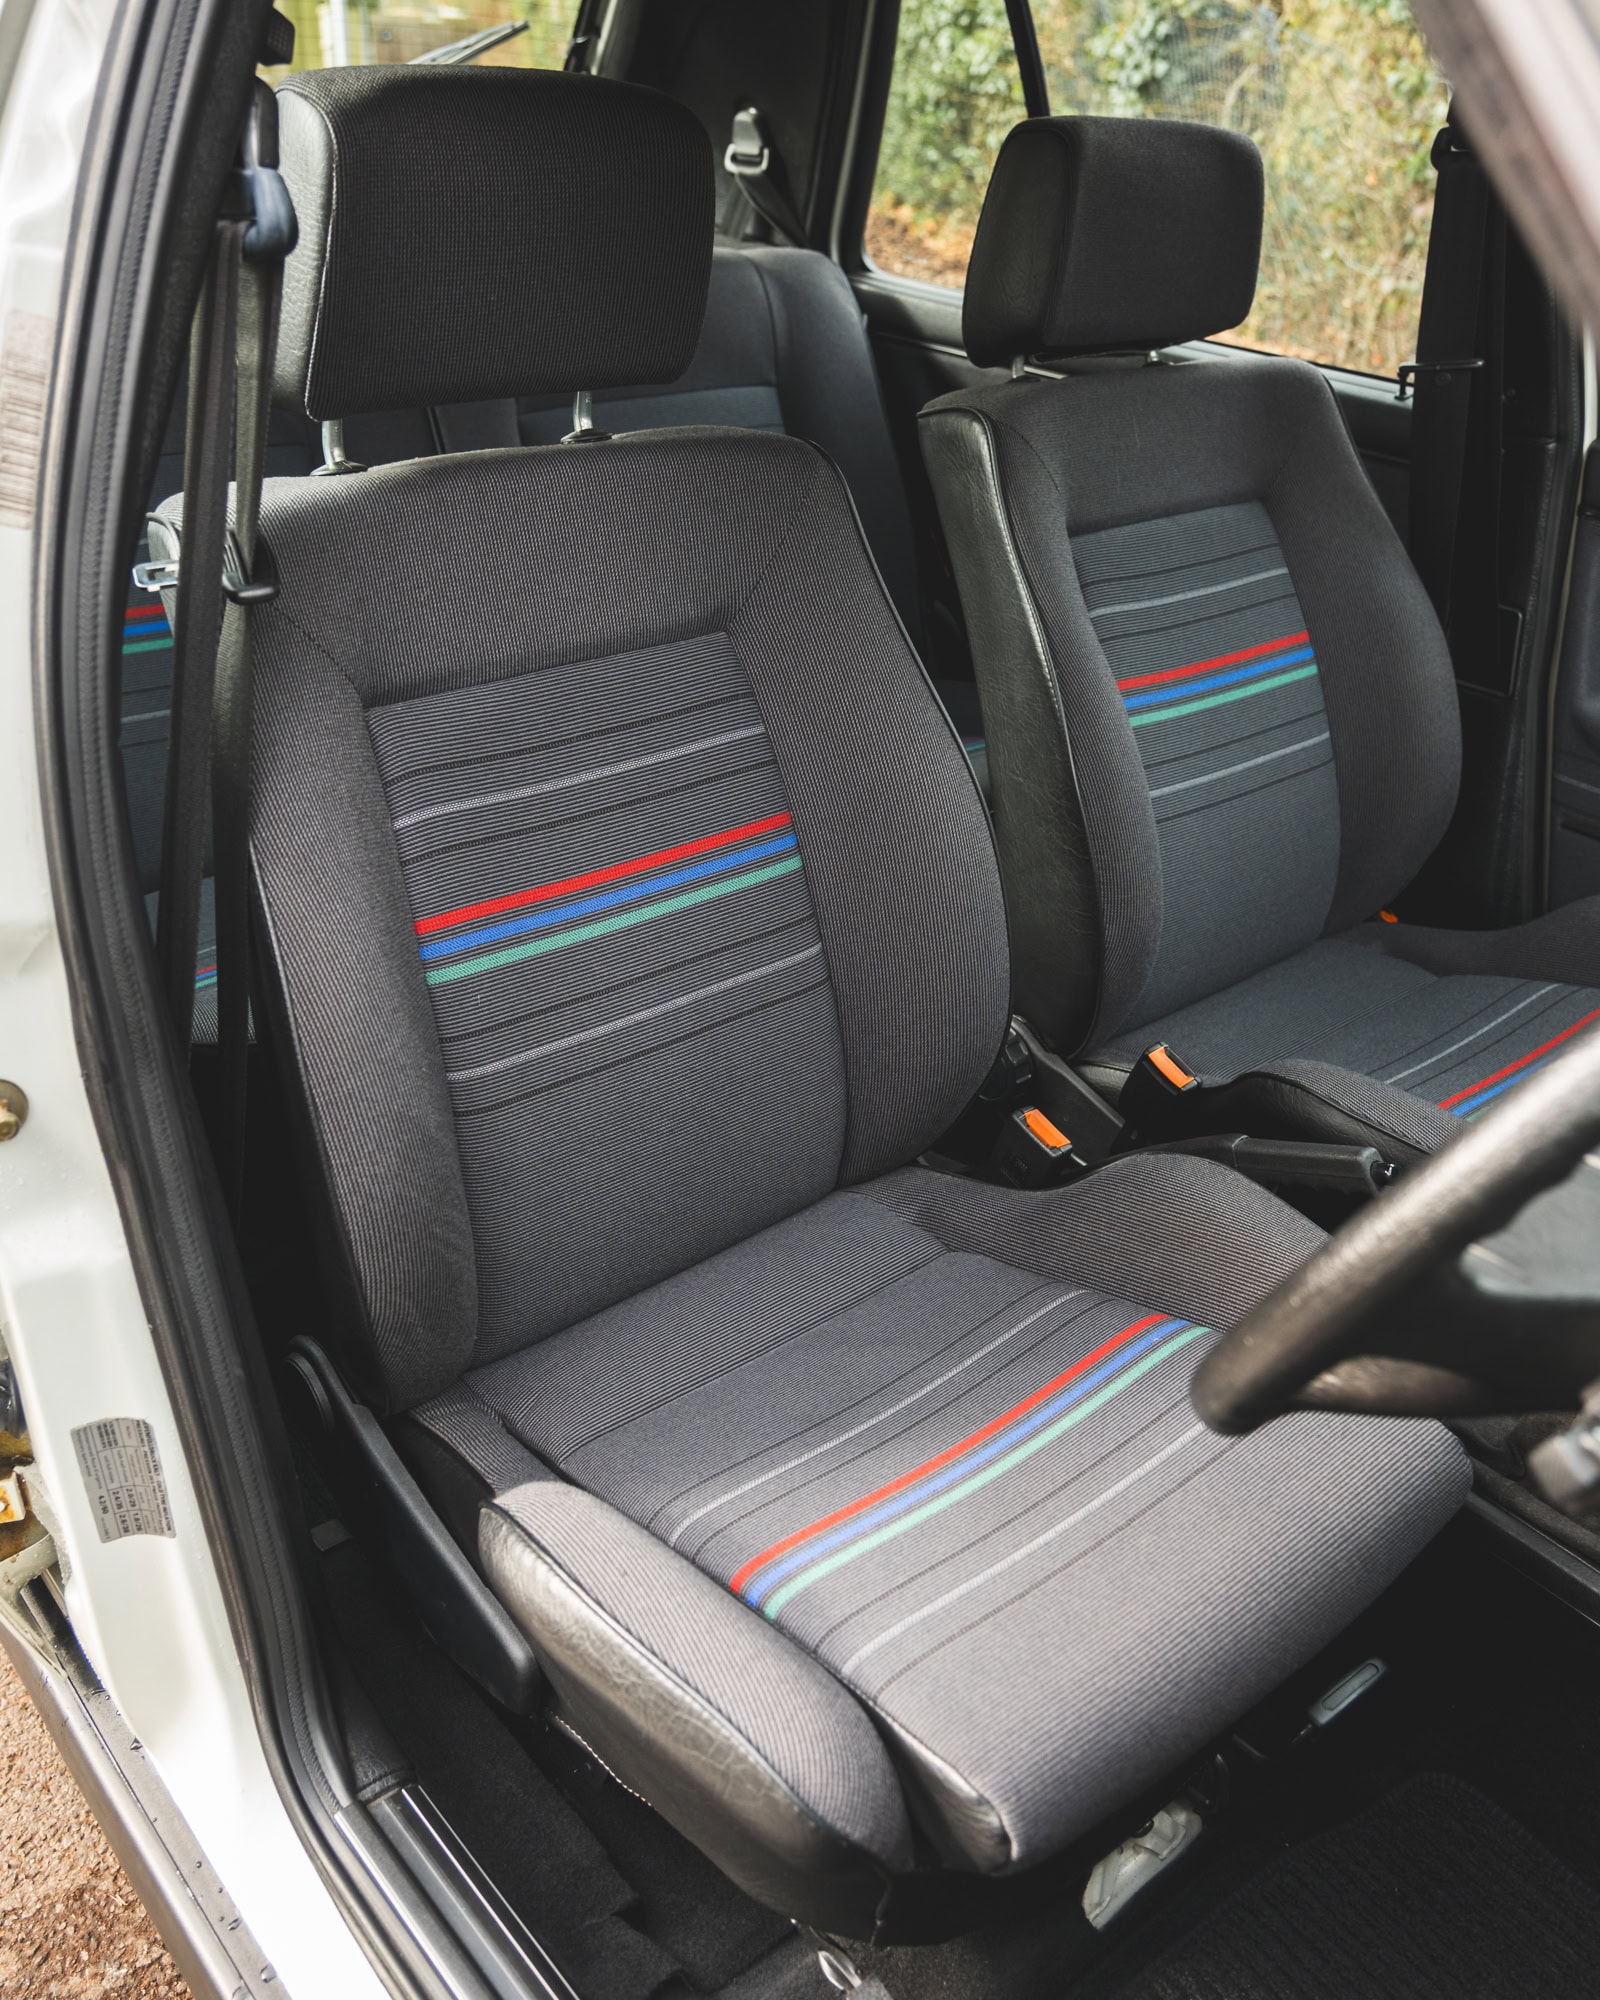
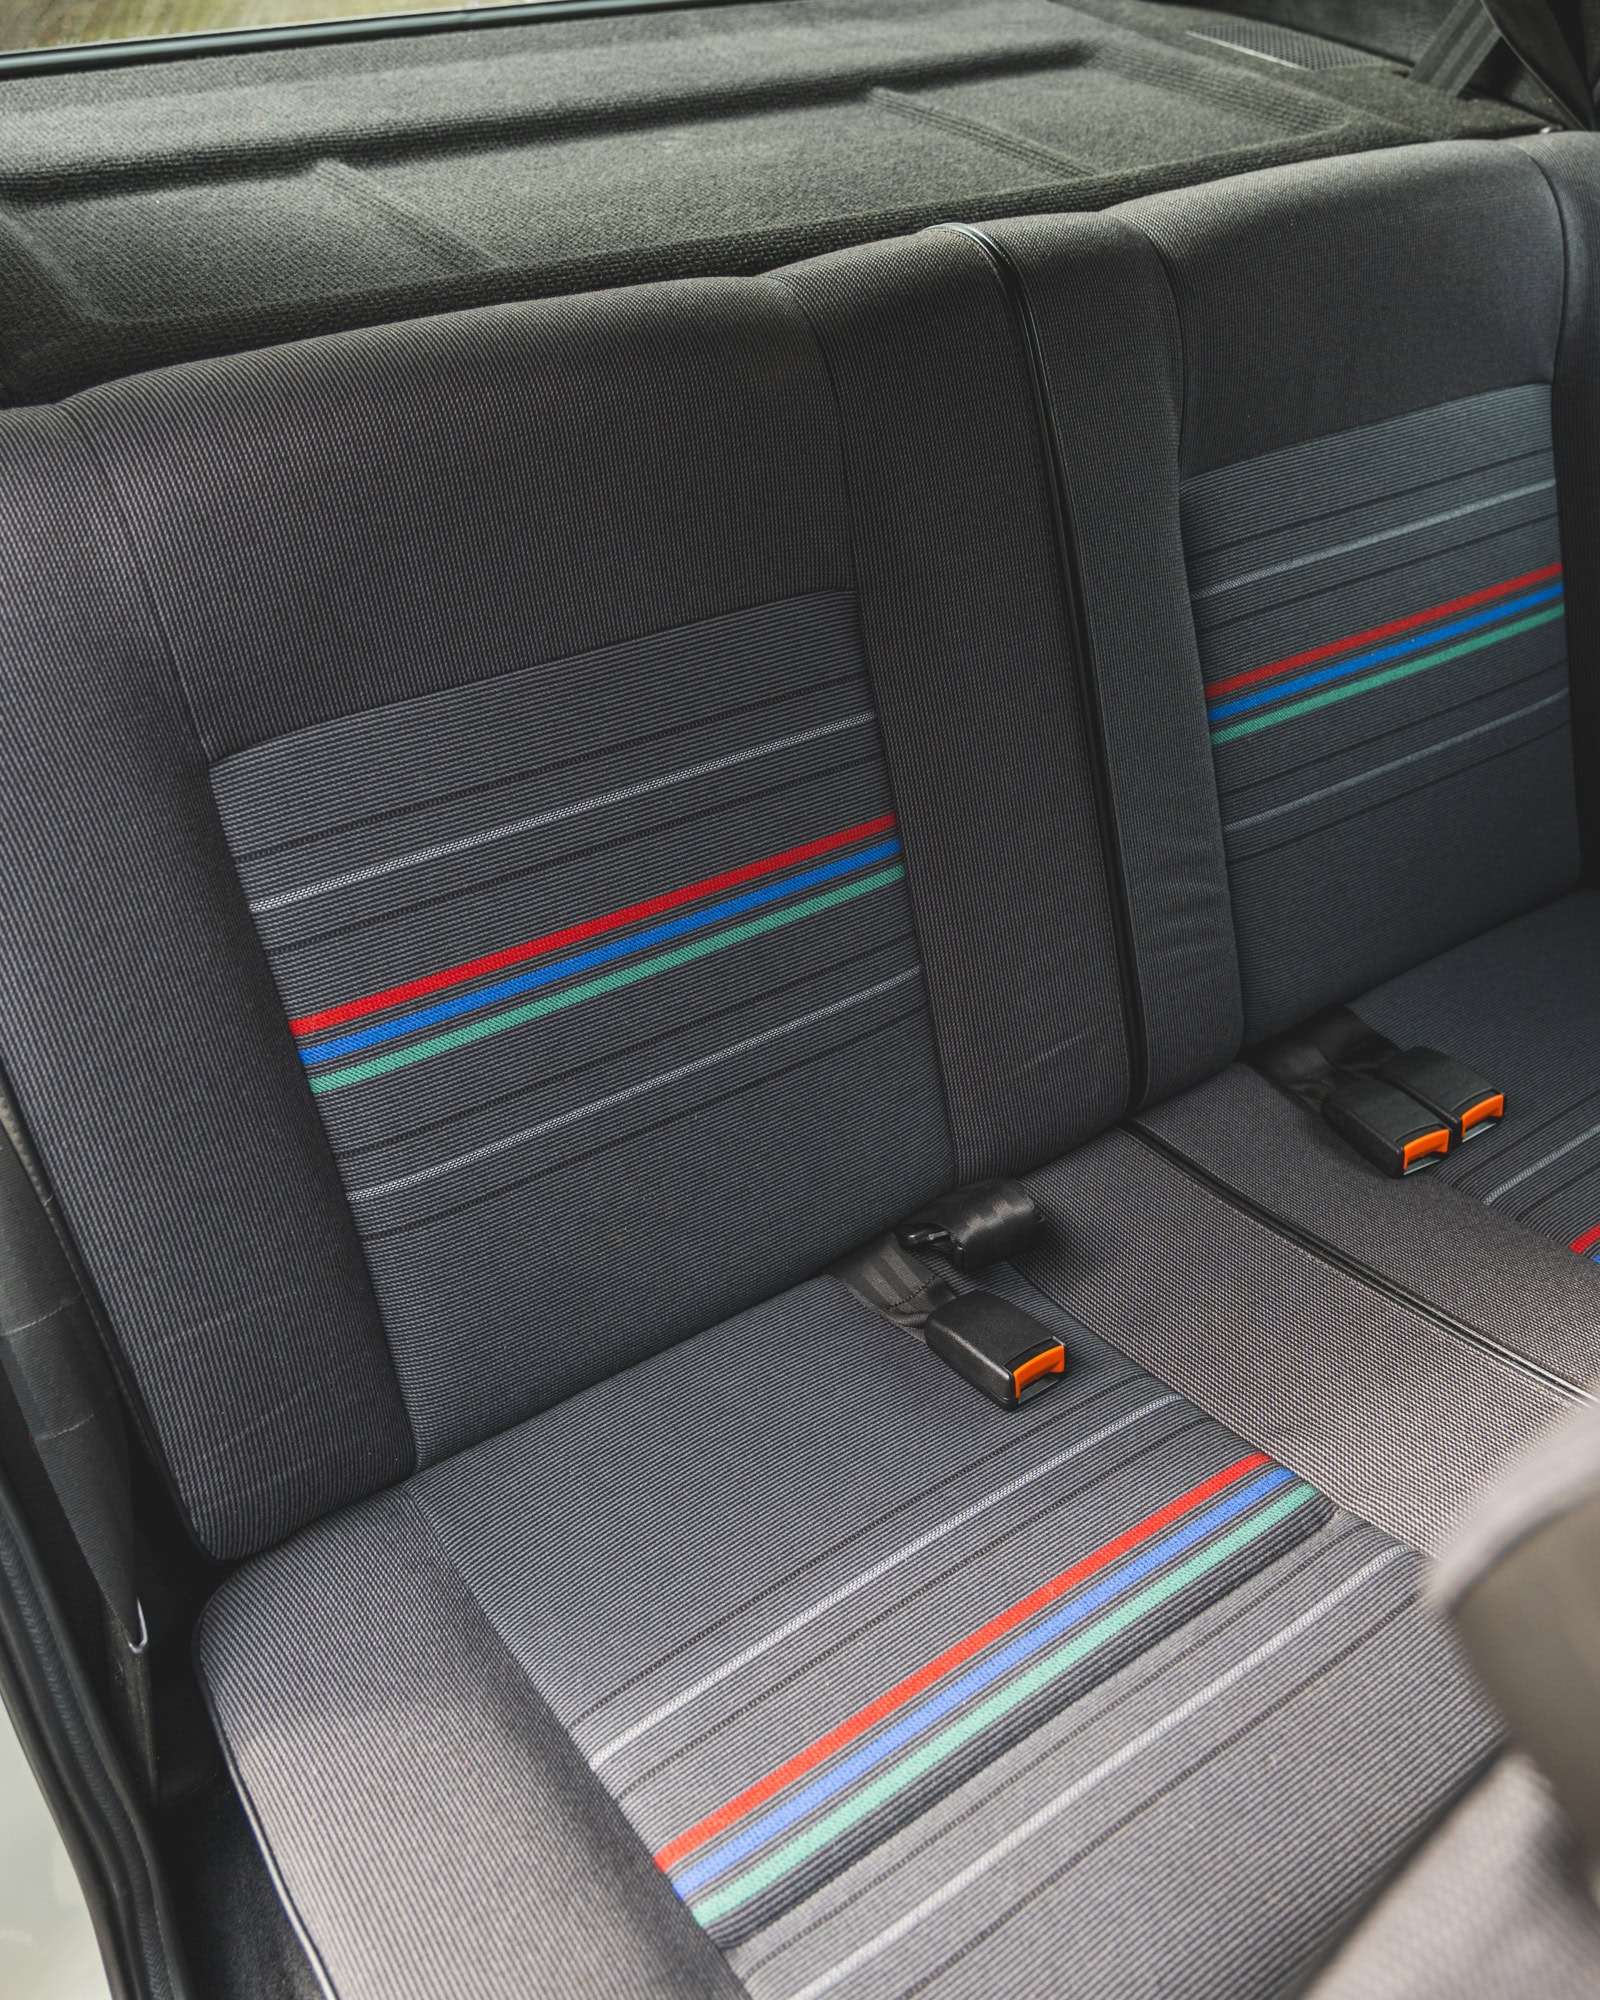
The interior was in as new condition and with the addition of a new Blaupunkt radio, required very little in the way of restoration save for a sagging headliner, which was replaced by our skilled trimmer, Scott.
We hope you’ve enjoyed following along with this restoration. Nick has put his heart and soul into the restoration and is, rightfully so, proud as heck of what he has built for our customer. Far more parts and processes went into this build than I was able to detail in this article, but it’s always fun to shed some light on the work that takes place in our specialist workshop.

You can read the original classified article here.
– Callum